Canva adds margins as dotted lines on the canvas for reference to avoid the final result from getting cropped and achieving a symmetrical position. However, on the downside, they cannot be changed, and in this guide, we will help you change the margins through a simple demonstration to get you all covered.
Edit Margins in Canva
- To start, navigate to Canva on your browser and sign in with your credentials. Next, open an existing design from Recent designs or select a design from Create a design to create a new one.

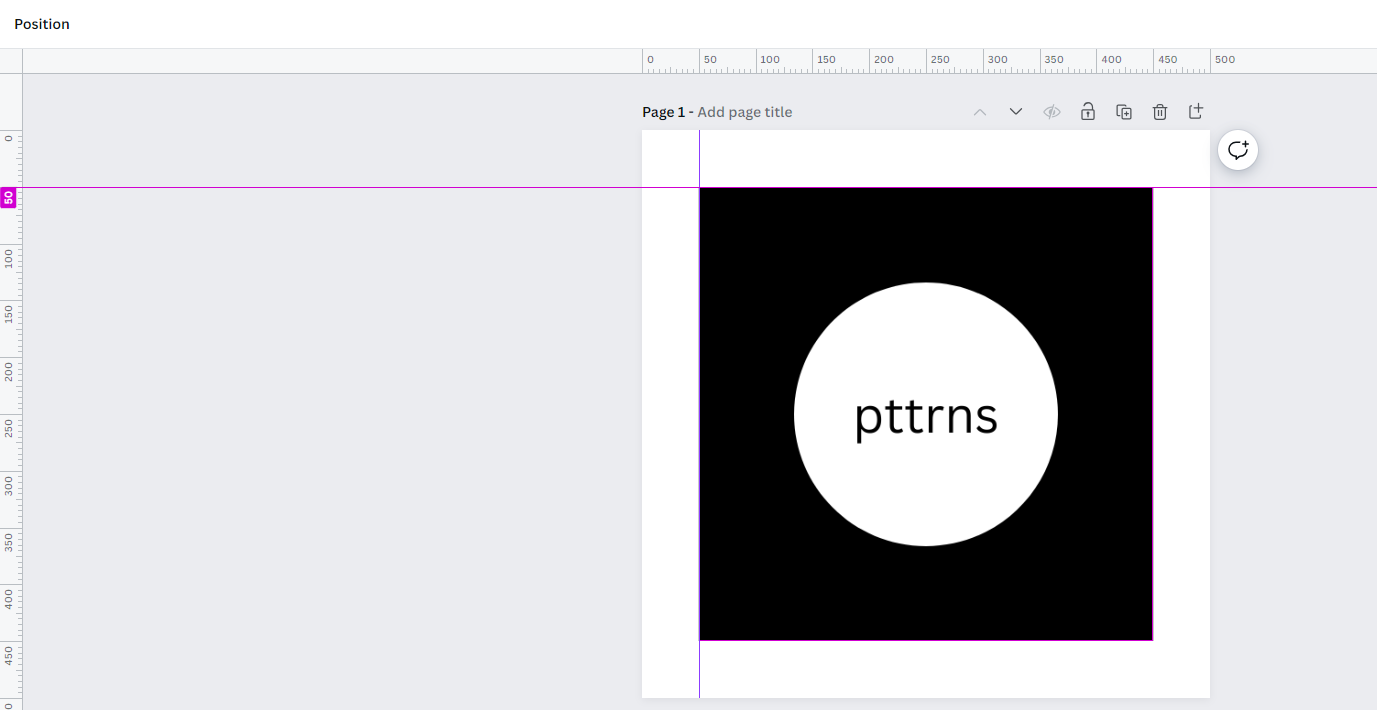
- After loading the new or existing design, click on the canvas and navigate to the menu bar. Now, click on File, and from the options displayed, navigate to Settings and click on it. Next, click on Show rulers and guides from the options associated with Settings.

- Doing so, you will find the rulers added to the top and left sides of the Canva. Feel free to change them according to your design requirements (Refer to the image below for better understanding).
- Once you adjust the design elements according to the margin set, you can download the design without worrying about the issues that might arise with the position while using it on other designs or while printing.
Wrapping Up
Congratulations on learning how to edit margins in Canva!
While Show margins and Show rulers and guides are handy tools/features of Canva, you might be on Whiteboard if you don’t find it listed under Files – Settings. To fix this issue, change the design, and if it persists, reload, clear the cache, or sign out and sign in with your credentials.


