
Canva offers the flexibility to extend your designs with bleed settings to achieve high-quality prints without unwanted white borders. In this guide, we will help you add bleed in Canva through a simple demonstration to get you all covered.
Add Bleed in Canva
- Begin with navigating to Canva and sign in with your credentials. Once you’re signed in, click on the Create a design button. Next, please select the one that matches your requirements and click on it to get started.

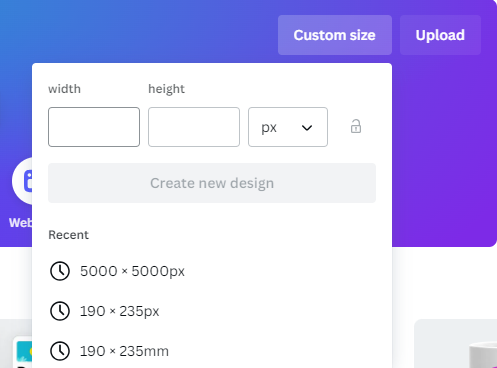
- If unsatisfied with the Canva preset designs, use Custom Size and create a custom design by entering the Width and Height measurements.
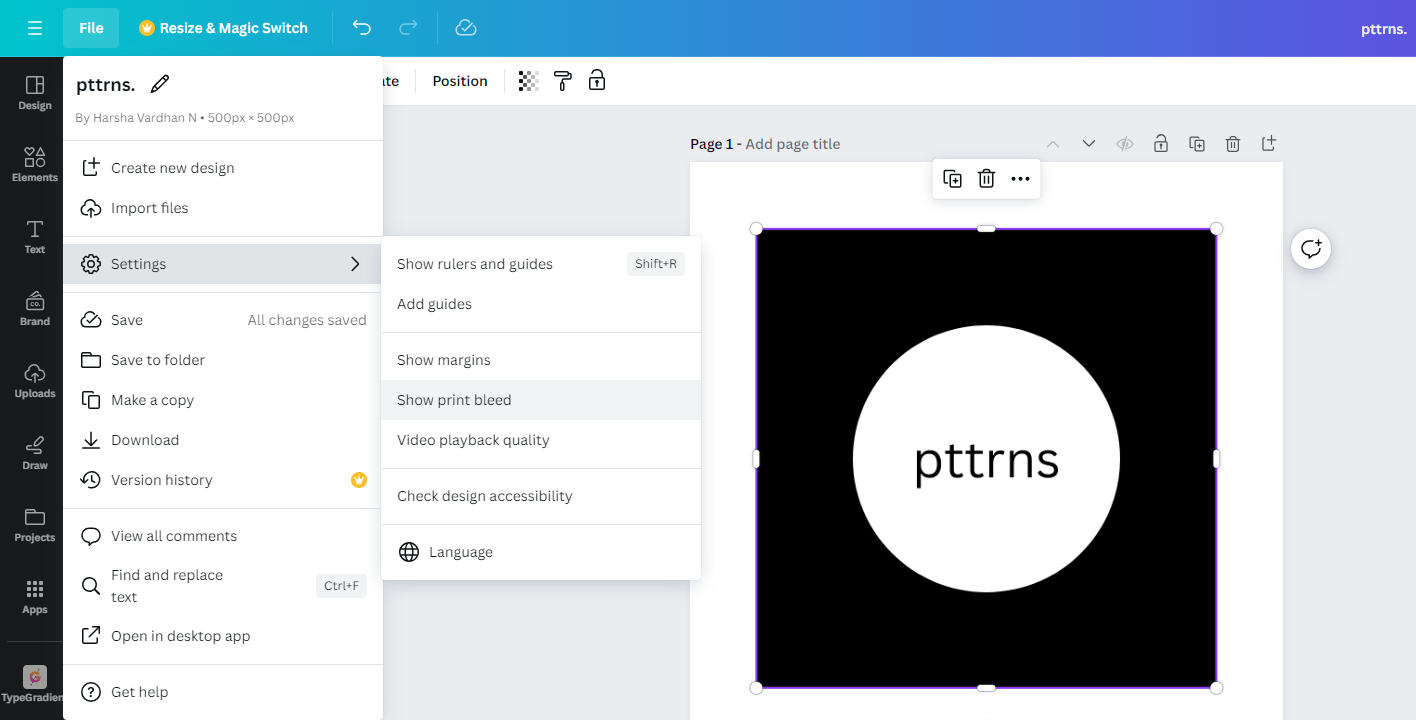
- After loading the new/custom design, add images from Uploads/Elements on the Editor panel on the left. Now, navigate to the File option at the top left corner and click on it to find a drop-down list. From the drop-down, navigate to the Setting option and then Show Print Bleed.
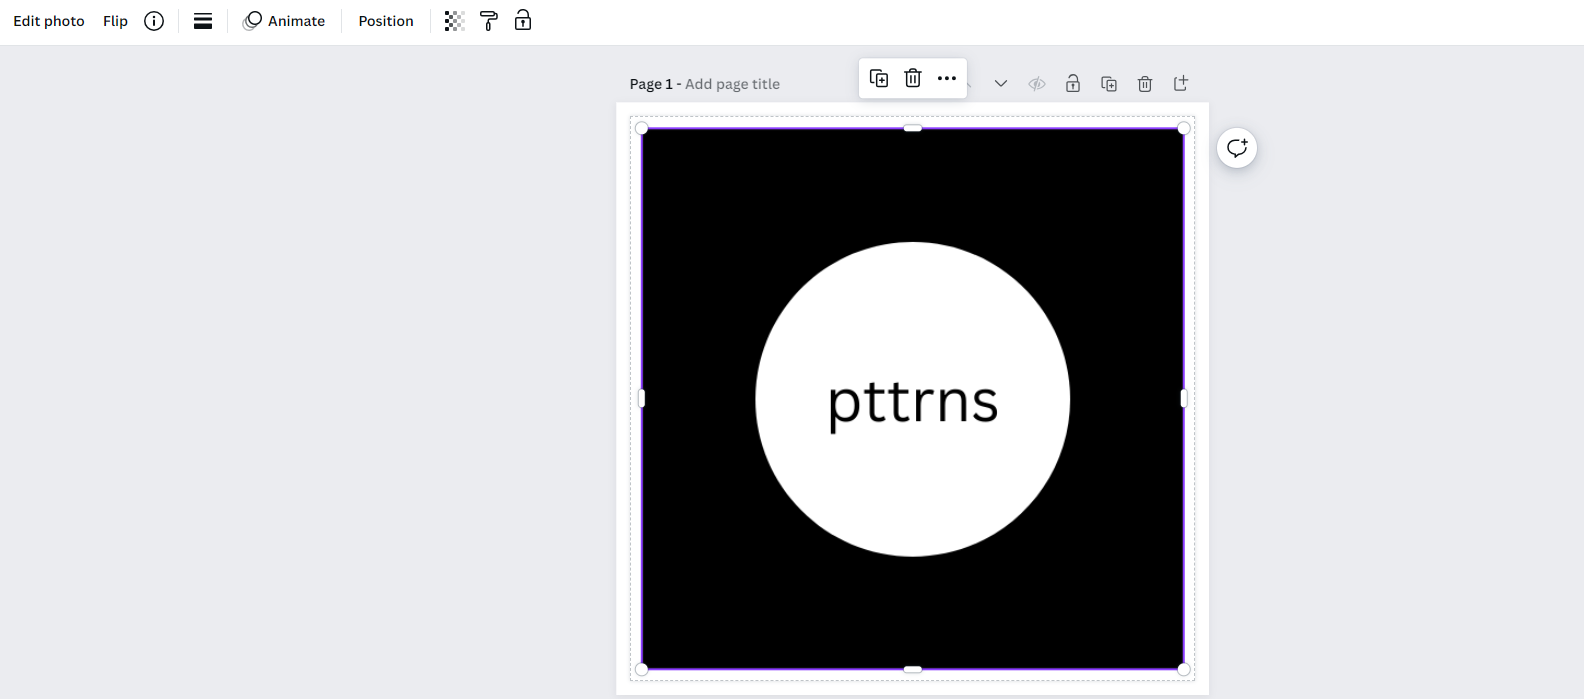
- By doing so, you’re displayed with the bleed lines. Now, check if your design extends to the edge of the paper and avoid any unintended white margins.
- After you are satisfied with all the changes and the final result, navigate to the top right corner and click Share. Then, from the list of options shown, select Download.
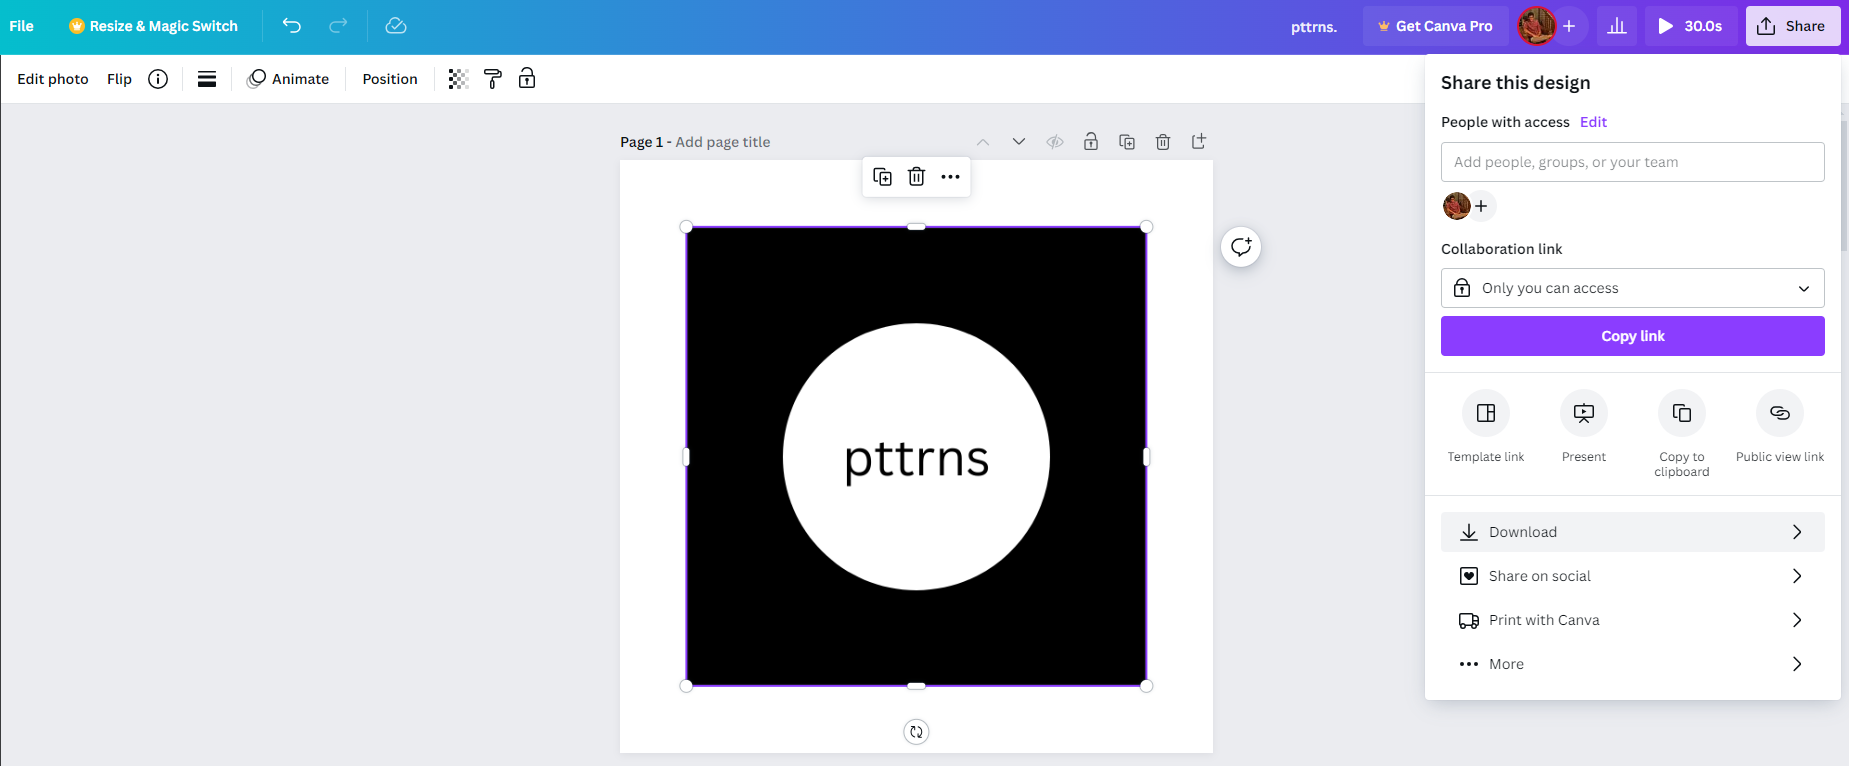
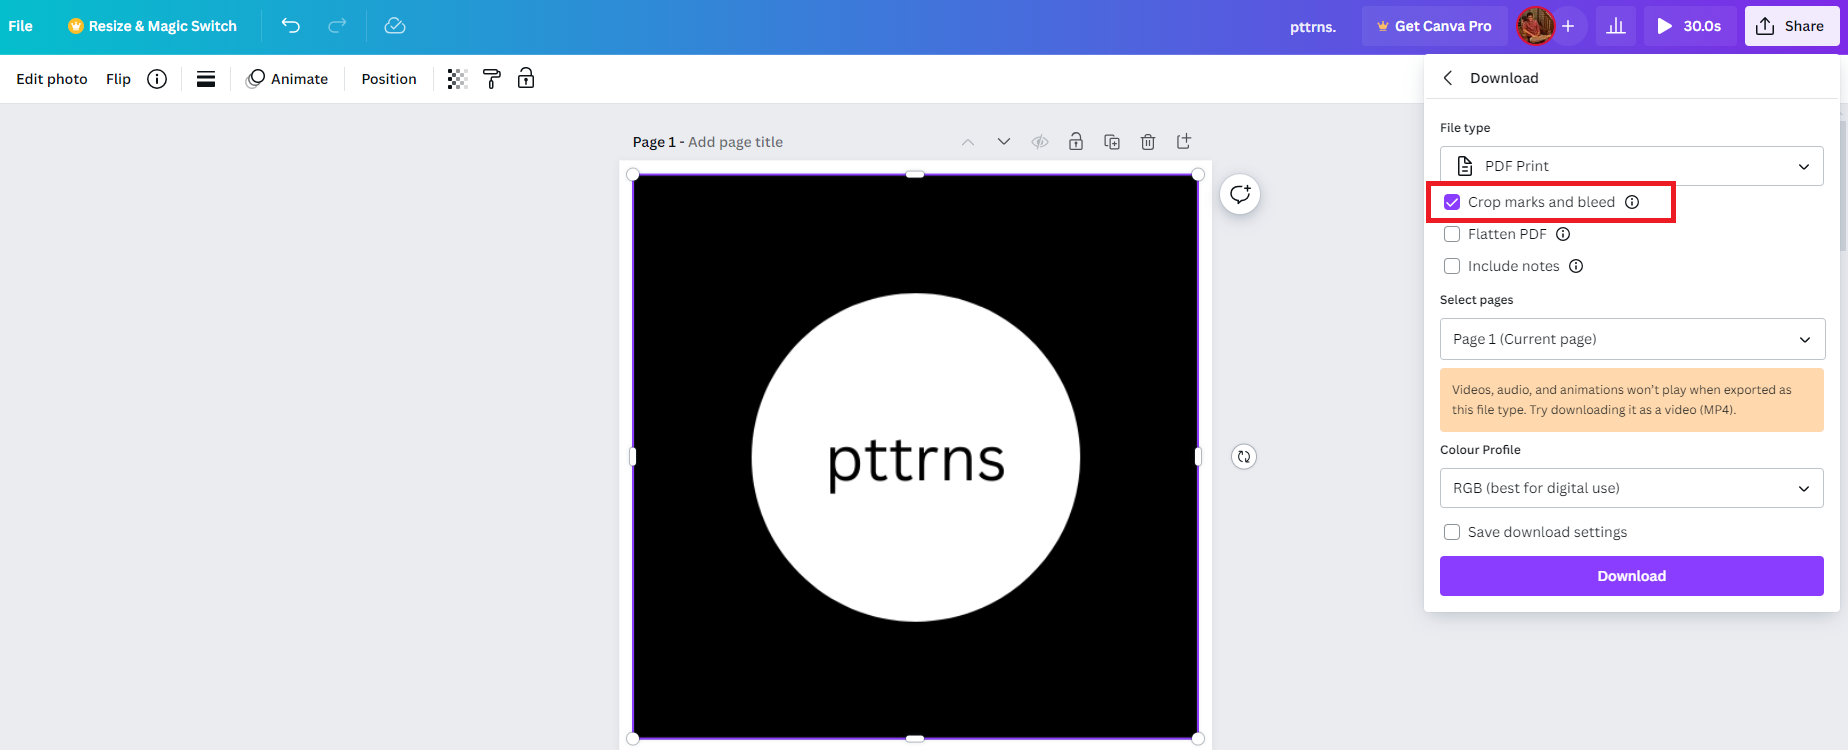
- Doing such, you will be displayed with the download options. Now navigate to File type, check the Crop marks and bleed and click Download.
Wrapping Up
Congratulations on adding Bleed in Canva!
While these are the only steps available to add bleed in Canva, you must be on Whiteboard if you don’t find the option. Try changing to another design and repeat the steps to add bleed in Canva.
Related Reading
How To Change Shape of Image in Canva


