
If you’re looking to create a 2×2 image for ID photos or design small printed materials like stickers or labels, Canva is one of the best options. While there is a resize tool dedicated to this in Canva, it is restricted to Pro users.
To address this, we have created steps below to help you make a 2×2 image on Canva Free with ease.
Note: The Magic Switch – Resize tool changes the size of the design according to your needs. However, the approach below involves creating a custom fixed design size. Hence, you can’t resize the image other than 2×2 inches.
Steps To Make 2×2 Image Size in Canva
- Start by navigating to Canva on your browser and sign in with your credentials. Once you’re on the home screen, navigate to the Custom size button and click on it. Next, set the measurements to inches and set the width and height to 2.
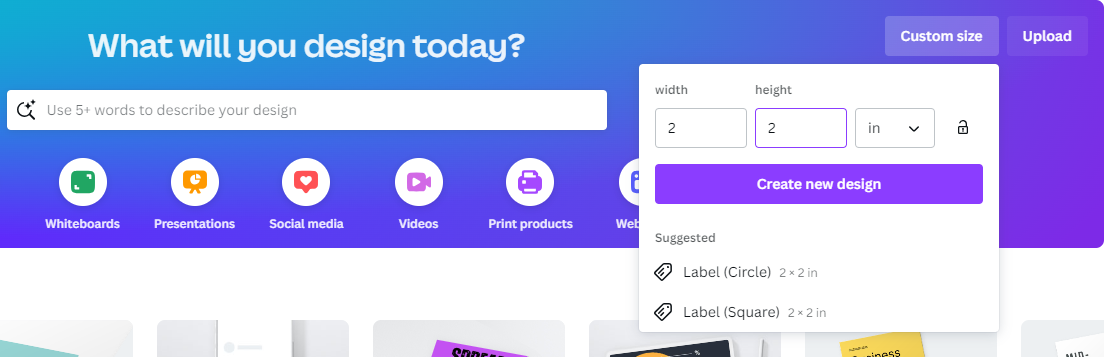
- Now, clicking on the Create new design button creates an empty Label (Square) design. However, you can also select the Label (Circle) design from the Suggested section if you’re interested.
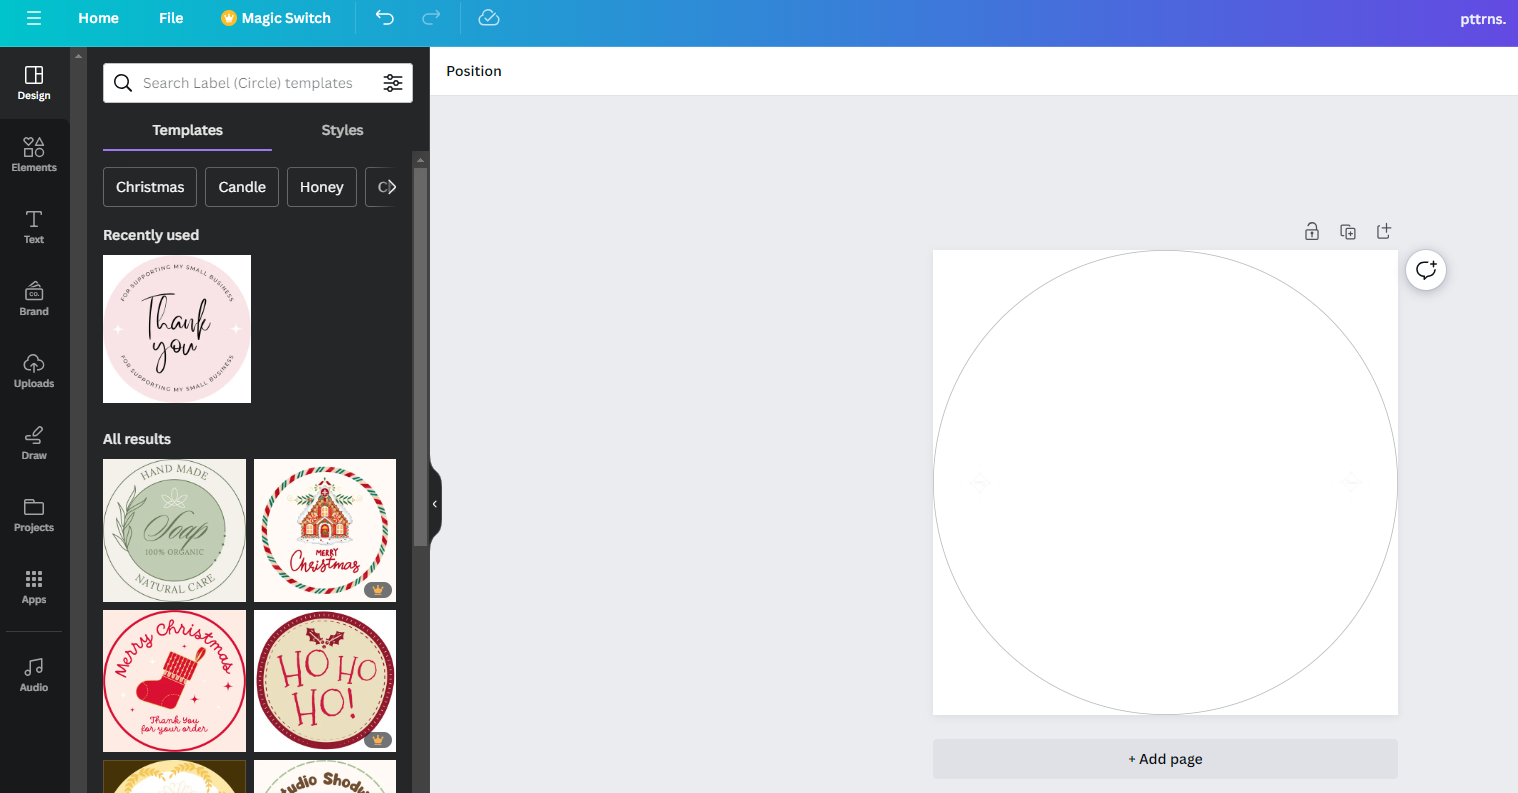
- If you notice in the image above, a circle label [2×2] is created. Also, if you look to the left, you’re provided with multiple templates matching the design, which can be added to it with a click.

- However, if you’re working with Photos, prefer the Label (Square) while creating a new design.
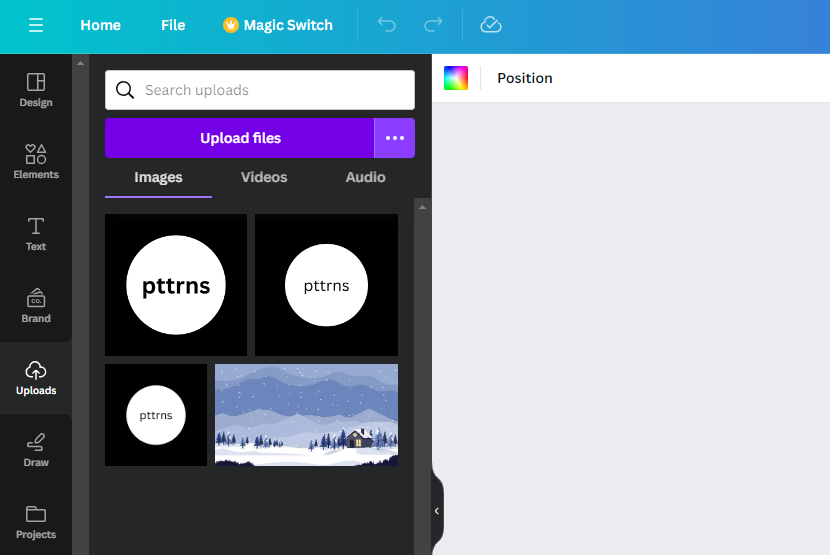
- Once the Label (Square) is created, add your photo to the design from Uploads by clicking on it. If you haven’t added it to Canva yet, begin by clicking on the Upload files button associated with Uploads.
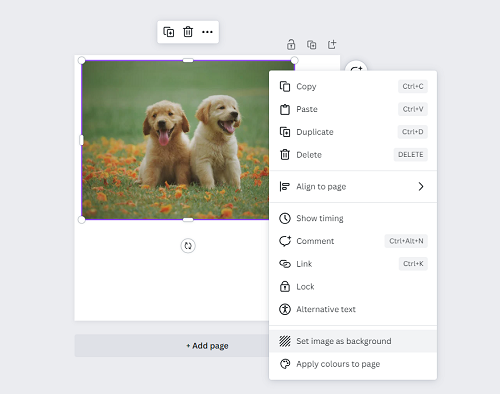
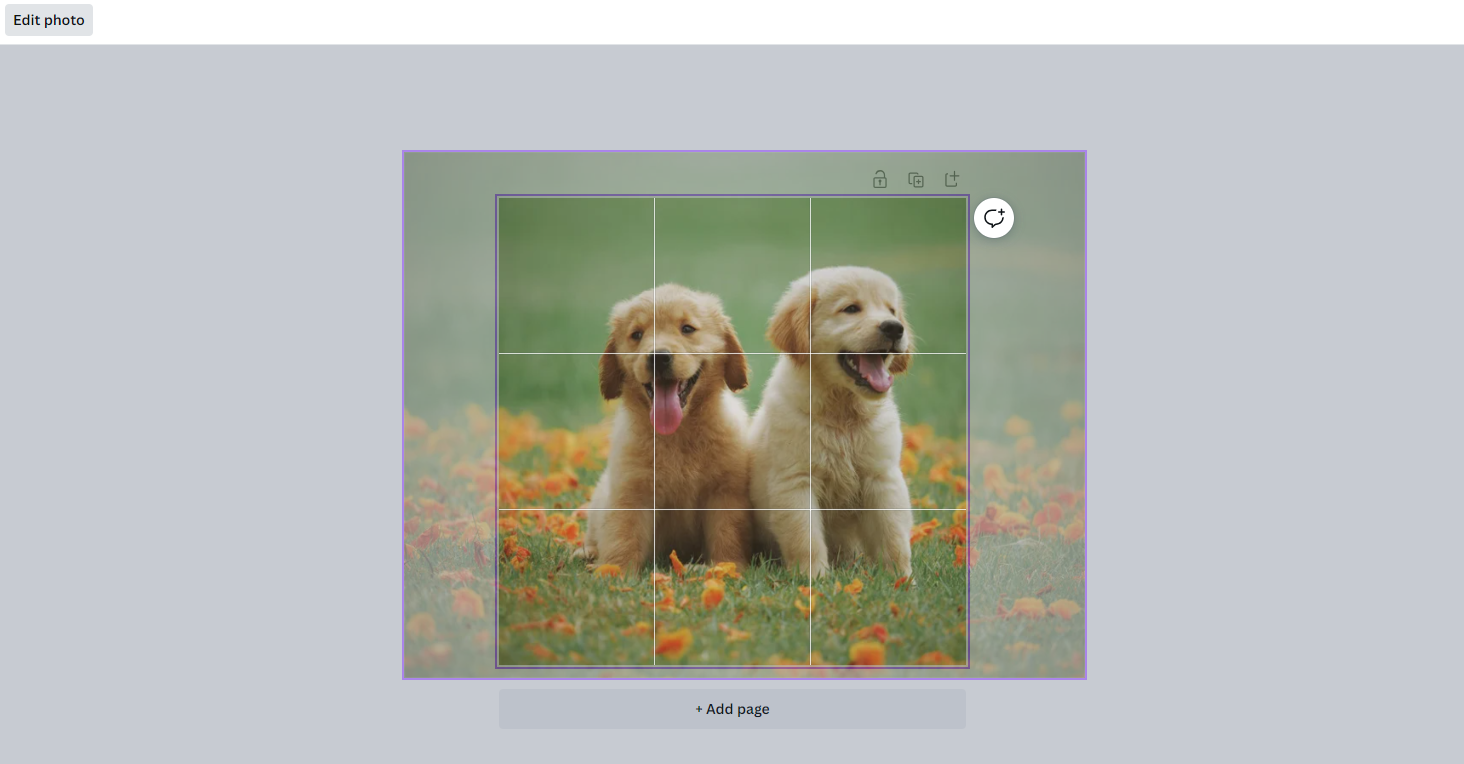
- After you have added the photo to the design, you will notice the dimensions of the photo are reduced to make it fit in the design, resulting in whitespaces. To avoid this, right-click on the photo, and from the options, click on Set image as background.
- With the photo set to the background, a certain portion of it gets cropped and might create undesirable results. In such a scenario, double-click on it to open Crop. Next, adjust it accordingly so that the subject isn’t left behind.
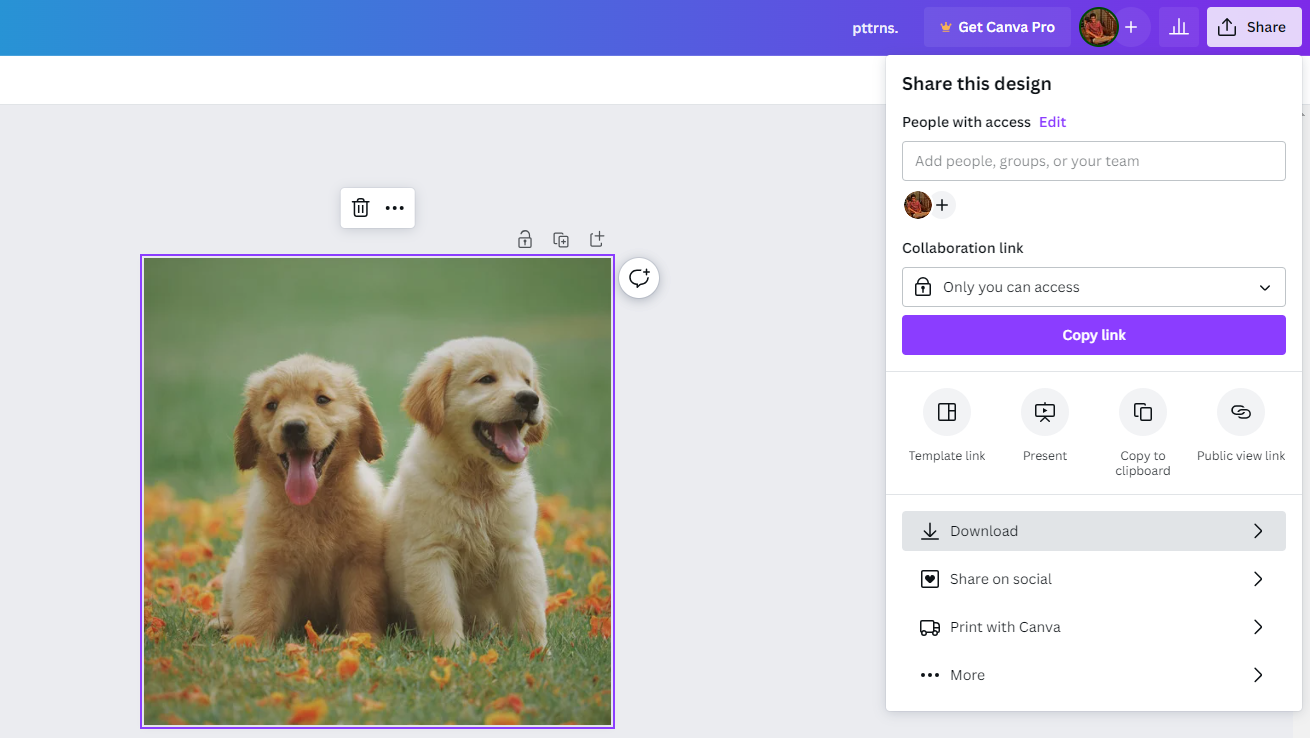
- After you have adjusted the photo and are happy with the results, click on the Share option present at the top right corner, and once the options are displayed, click on Download.
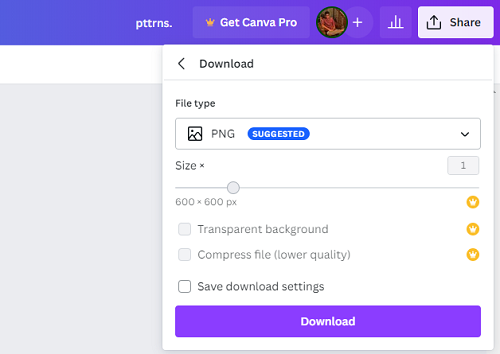
- Doing so displays the Download box with several options. Now look for File type and set it to PNG, and then click on the Download button.
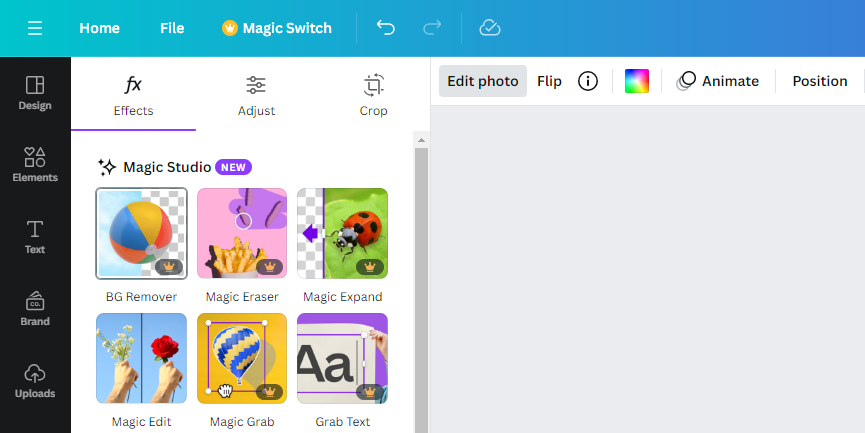
Pro Tip: If you’re dealing with portraits to make ID cards or labels, click on the photo to reveal options on the top. Next, click on Edit image to open the Effects tab. Now, navigate to Magic Studio and click on BG Remover to create exceptional results.
Wrapping Up
Congratulations on creating a 2×2 image in Canva!
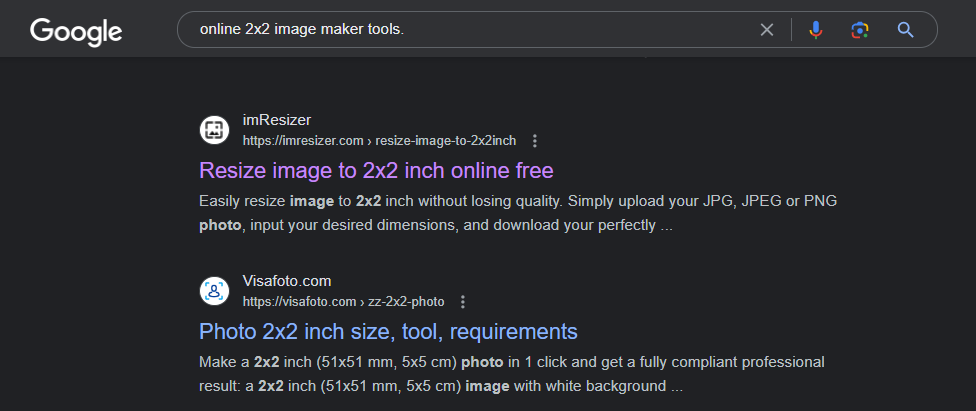
While there are no complaints with this approach, if you find the steps complex, we suggest you rely on online 2×2 image maker tools. The advantage of these tools is the automation and provides flexibility to make edits right away.
However, if you’re dealing with confidential photos and are worried about privacy, prefer image editors like Adobe Photoshop, GIMP, etc.
Related Reading
How To Change Color of PNG in Canva


