
Canva doesn’t allow you to create 300 DPI Images. However, worry not, as we will help you achieve it through the detailed steps below.
Many professional printers, design software and print guidelines often suggest a 300 DPI standard for achieving clear, high-quality prints without visible pixelation.
Unfortunately, Canva doesn’t feature an option to create one. Hence, to address this, we have provided the steps that offer a way around it.
What we cover
Create 300 DPI Images Using Canva
Note: Before proceeding, it needs to be understood that the steps associated with Canva lay the path to creating 300 DPI images, and the way around is achieved through the use of third-party online tools.
- Start by navigating to Projects and open the project that features an image that needs to be converted as 300 DPI.
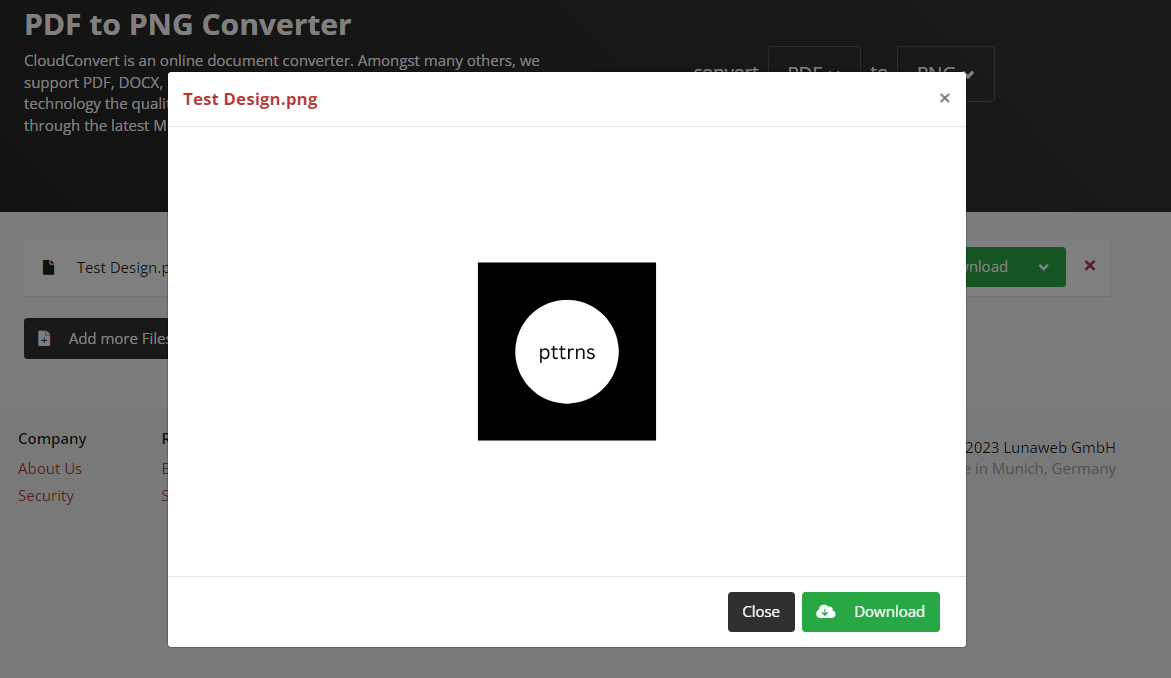
- After it is loaded, navigate to the top-right corner of the window and click on the Share button. Next, from the available options, click on Download.
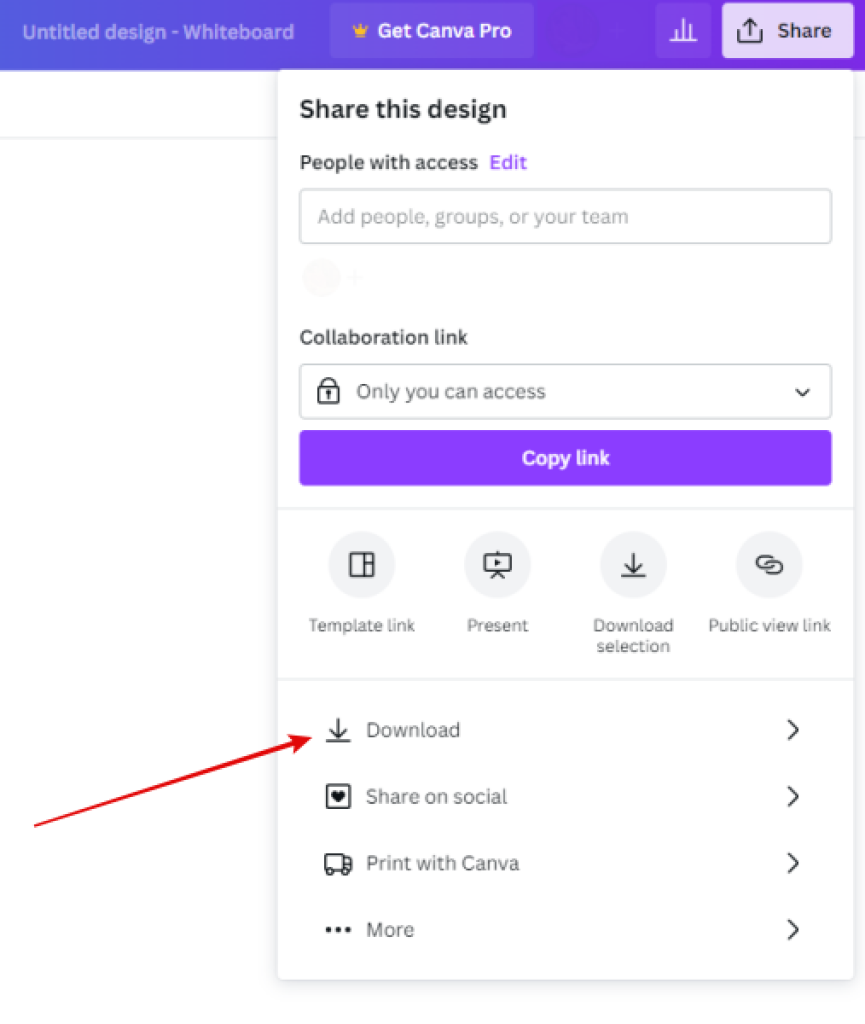
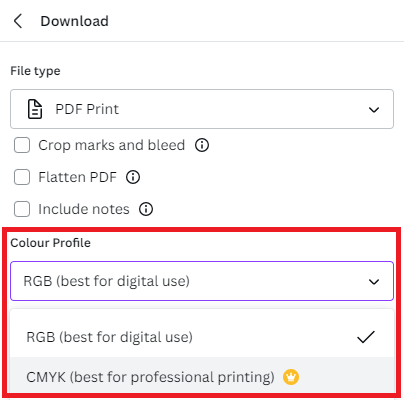
- Now you’re displayed with multiple options related to Download, and changing the File type is important to create a 300 DPI image.
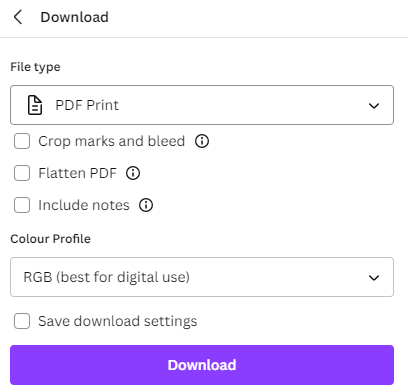
- To do this, click on the drop-down under the file type, select PDF Print, and then click on the Download button.
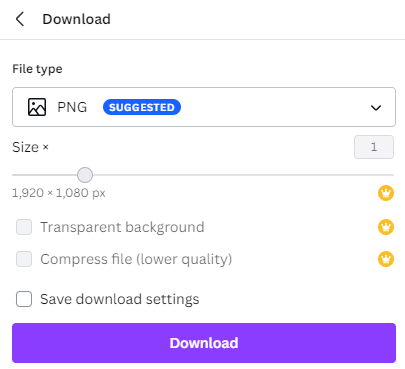
The above step might raise a question – Why PDF Print instead of PNG/JPG? The reason behind this choice is Canva’s limitation to download designs as 300 DPI PNG/JPG files.
However, by choosing PDF Print, Canva preserves the design’s quality, and through the use of third-party tools, you can generate 300 DPI images. With this explanation addressing the query about the choice, continue with the next steps.
- After the design is downloaded as a PDF, navigate to Cloud Convert’s PDF to PNG converter or PDF to JPG converter.
- Once the page is loaded, navigate to Options and set the Pixel Density to 300.
- Next, upload the PDF file downloaded on Canva to the tool through the Select File button and click on the Convert button.
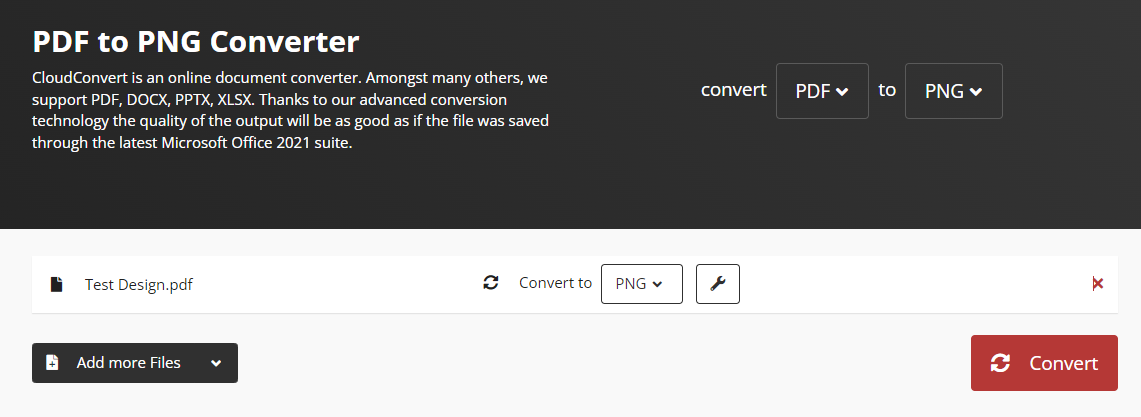
- Wait for the tool to finish the conversion process, and once done, check the preview and click on the Download button.
- After the file is downloaded, to verify the DPI, navigate to the file on File Explorer, right-click on it, and then Properties.
- After the selected file properties are loaded, click on the Details and scroll down to the Image section to find the DPI.
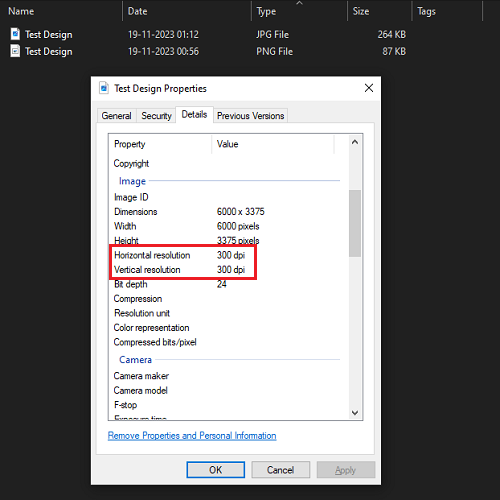
Note: If you have converted to a PNG image, you won’t find the DPI listed in the image properties, as Windows displays it only for JPG images. In such a scenario, you can rely on Online Image DPI Checker tools to check the Image DPI.
How To Convert an Image Color Profile From RGB to CMYK?
Considering you’re trying to create 300DPI images, we presume that you’re trying to print a high-quality image/design. If yes, it is important to change the color profile from RGB to CMYK, as it is ideal for printing.
While you can change the color profile while downloading the PDF to CMYK on Canva, it is set to premium users.
To address this, we have found a way around and here are steps to change the color profile without Canva Premium:
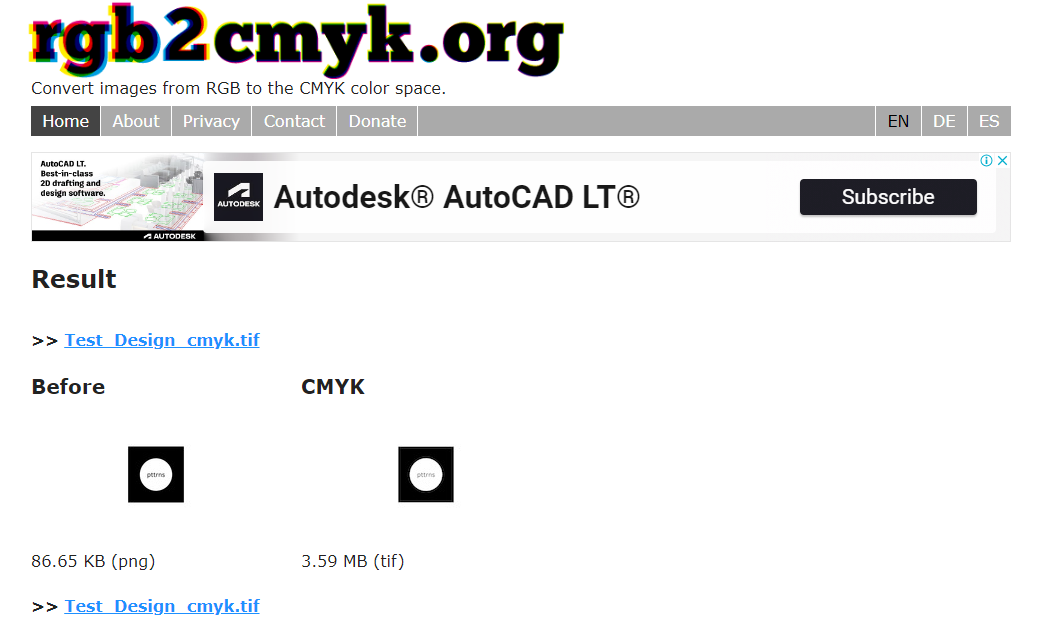
- Start by opening the browser and navigate to rgb2cmyk. Before doing this, ensure you’re ready with your 300 DPI images.
- After the website is loaded, upload your image by clicking on the Choose File button and then proceed with the conversion by clicking on the Start button. Regarding the other options, we suggest leaving them as defaults unless you’re aware.
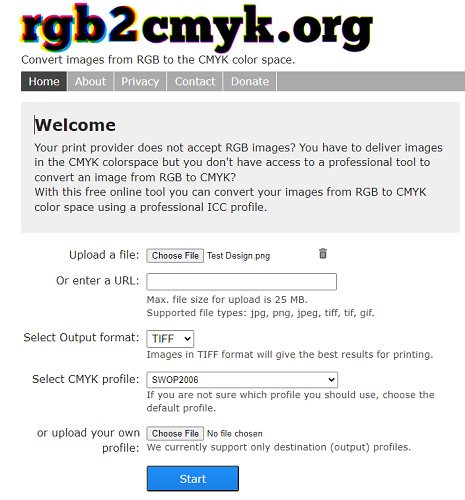
- Now, please wait for the tool to process, and once you’re provided with a CMYK preview, click on it to download the image with the CMYK color profile.
Wrapping Up
Congratulations on creating a 300 DPI image and learning how to change the color profile to CMYK to get the best and highest-quality print!
While working on the above steps, there isn’t anything to worry about, like design/image corruption. However, as a best practice, create a backup or download the result twice and use one for editing.
Related Reading
How to Stretch the Image in Canva
How To Replace an Image in Canva
How To Spell Check in Canva


