Adding grid lines in Canva is easy. Learn how to add and customize them through the detailed steps.
Learning how to add grid lines in Canva is important as it adds alignment and consistency, offering an ideal proportion and balance throughout the design. With this, the creation of responsive designs becomes easy and efficient.
While grid lines can be added right away in Canva, we will also help you customize them. If you’re new to using grid lines, check out Canva’s blog on how using grid lines will improve designs to get started.
What we cover
Add Grid Lines in Canva
Considering Canva offers a dedicated tool/option to add grid lines, there isn’t any need to mimic them manually. All the steps mentioned below are straightforward, and by the end of the last step, you will have grid lines added to your design.
- Start by opening the project that you’re working on or use a new layout to work on the design.
Note: Avoid using Whiteboard as layout as it doesn’t display grid lines. Instead, use the templates with dimensions as they are compatible. For demonstration, we have used a Logo template.
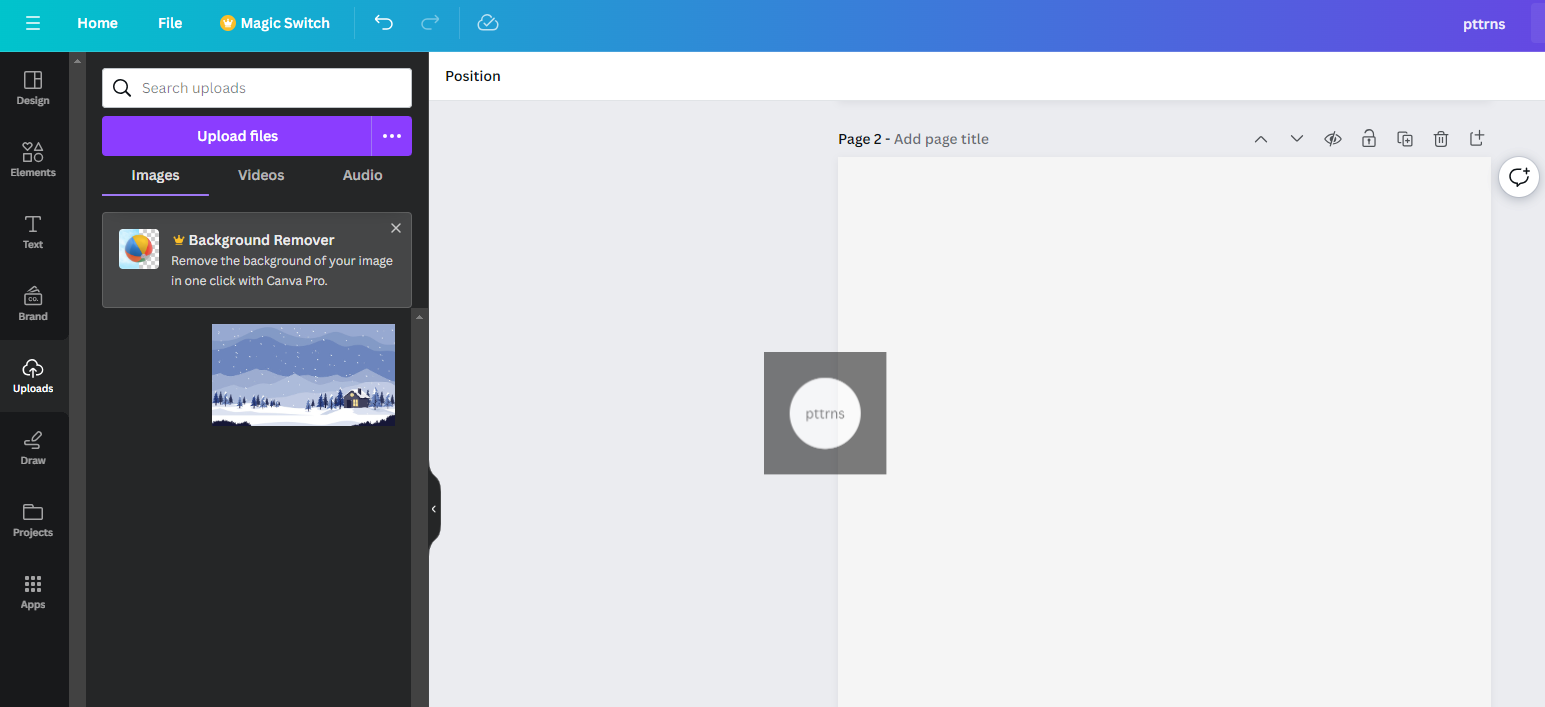
- Once the layout is loaded, add the design you’re working on by clicking on the Uploads on the left. If the design is already uploaded, drag and drop it on the template, or else use the Upload files button to upload a design.
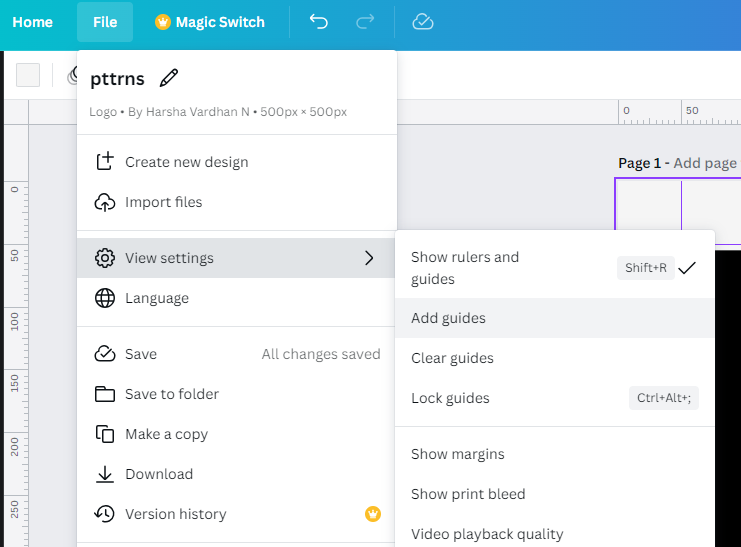
- After the image/design is added to the layout, navigate to the top left corner and click on Files. Doing this will display multiple options, from which click on View settings and then Show rulers and guides.

- The above step is mandatory as it displays the rulers and guides on the design. While this could be done later, it isn’t suggested as you cannot make any customizations to grid lines.

- Once you find the rulers on your design, repeat Step 3. However, while selecting the options under View settings, click on Add guides.
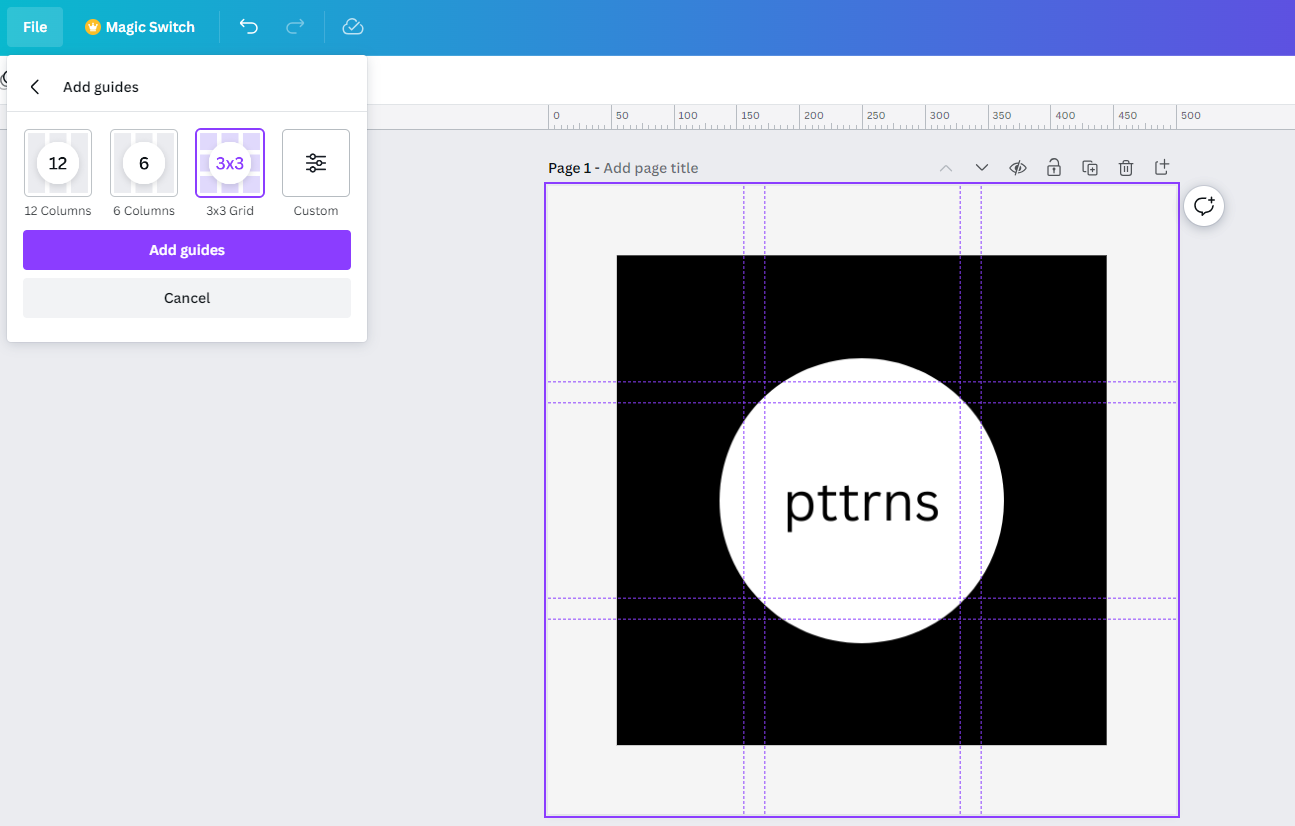
- Doing the above step will display you with three grid line presets. Now, check for the one that matches your design and click on Add guides to add the grid lines to the design.
How to Add Custom Grid Lines in Canva?
If you’re not happy with the grid presets offered, check out the below steps to add custom grid lines to your design:
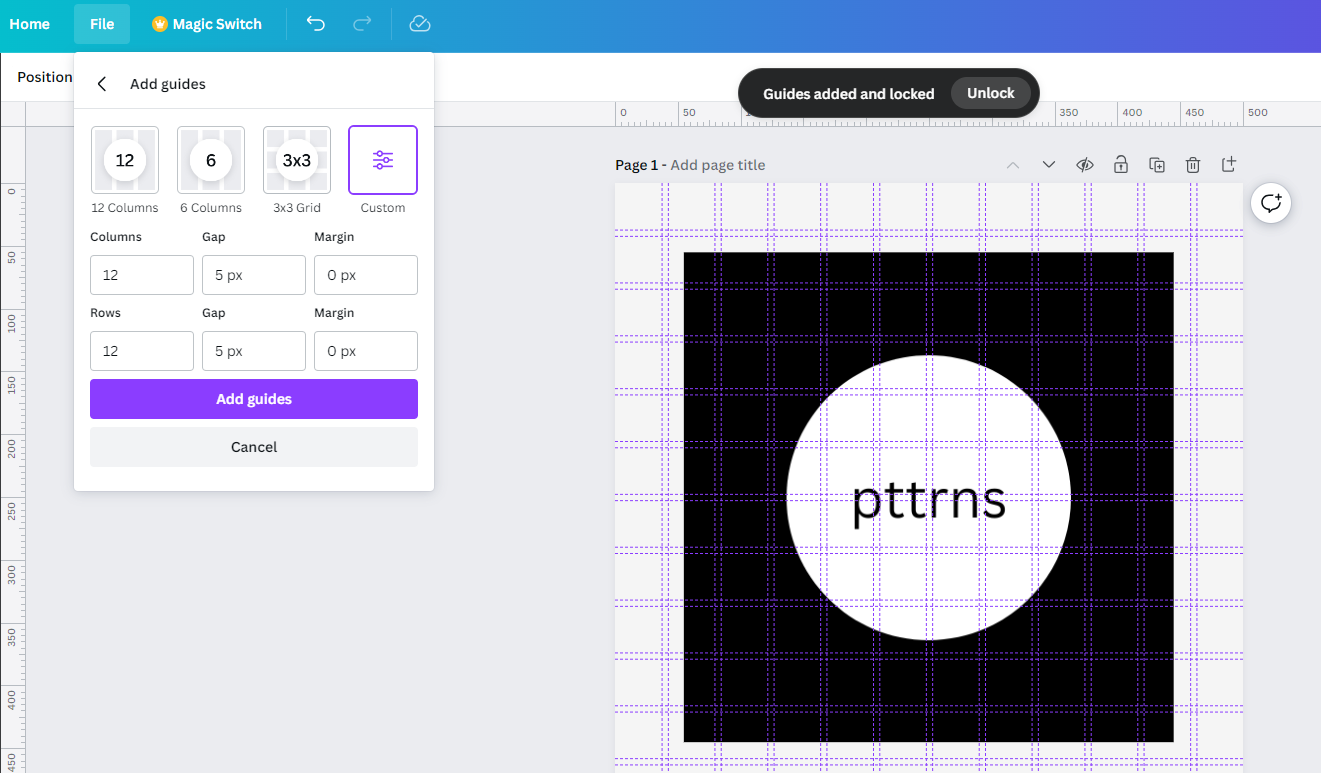
- If you’re trying to add custom grid lines to other designs, follow Steps 1-5 listed above. However, if you’re on the same layout, instead of selecting a grid preset in Step 6, choose the Custom option and click on Add guides.

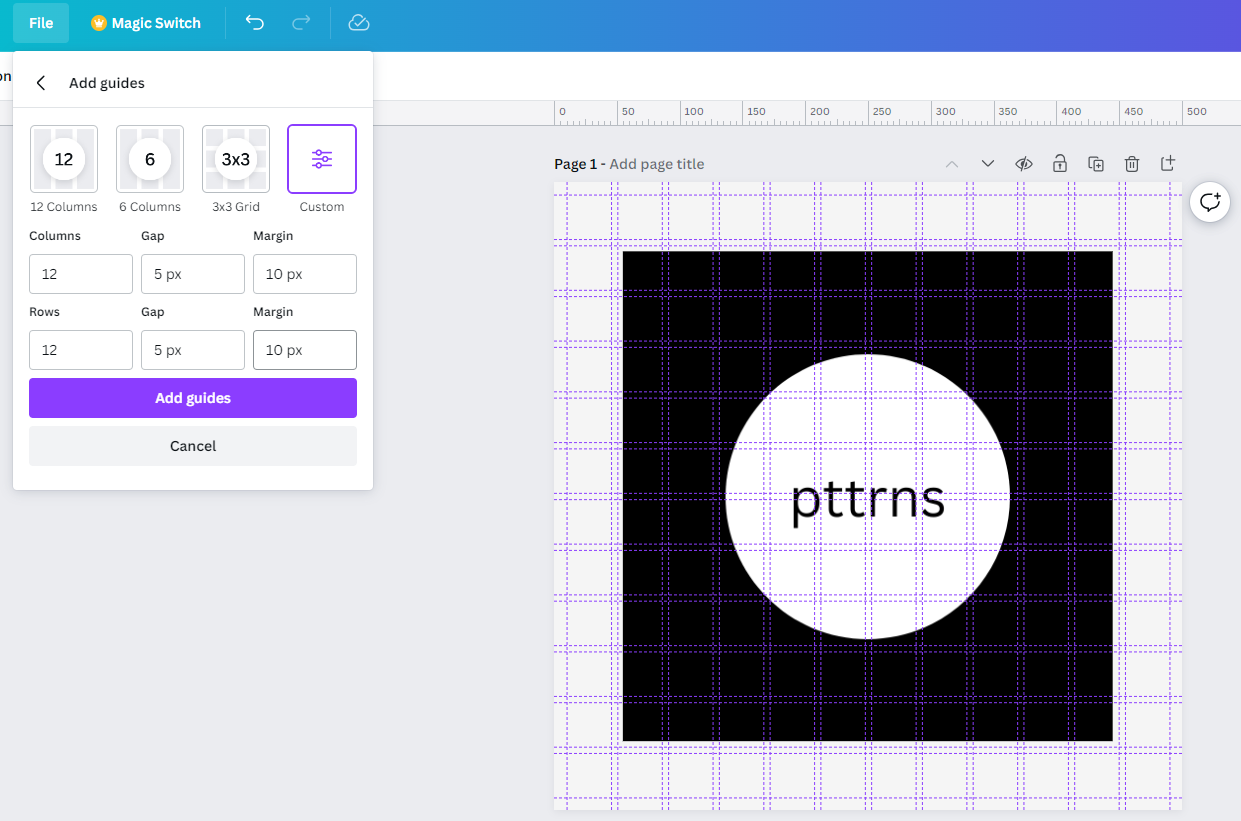
- Now, update the options according to your needs. For demonstration, we have set 12 columns and 12 rows with a gap of 5px.
- Also, you can set margins to the grid to make it more appealing and achieve perfect balance and position.
Wrapping Up
Congratulations on adding gird lines to a design in Canva!
While the steps above will help you add grid lines to a design, we suggest you choose default grid presets if you’re not aware of adding what grid lines match the design.


