
Are you trying to wrap text in Canva? Learn how to do it efficiently through detailed approaches in different scenarios.
Learning how to wrap text in Canva can significantly enhance the visual appeal and help with design customization. Also, you can create engaging graphics without relying on the Canva graphic collection.
If you’re in need of wrapping a text in your project, the below detailed approaches will help you get started.
What we cover
Starting with the Basics
Before working on the advanced scenarios, it is ideal to start by learning how to wrap text within the text box. Here are the steps for it:
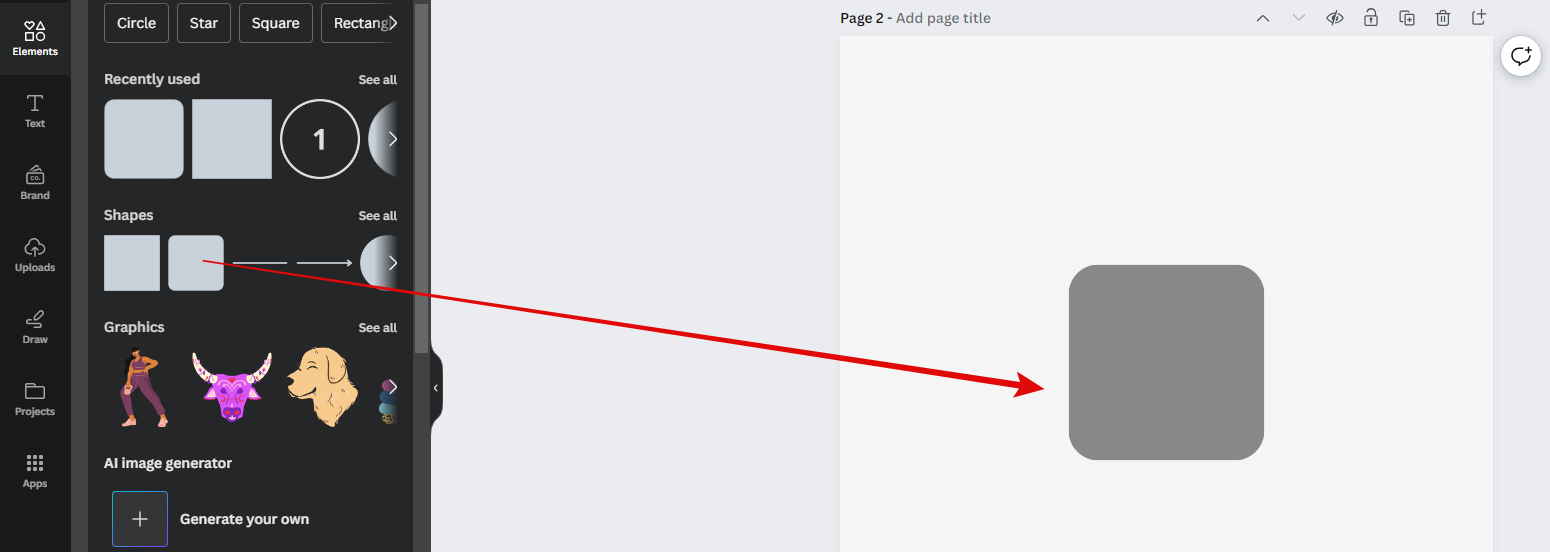
- Start by opening a new project or adding a new page to an existing project to prevent making any accidental changes to the design.
- Once the new project/page is loaded, click on the Shape from Elements to add it.
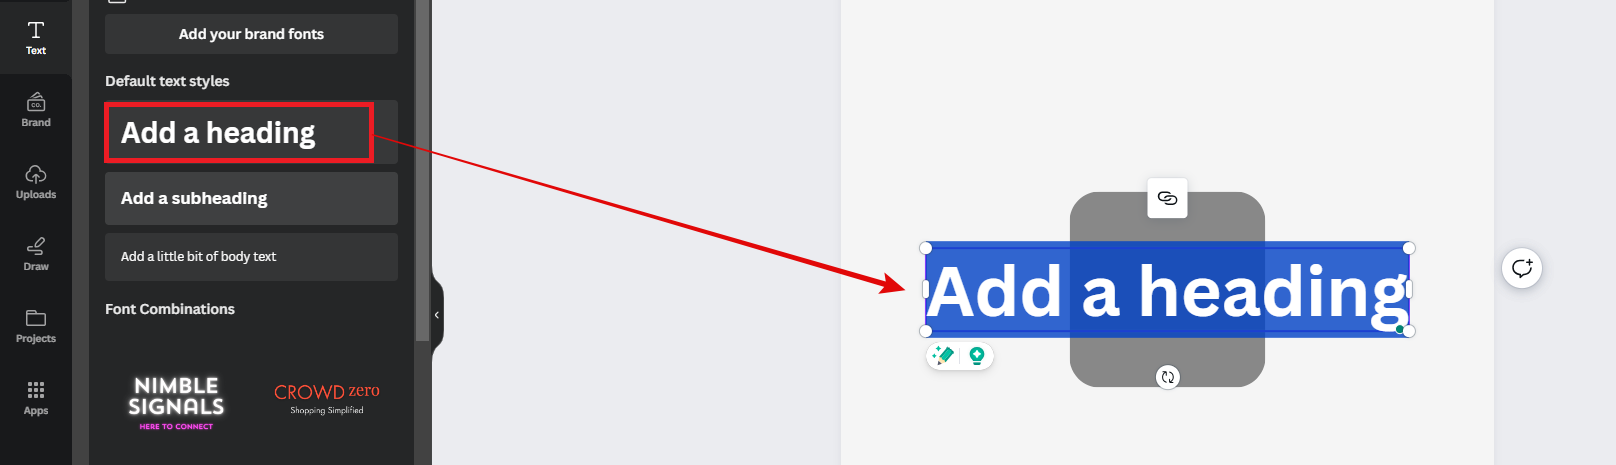
- Now, navigate to the Text option on the left and click on it. Next, head to the Default text styles and click on Add a heading.
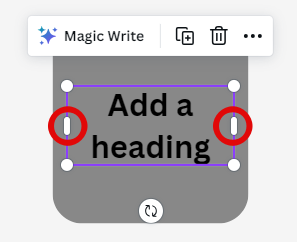
- Once done, try to wrap the text inside the shape added. To do this, adjust the size of the text box by dragging the little pill handles present on either side of it.
Exploring Advanced Text Wrapping Scenarios
Note: Before proceeding with the advanced scenarios, it is important to understand that not all fonts support text wrapping. Also, adjust the text size according to the elements in the design for proper blending.
Wrap Text on Circle [Shape/Object]
- Start by picking a Graphic that is in the shape of a circle from Elements. For demonstration, we have considered a soda cap.

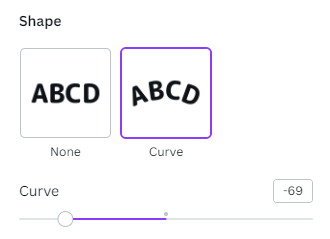
- Next, press T to add a text box to the design. Once done, click on Effects at the top and select Curve under Shape.
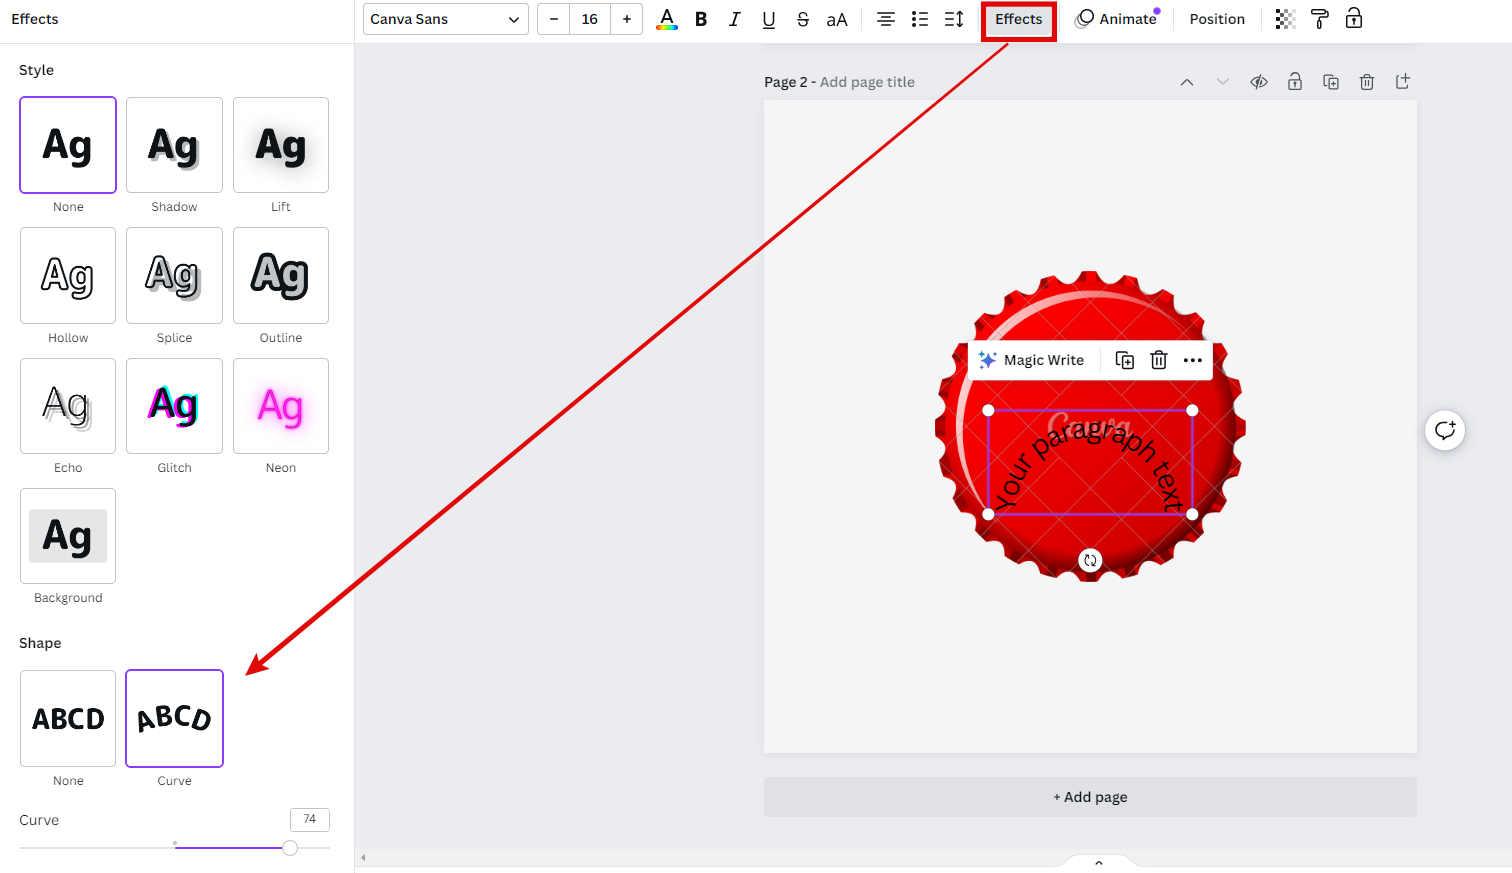
- Now, replace the text inside the text box and change the Curve radius by adjusting the slider according to the design. Also, ensure you change the font to make it more engaging.
- Once done, ensure it aligns perfectly with the design like the below image, and save your project.

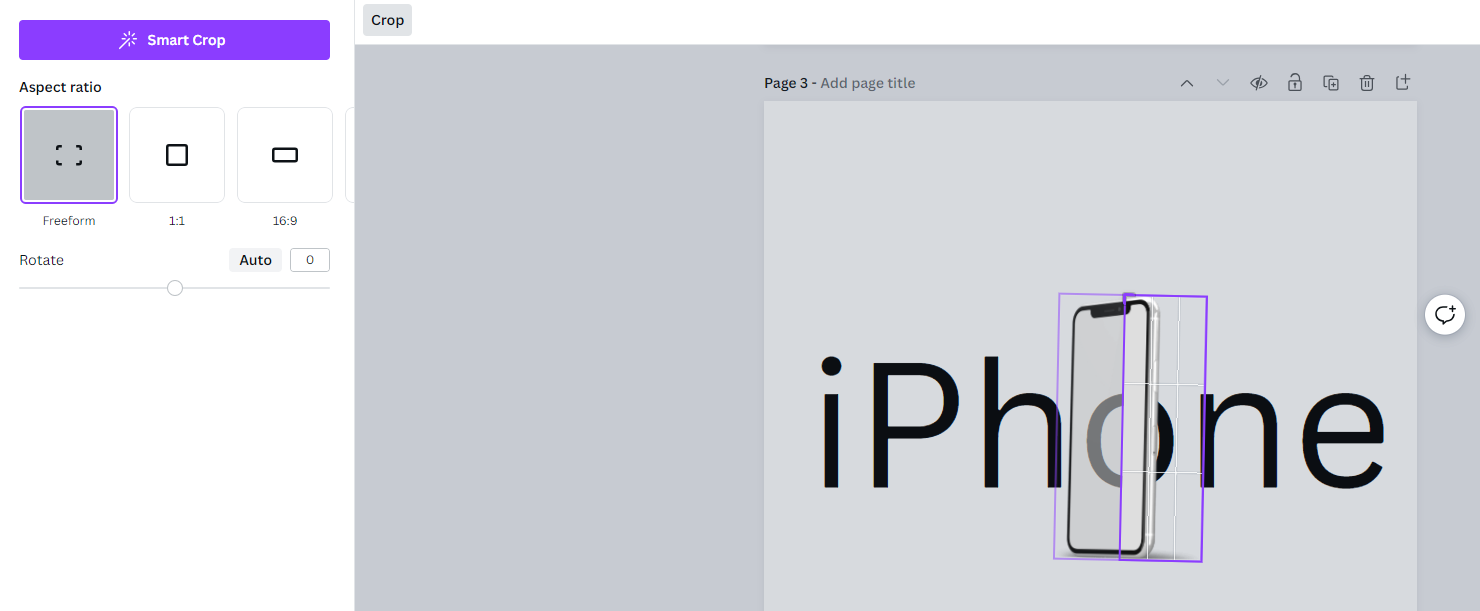
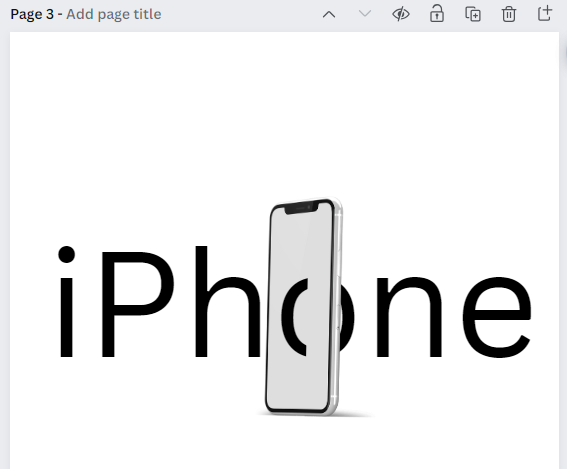
Wrap Text on Image
Pro Tip: Before working on wrapping text on images, ensure that the image doesn’t have a background for better results.
While wrapping around basic shapes or objects is easy, working with images can be difficult. Hence, we have provided you with simple steps that can get you started:
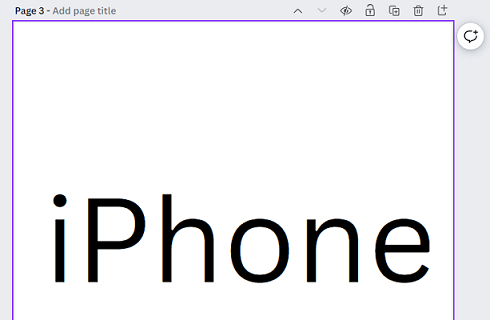
- Start by opening a new page, or if you have an existing project, open it.
- Once done, add the text you’re willing to wrap.
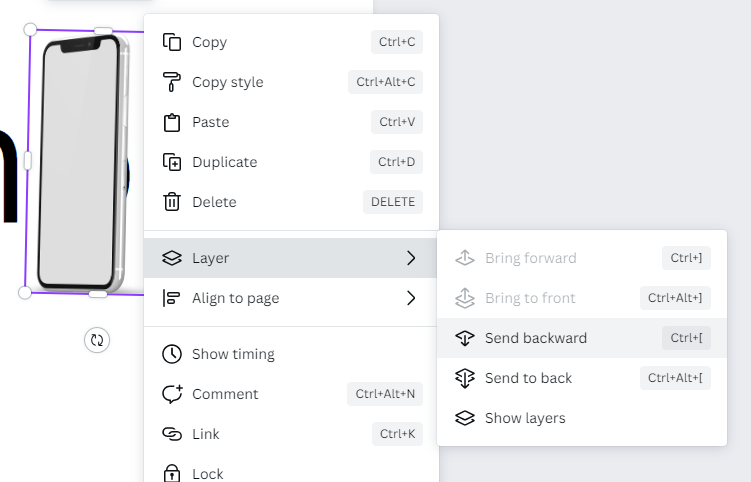
- Now, add the image by using Uploads or a Graphic from Elements. After it is added, ensure that the image is behind the text. To do this, right-click on the image, click on Layers, and then Send backward.
- After the image is sent backward, copy the image [Ctrl +C] and paste the same [Ctrl+V].
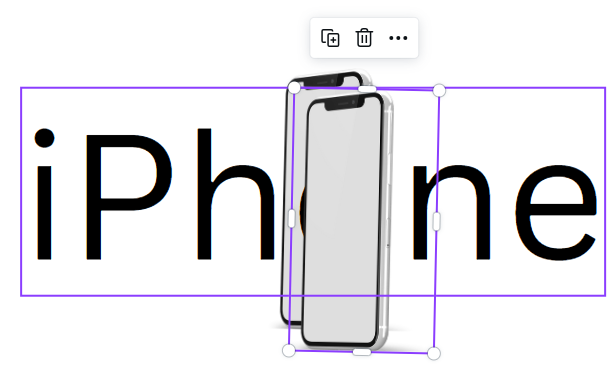
- Now, align and overlap the image pasted with the existing one.

- Next, click on the image that is on the top. Doing so displays multiple options on the top, from which select Crop.

- From the list of crop options, pick Freeform. Next, crop the image on top accordingly so it creates a wrap effect to the text, and you’re done.
- If you have done it right, you will have a result like the one below with text wrapped in the image.
Wrapping Up
Congratulations on learning to wrap text in different scenarios in Canva!
Although it may seem challenging initially, consistent practice across multiple designs will make it progressively easier.
If you’re working on a design for the first time, irrespective of the complexity, duplicate it to get used to it and practice text-wrapping around different elements.
Related Reading
How To Wrap Text in Canva
How To Adjust Design Orientation in Canva
How To Indent on Canva


