
Word allows you to reveal the layout and formatting of a document. Wonder how? Please keep reading to know more about formatting marks and how to access them on different platforms and versions of Word.
Formatting marks are symbols or characters in documents that represent non-printing elements. These can come in handy for several instances, and here are arguably everything they can be used for:
- Formatting marks reveal document structure
- Ensure precise formatting control
- Identifying spacing issues
- Troubleshooting layout problems
- Aid in consistent document appearance
- Essential for accessibility and document editing
- Facilitate consistent document formatting
- Simplify content editing and alignment
- Assist in avoiding formatting errors
What we cover
A Quick Look at Formatting Marks in Word
While there are many formatting marks in Word, explaining each would take forever. Hence, here is a quick look at the most used formatting marks in Word:
- ¶ [Paragraph Mark]: Indicates the end of a paragraph.
- ↵ [Line Break]: Represents manual line breaks in the text.
- ⇥ [Tab Character]: Displays where tabs are used for alignment.
- → [Right Arrow]: Marks the location of a space character.
- ⬌ [Page Break]: Marks the end of a page.
Show Formatting Marks in Word on Windows
Note: The below steps remain the same for Microsoft 365 and Office – 2021, 2019, 2016, 2013, and 2010 versions. However, while there might be minor changes, rest assured, as the below steps can be used as a reference and show/hide formatting marks.
- Start by loading the Word on Windows and create a new document or open an existing one to reveal all tools and settings.
- Once done, navigate to Home and look for the Dialog box/Group. Next, from the list of options, click on ¶.
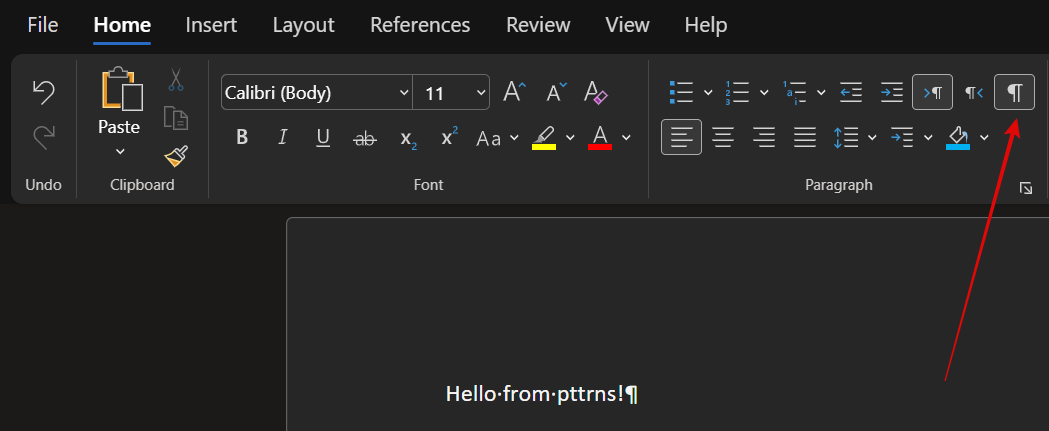
- While the above step can help you show paragraph marks and other hidden formatting symbols, if you find any missing, you need to enable them through Word options.
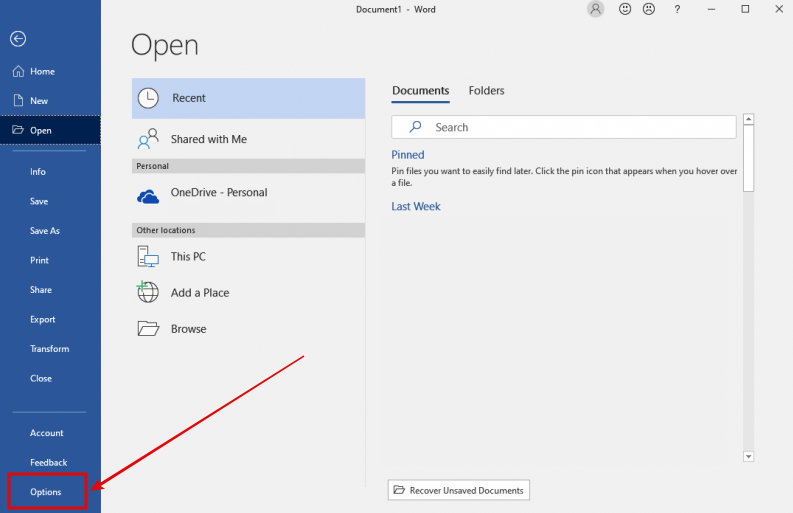
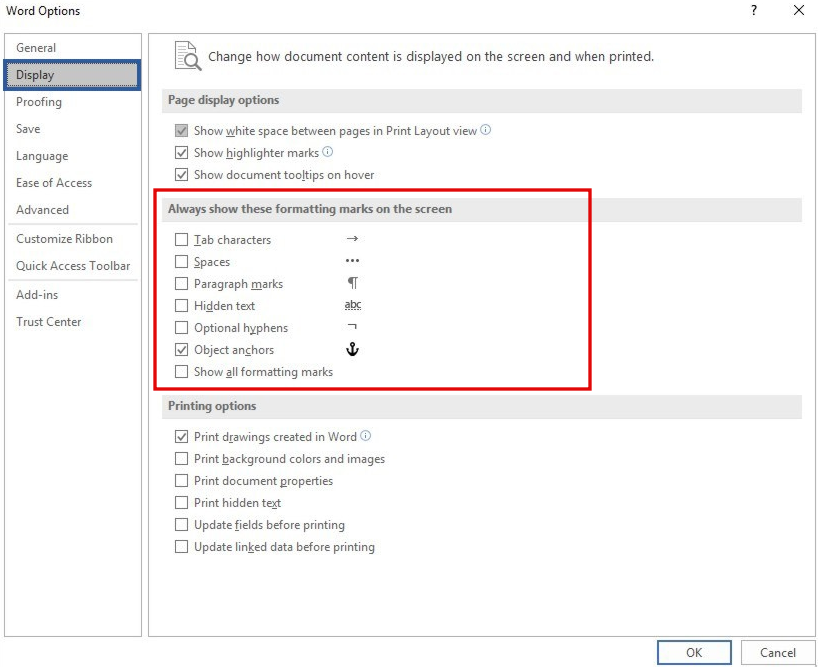
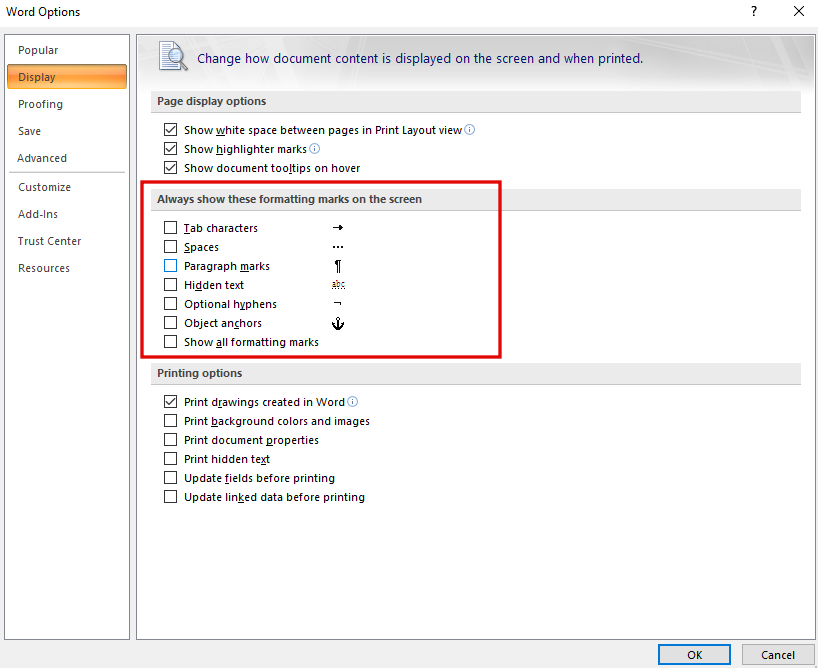
- After the word options are loaded, navigate to Display and click on it. Next, check the boxes for the formatting marks under Always show these formatting marks on the screen, and you’re ready to access them.
For Office 2007:
While the above steps remain the same for older versions of Office, we have included the steps for Office 2007 as Microsoft discontinued it, and you no longer have access to the knowledge base or other support.
- Start by opening Word 2007 and create a new document or open an existing one to reveal all tools and settings.
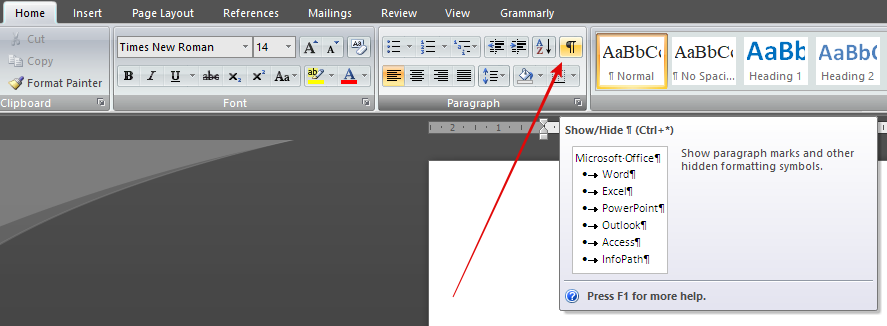
- Once done, navigate to Home and look for the Dialog box/Group. Next, from the list of options, click on ¶.
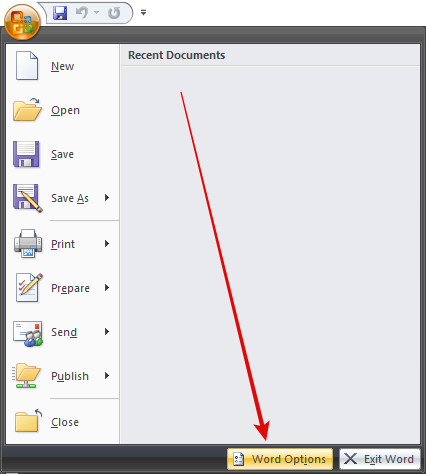
- To access the Word settings, look at the top left and click on the Microsoft logo and Word Options.
- After the word options are loaded, click on Display and then check the boxes for Formatting Marks under Always show these formatting marks on the screen, and you’re ready to use them to show/hide with a click.
Show Formatting Marks in Word on Mac
Note: The below steps remain the same for Microsoft 365 for Mac and Office – 2021, 2019, 2016, 2013, and 2010 for Mac.
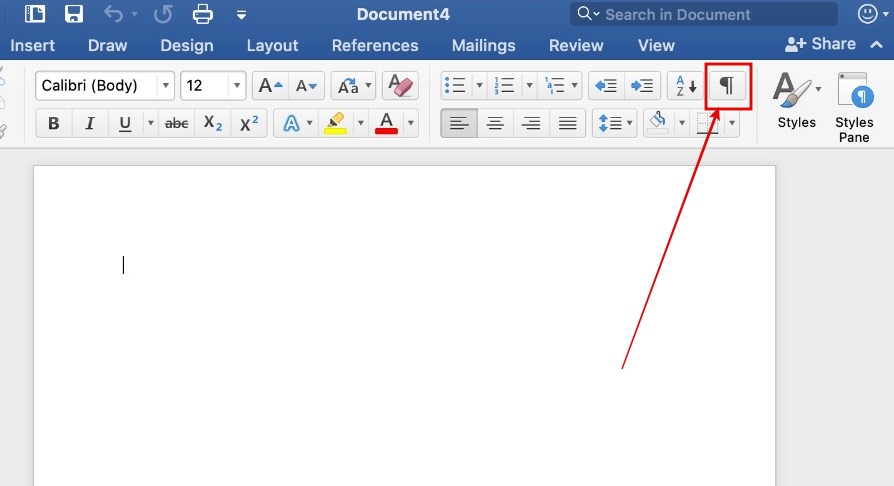
- Start by opening the Word on Mac, navigate to Home, and look for the Dialog box/Group. Next, from the list of options, click on ¶.
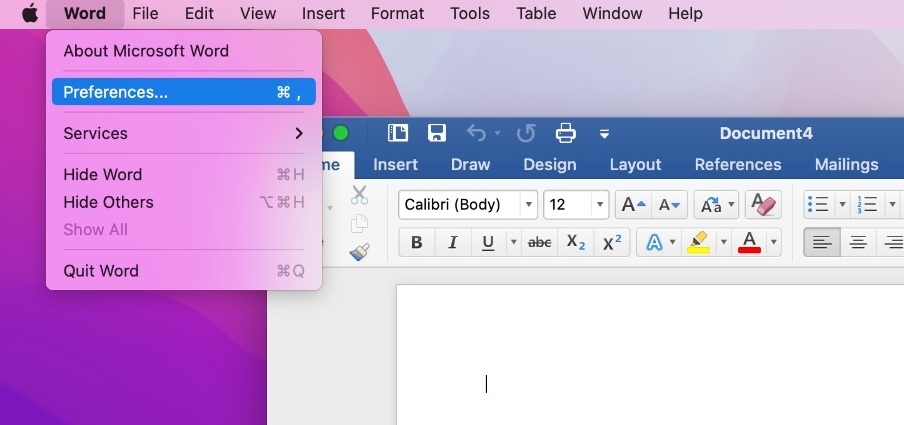
- If you’re not happy with the formatting marks displayed, navigate the Word option beside the Apple logo on the desktop. Now, right-click on it for the options to appear and from which click on Preferences.
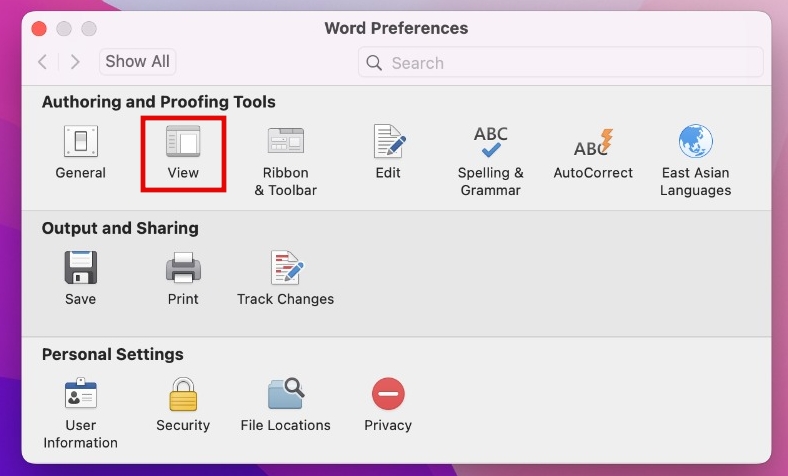
- By doing so, you’re displayed with Word Preferences on a new window. Now, navigate to Authoring and Proofing Tools, and from the options under it, click on View.
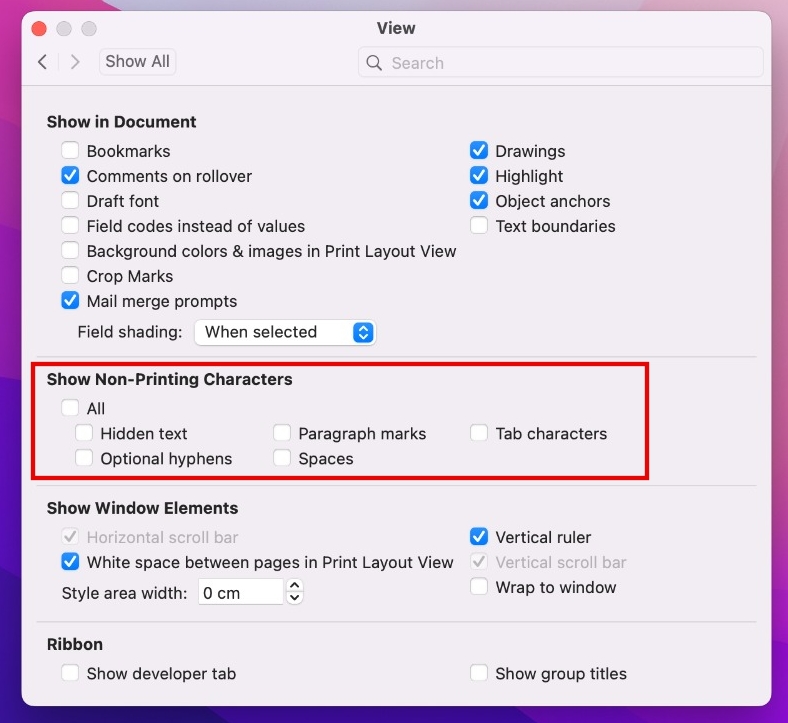
- On clicking on View, navigate to Show Non-Printing Characters and check the boxes for the necessary formatting marks. Once done, you’re ready to use them to show/hide formatting marks with a click.
Wrapping Up
Congratulations on learning how to show/hide formatting marks in Word!
We believe that you have gained insights on formatting marks and how to show/hide them on different versions of Word and platforms. If you find any issues with the steps above, try checking similar options or take them as a reference to gain access to formatting marks.


