
Margins play a key role in designing, and while Canva is the most prominent online graphic designing platform, it doesn’t offer you the ability to change margins.
To address this, we have provided you with multiple approaches that can be used as an alternative to margins, which can be customized as well.
What we cover
How To Enable Margins in Canva?
Before we look at the alternatives, it is important to learn how to enable margins through the below steps, considering they can be useful for projects that need margins just for reference.
- Start by opening the project you’re working on and wait for it to load.
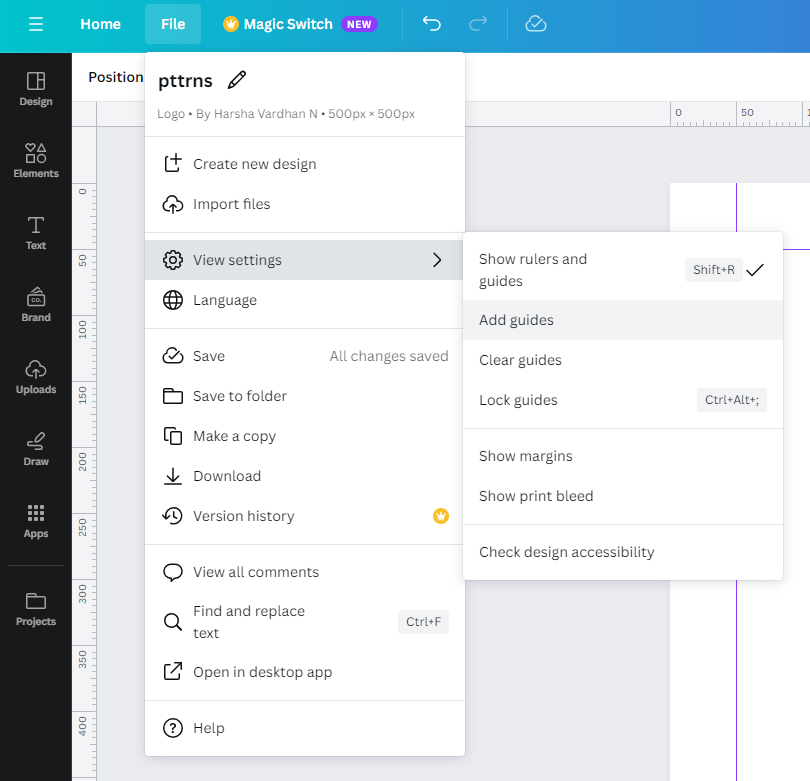
- Once it is loaded, navigate to File and click on it. Now, from the available options, click on View settings and then Show Margins.
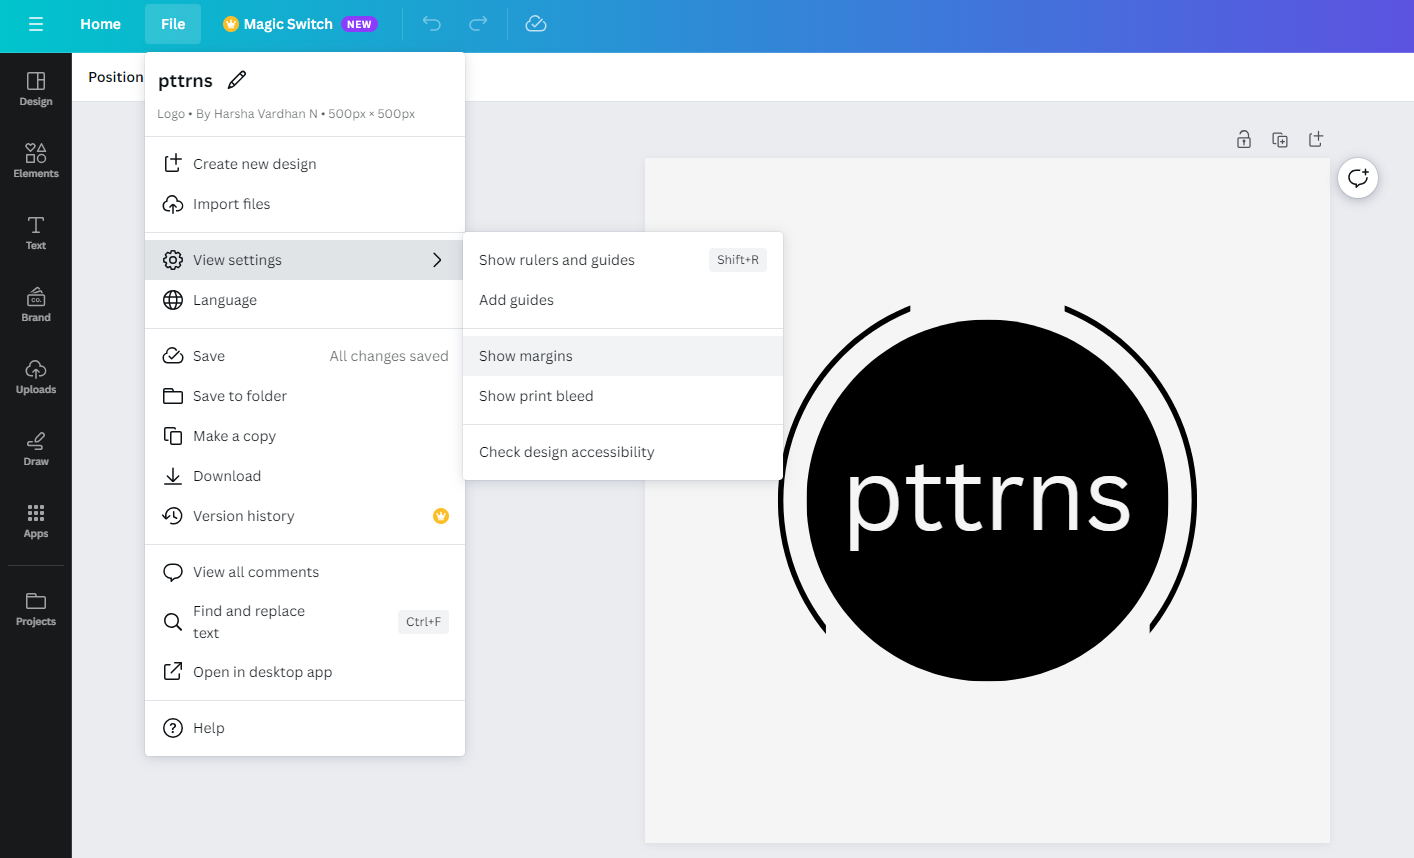
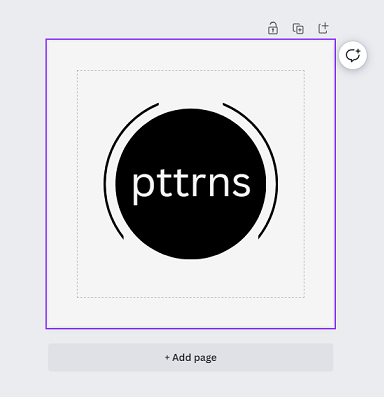
- On doing this, you will notice the dotted lines around the design, which is the margin.
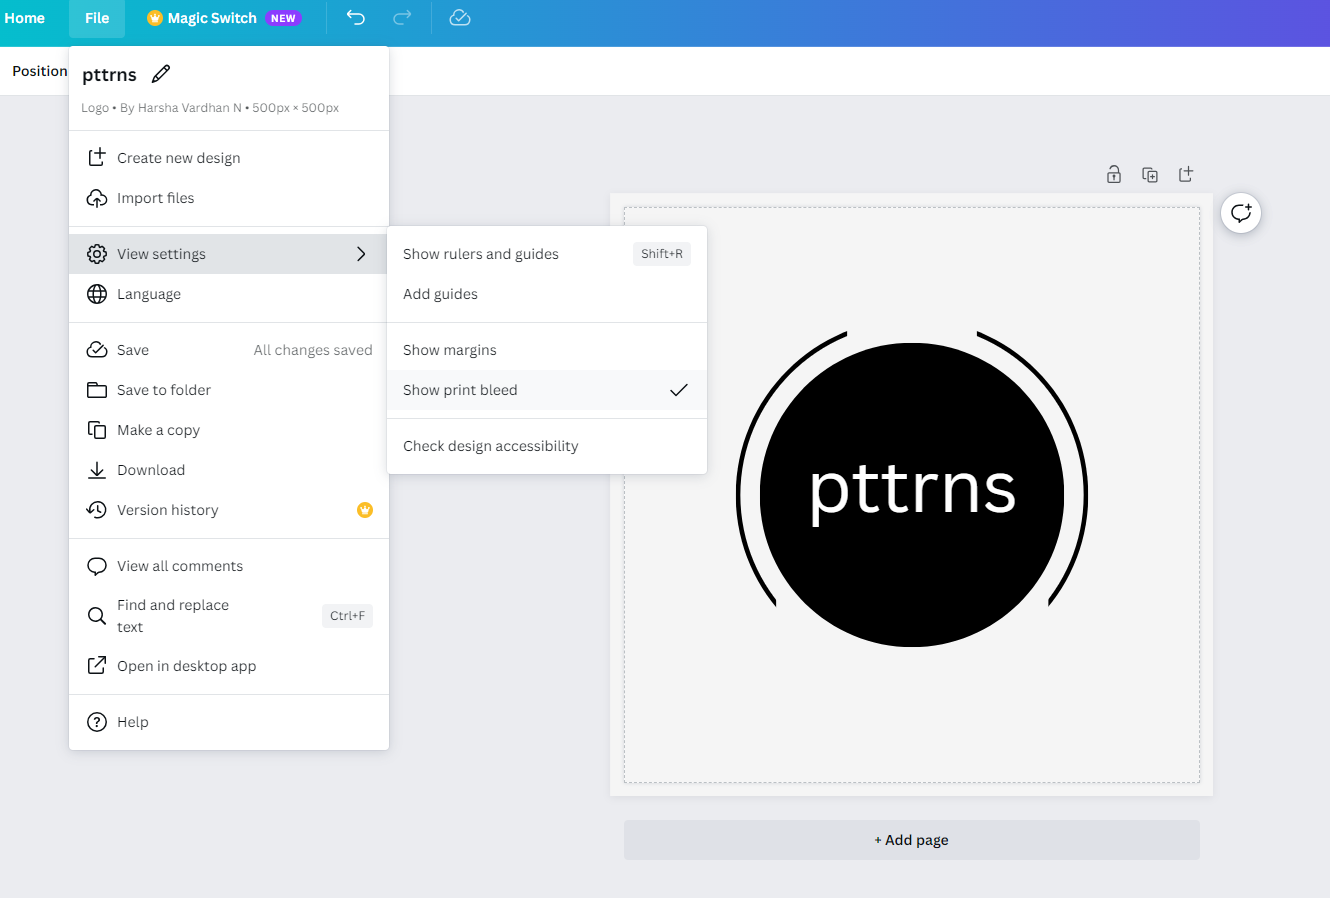
- Alternatively, you can also use Print bleed instead of margins for the purpose of preventing text, images, or other design elements from getting too close to the edge of the page or screen.
Exploring Customizable Margin Alternatives in Canva
With the margins displayed, if you have tried to change them, you would be disappointed as they cannot be interacted with, and no changes can be made to them. Hence, continue reading to find out alternative approaches that can mimic customizable margins.
Using Rulers and Guide
- Start by opening the project you’re working on and wait for it to load for all options to appear.
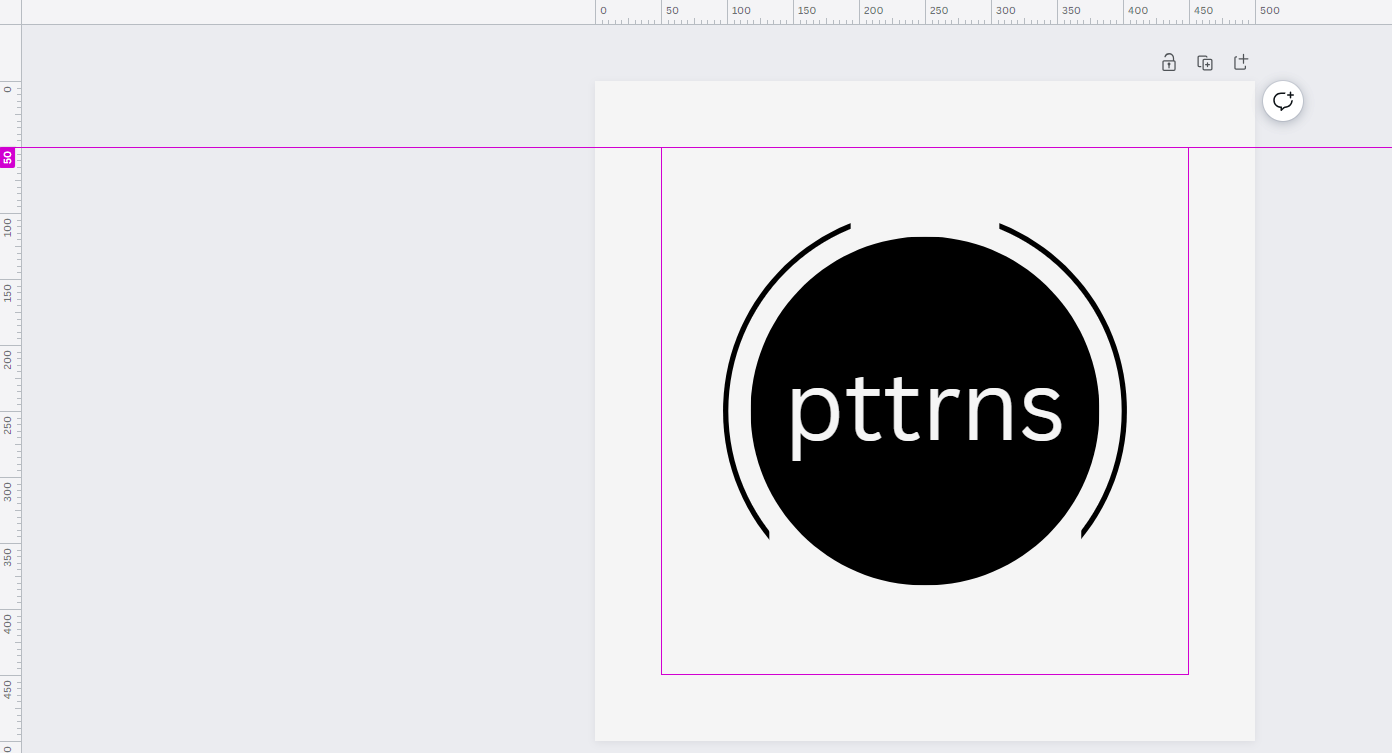
- After it is loaded, navigate to File and click on it. Now, from the available options, click on View settings and then Show Rulers and Guide.

- Doing so, you will notice the ruler displayed along the edges of the whiteboard. Now, move your cursor along the ruler to get the ability to drag and create a guide.
- Next, do the same on other rulers and, if possible, create guides on all sides where the ruler is available to mimic customizable margins.

Using Guides
While this approach is arguably similar to the above approach, the available presets and the ability to create custom guides bring more customization. Hence, if you’re looking for additional customization, refer to the steps below:
- Like the above approach, wait for the project to open completely to gain access to all options.
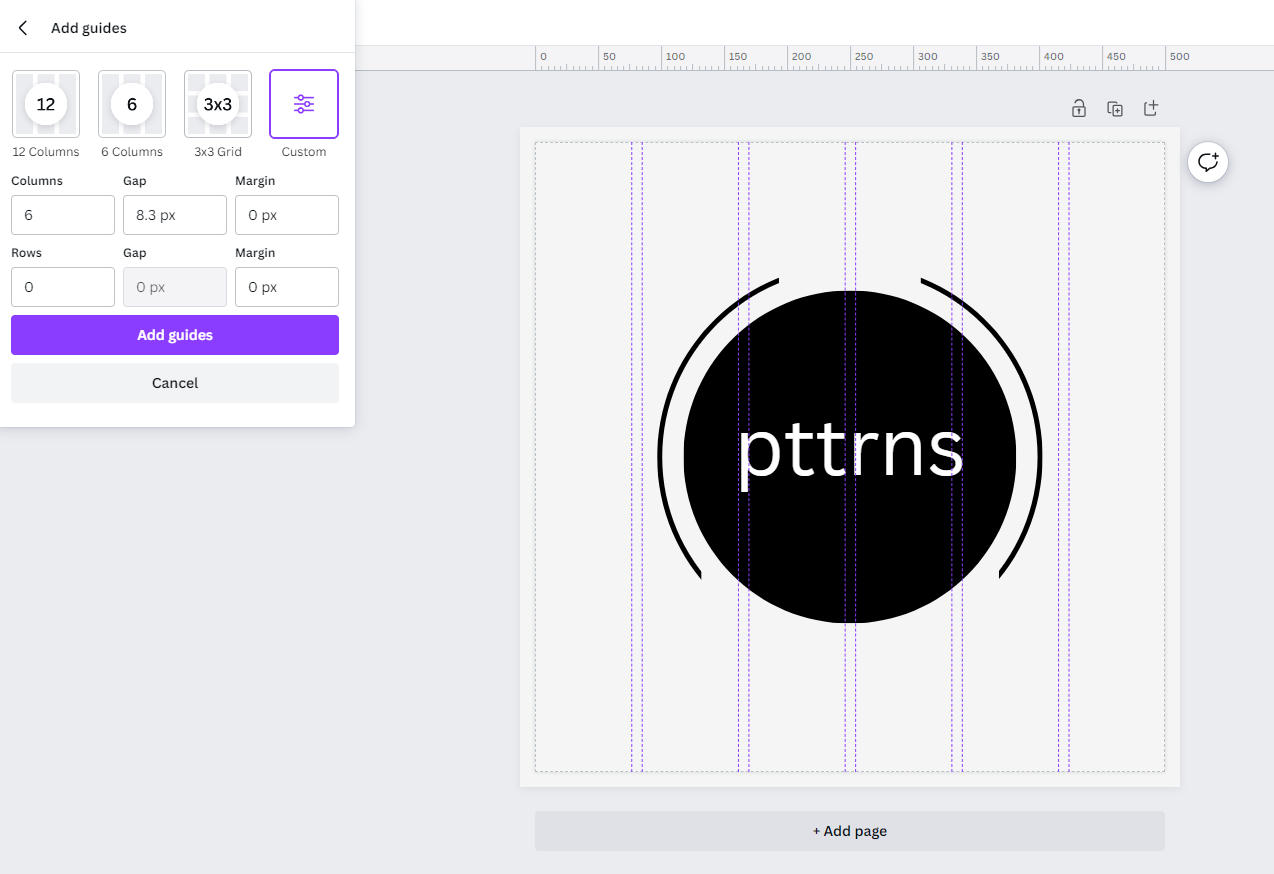
- Once the project is loaded, navigate to File and click on it. Now, from the available options, click on View settings and then Add guides.
- By doing so, you will find different presets. While these cannot be customizable, create your custom guide to mimic a changeable margin.
Using Elements
If you find the above approaches difficult, you can check out the preset margins offered by Canva. While this approach doesn’t mimic a customizable margin, the ability to change the margin to your liking has made it here.
- Start by opening the project you’re working on, look for the options on the left, and click on Elements.
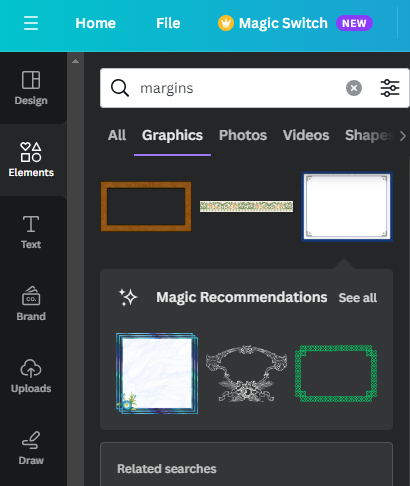
- Now, in the search box available, type Margins and hit Enter to find several options.
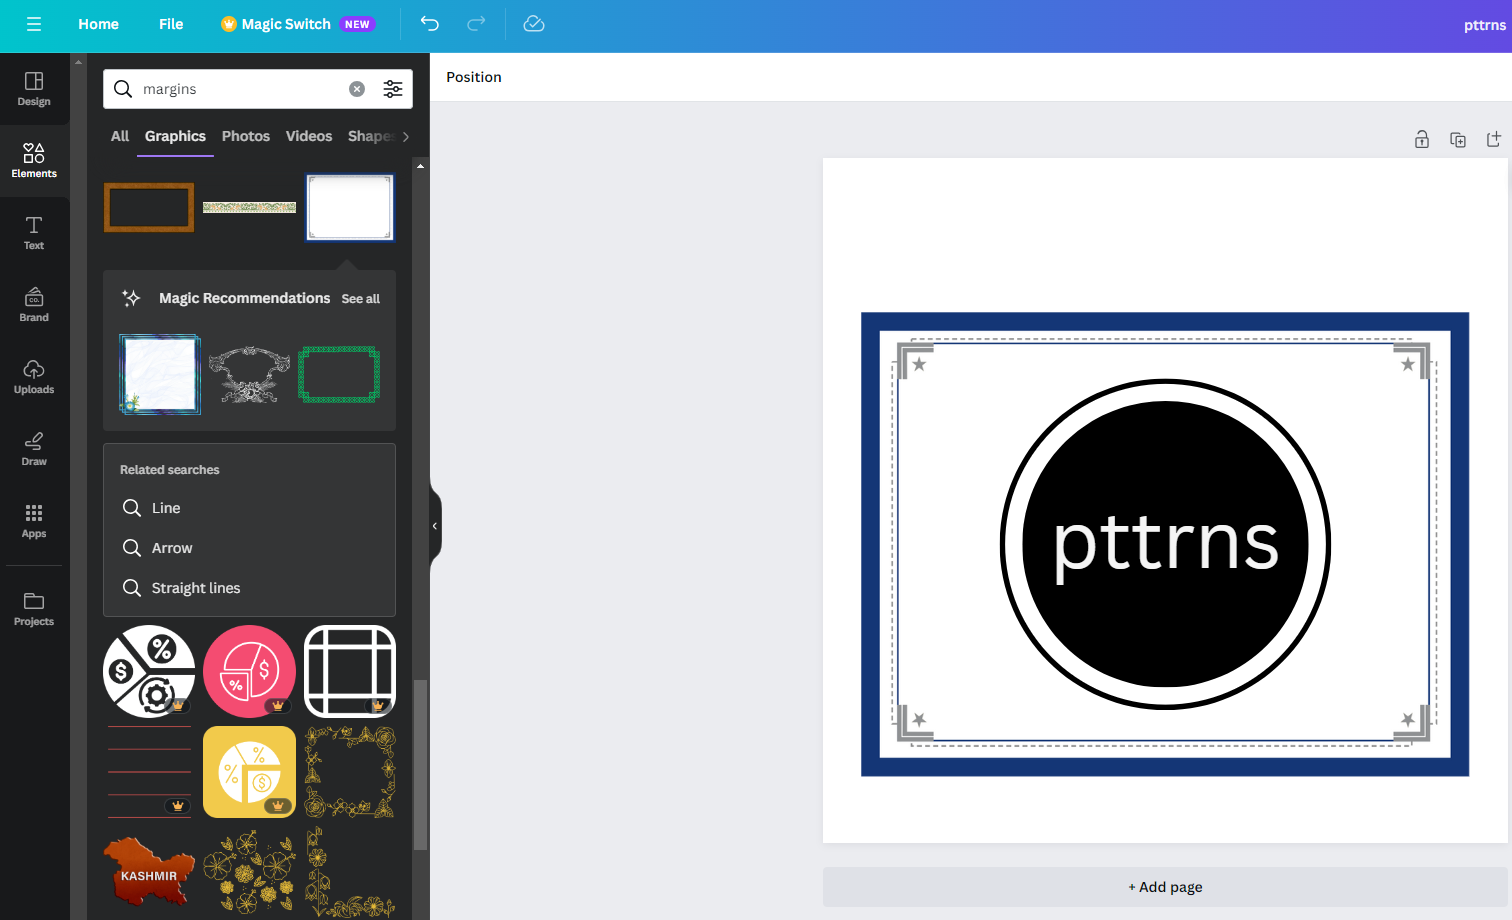
- Next, drag the margin to your liking and place it on the whiteboard. Once done, make changes to the existing design to make it fit within the margins.
Wrapping Up
Congratulations on mimicking a customizable margin on Canva!
While the above approaches can be used as an alternative to margins, they must strictly be used for design and layout considerations to ensure that the design is well-organized and visually appealing.
However, if you’re trying for a visual and aesthetic balance to the design, we suggest using other software to create a margin and import it as a layer in Canva. Later, make some changes and align it with unchangeable margins offered by Canva.


