
Figma offers various tools and if you’re working with images, you can use these for basic editing. In this guide, we will help you to cut an image through a demonstration to get you covered.
Cut an Image in Figma
- Navigate to Figma and sign in with your credentials. After you have successfully signed in, open the file you’re working with from Recently viewed.

- If you haven’t started with any, click the New design file button to begin.

- After the new or existing design is loaded, navigate to the top left corner and click on the Figma icon in the toolbar.
- From the available options, click on File followed by Place image. Now, you’re asked to select a file to add the image to Figma.

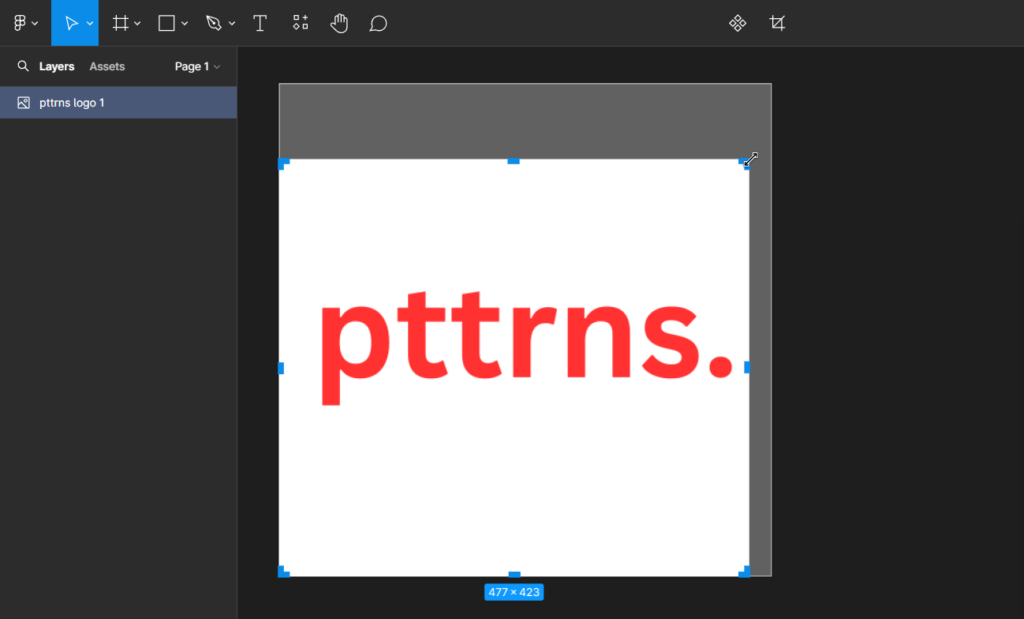
- With the image added, navigate to the toolbar, find the Crop image tool, and click on it to load the tool.

- Now drag the corners to select an area, and pressing Enter will cut the image.
Pro Tip: Alternatively, you can load the crop tool by selecting the image, navigating to the Properties panel on the right, and clicking on the image under Fill. Doing so opens the image-associated options, from which you find the drop-down and select the Crop option.

Wrapping Up
Congratulations on learning how to cut an image in Figma!
Figma does a great job at cutting the image, which is ideal for basic cropping needs. However, unlike photo editors, it doesn’t feature advanced editing tools. Hence, if you find Figma lacking, rely on online image editors or traditional photo editors.
Related Reading
How To Resize Image in Figma Without Cropping


