
In today’s digital age, our iPhones serve as our trusty companions for capturing life’s memorable moments. However, with limited storage on our mobile devices, it’s crucial to transfer and back up our precious photos to our Mac computers.
Fortunately, Apple has made this process seamless through the Photos app. In this guide, we will walk you through the steps to import photos from iPhone to Mac.
What we cover
Step 1: Connect Your iPhone to Your Mac
Begin by connecting your iPhone to your Mac using a compatible USB cable. Make sure both devices are turned on, and your iPhone is unlocked.
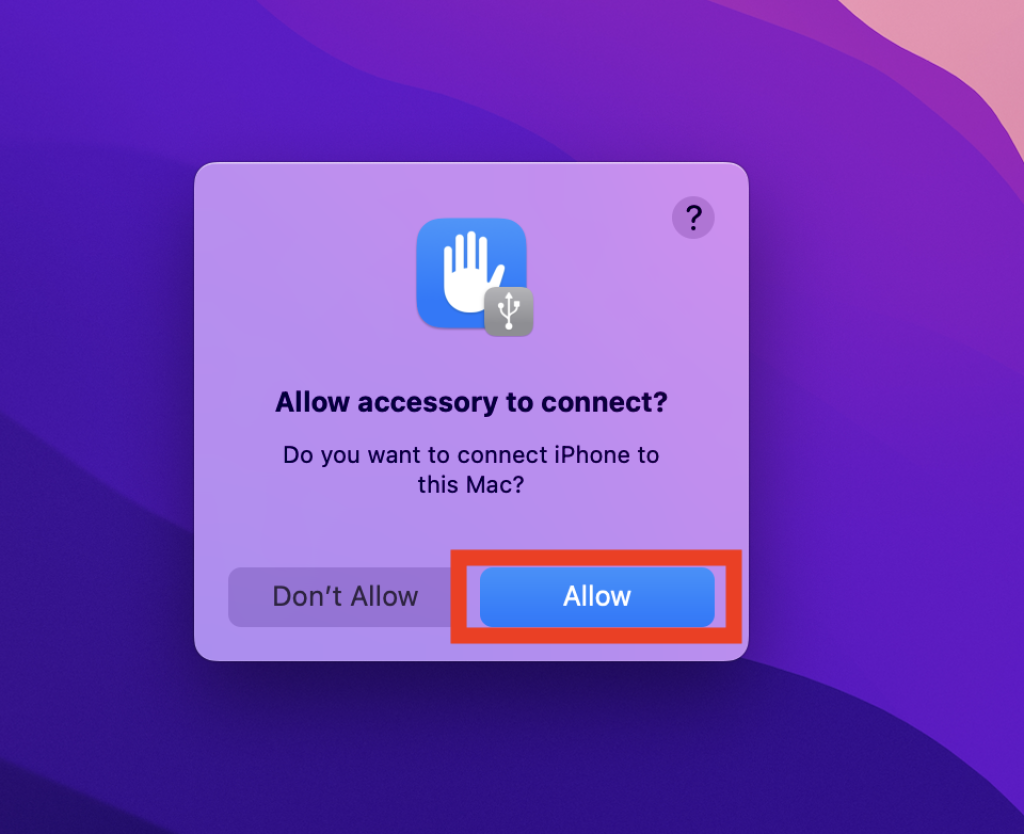
If prompted on your iPhone to “Trust This Computer,” tap “Trust” to establish a secure connection.

Step 2: Open the Photos App
If the Photos app is not already open on your Mac, launch it. You can find the Photos app in the Applications folder or by using Spotlight search.

Step 3: Locate Your Device
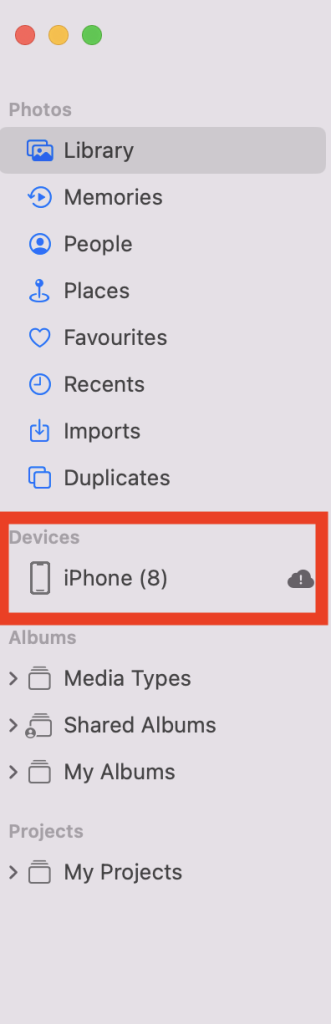
In the Photos app, you will see a sidebar on the left-hand side. Under the “Devices” section, you should see your connected iPhone listed. Click on it to proceed with importing your photos.
Step 4: Choose Import Settings
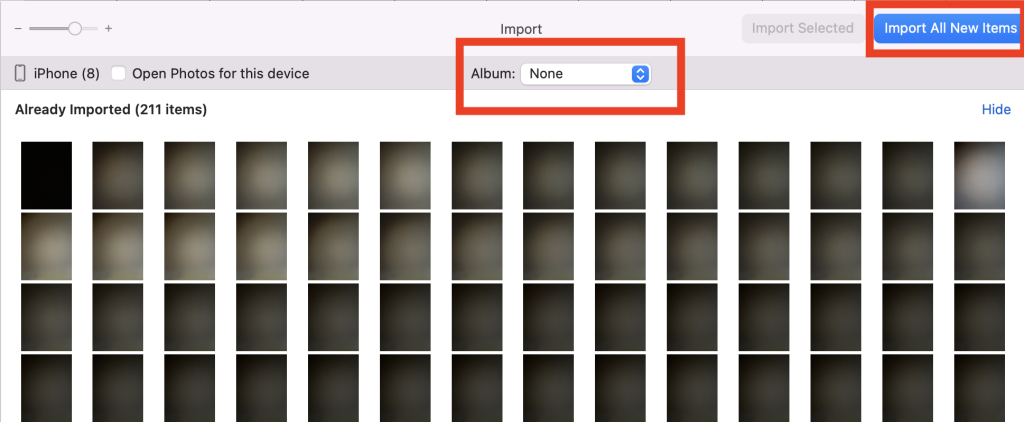
Photos on your iPhone that have not been previously imported will appear in the Import window. At the top center of the window, you will find the “Album” pop-up menu. Here, you can choose where to import your photos:
- Import into an existing album: Select an album from the list in the “Album” menu.
- Import into a new album: Choose “New Album,” enter a name for the album, and click “OK.”
- Import without selecting an album into the Photos library: Select “None” from the “Album” drop-down option.
Step 5: Import Your Photos
Now, you have two options to import your photos:
- Import all new photos: Click the “Import All New Items” button at the top right of the Import window to transfer all new photo from iPhone to your Mac.
- Import a selection of photos: If you only want to import specific photos, click on the photos you want to transfer, and then click “Import Selected.”
Step 6: Choose to Delete or Keep on iPhone
After importing, you may be prompted with a message asking whether you want to delete or keep the photos on your iPhone. You can either click “Delete Items” to remove them from your iPhone or “Keep Items” to retain them on your device.
Step 7: Wait for Import to Complete
Photos will begin importing your selected photos. You can monitor the progress, and if you wish to cancel the import for any reason, you can click “Stop Import.”
Step 8: Disconnect Your iPhone
Once all the photos have been successfully imported, you can safely disconnect your iPhone from your Mac by unplugging the USB cable.
Step 9: Organize Your Imported Photos
If you did not initially import the photographs into an album, they will appear in the “Imports” album on the app’s sidebar. You can also find them in the Photos library on different days and months.
Also Read: How to keep your Mac from sleeping?
FAQs
Can I import photos from my iPhone to Mac wirelessly?
Yes, you can. Apple provides a feature called AirDrop, which allows you to transfer photos and other files between your iPhone and Mac over a Wi-Fi or Bluetooth connection. Simply enable AirDrop on both devices and select the photos you want to transfer, then choose your Mac as the destination.
What if the Photos app doesn’t open automatically when I connect my iPhone?
If the Photos app doesn’t open automatically, you can set it to do so. Open the “Image Capture” app on your Mac, select your iPhone from the list of devices on the left, and in the bottom-left corner, choose “Photos” from the “Connecting this iPhone opens” dropdown menu.
Can I import photos from multiple iPhones to the same Mac?
Yes, you can import photos from multiple iPhones to the same Mac. Simply connect each iPhone one at a time, and the Photos app will recognize and allow you to import photos from each device separately.
What if I have edited photos on my iPhone? Will the edited versions be imported?
When you import photos from your iPhone to your Mac using the Photos app, both the original and edited versions of the photos will be imported. This allows you to keep a copy of the edited photo as well as the original.
Is there a limit to how many photos I can import at once?
There isn’t a strict limit to the number of photos you can import at once, but importing a large number of photos may take some time, and it’s recommended to do it in smaller batches if you have a vast photo library on your iPhone to ensure a smooth process.


