
If you’re trying to include tables in your design, Canva has got you all covered. While you don’t have flexibility and tools like conventional spreadsheet software, if you’re trying to perform basic operations and simple customizations, you won’t face any limitations.
Considering you’re trying to work with tables for the first time on Canva, we will guide you through the below steps to avoid the hassle of creating and customizing tables.
What we cover
Create a Table in Canva
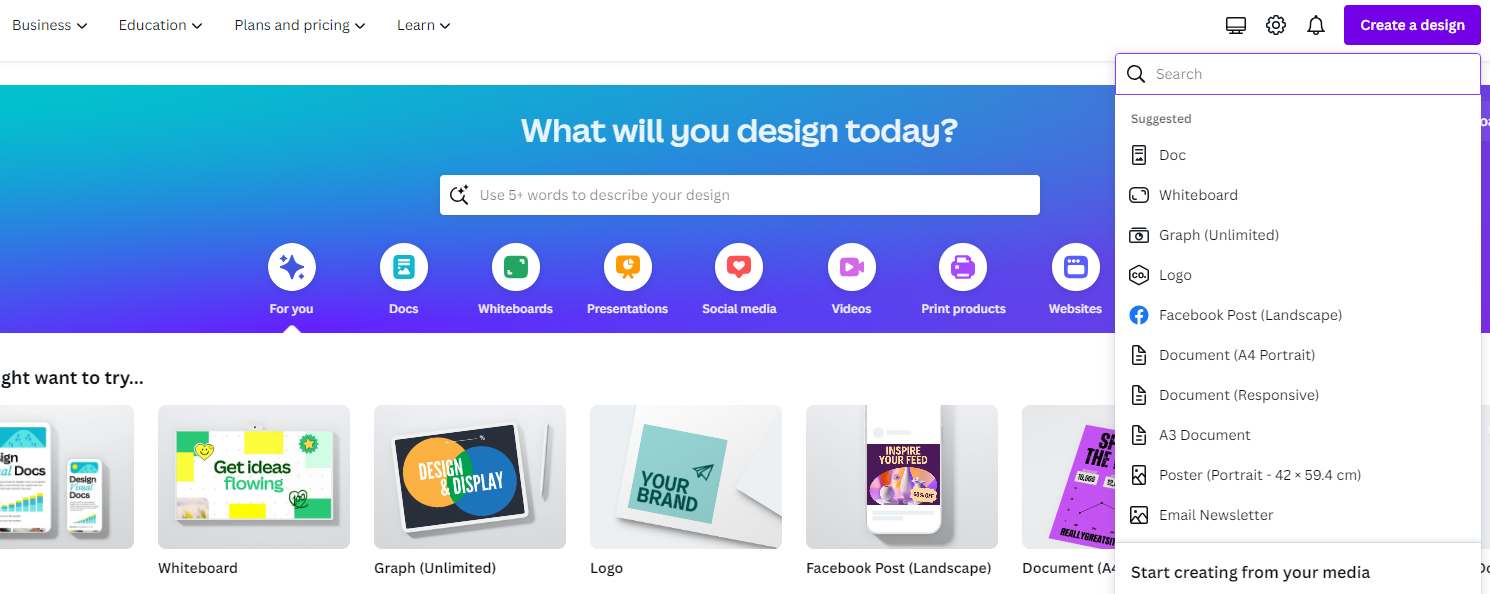
- Start by navigating to Canva and sign in with your credentials. Once you’re on the home screen, navigate to Recent designs and open the design you’re working on or create a new design.
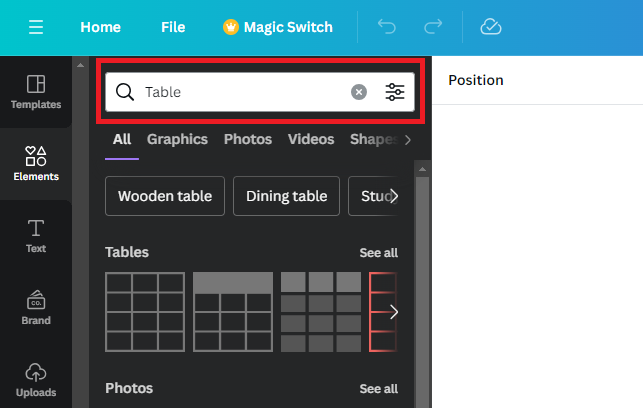
- After your project is loaded, navigate to the left and click on Elements. Next, type Table in the Search bar associated with it and hit Enter. Next, click on See all or Tables among the results to access all available tables.
- By doing this, you will see a display of all available tables on Canva. If you notice, you’re offered three types of tables, and while their appearance varies, they function the same.
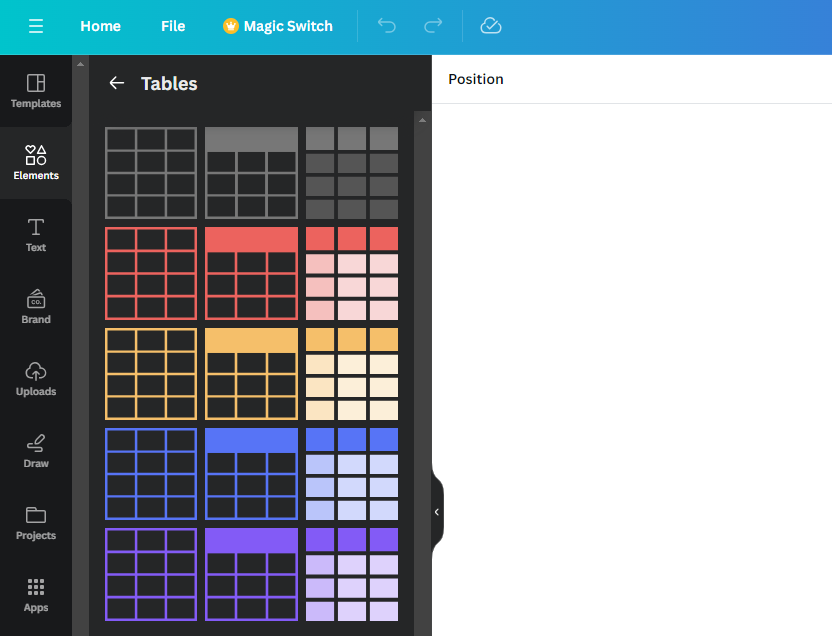
- Next, select one, and to get started, click on it or drag and drop it onto the empty design, which sums up the creation on the table in Canva.

Customize a Table in Canva
Considering there are multiple customization factors for a table in Canva, we have listed the most commonly done as bullet points for easy understanding.
- Add a new Row/Column: To add a row or column, right-click on the table to reveal options. Next, look for the options + Add column / + Add row and click on any based on your requirement.
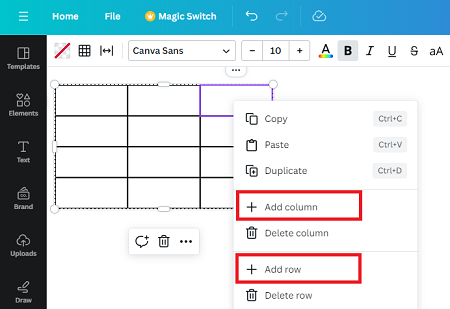
Note: You don’t get to add a column to the right or left and a row above or bottom according to your need. This is because adding a new column adds an extra column to the right, and a new row is always added to the bottom by default.
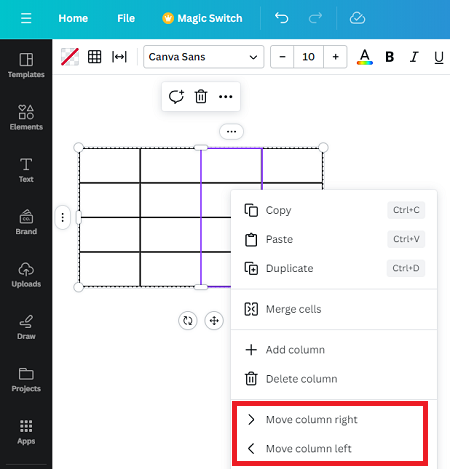
- Move Column/Row to the desired direction: While you have a limitation in adding a column or a row to the direction of your choice, you can move them as you like. To do this, select entire columns or rows, right-click on them, and click on move columns/rows.
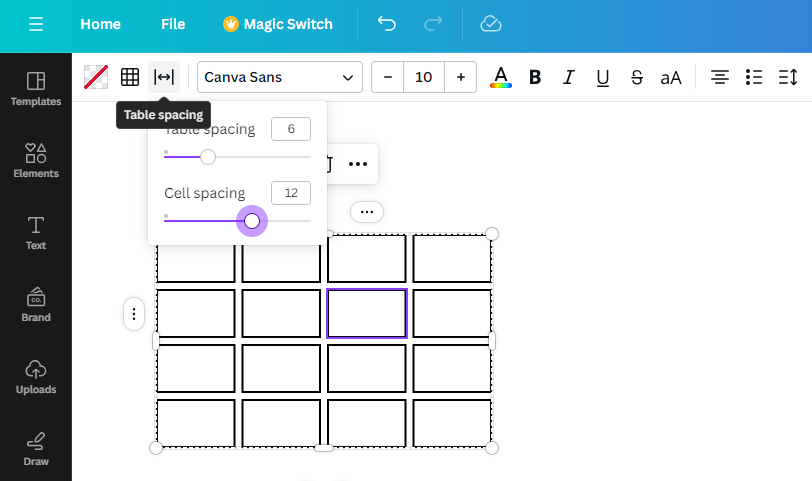
- Adjust Table/Cell Spacing: Start by selecting the table to reveal options on the top. Now, from the available options, click on the Table spacing icon and adjust the slider according to your needs.
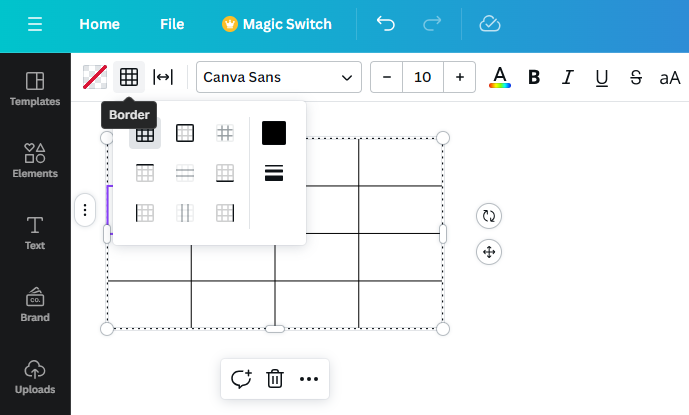
- Change the Border of the Table: From the available options, click on the Border icon and choose your border. You can also adjust the Border color and manually change the style from the same box.
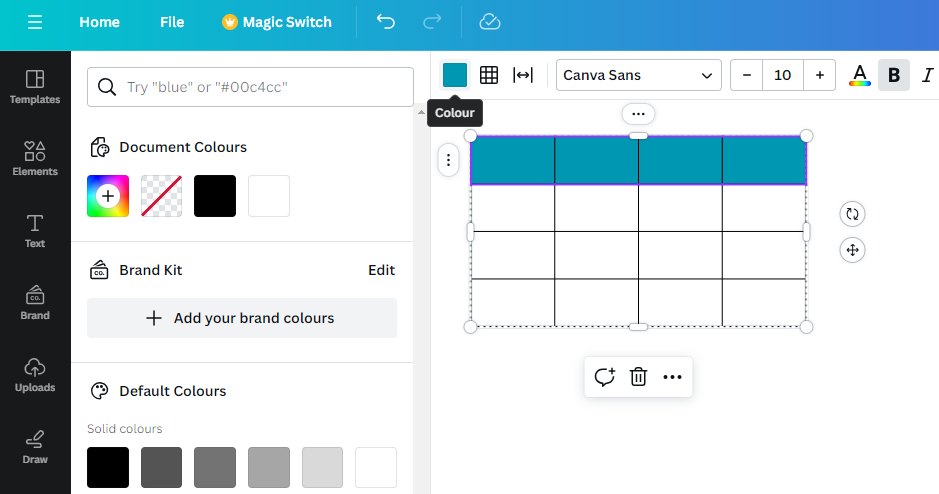
- Add Color to a Cell/Group of Cells: Start by selecting a cell or group of cells and click on the Colour icon from the available options. By doing so, you’re displayed with multiple colors. Next, click on any to change the color of the selected cell/s.
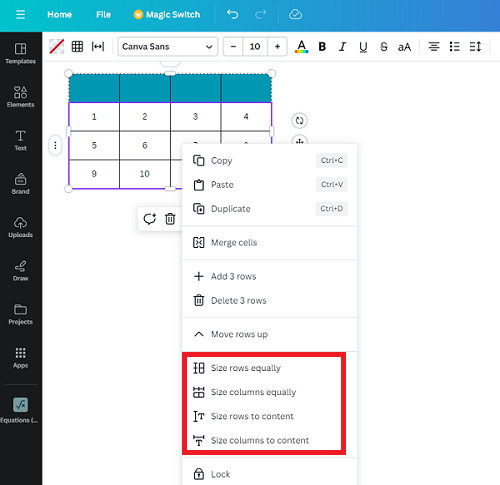
- Adjust Rows and Columns Size: While you get to adjust the size of a row or a column, Canva offers the flexibility to adjust the size equally or based on content inside the cells. To do this, select rows/columns or a combination of both and check options starting with Size that appears after a right click.
Wrapping Up
Congratulations on learning how to create and customize a table in Canva!
If you’re not happy with what Canva offers, we suggest creating and customizing the table on conventional spreadsheet software like Excel. To integrate the table into the design, use the Snipping tool to capture it and upload it to Canva.
Related Reading
How To Add Page Numbers in Canva


