Canva comes with a wide collection of shapes to work with, and the best part is they are customizable and easy to use. However, if you’re trying to create a custom shape, it isn’t possible, but rest assured, there is a way to mimic it.
Note: The steps demonstrated below create custom shapes that are specific to the design. As a result, you cannot reuse and save them in other designs. Also, they might not fit well with most designs, so experiment more for better results.
Create Custom Shapes on Canva
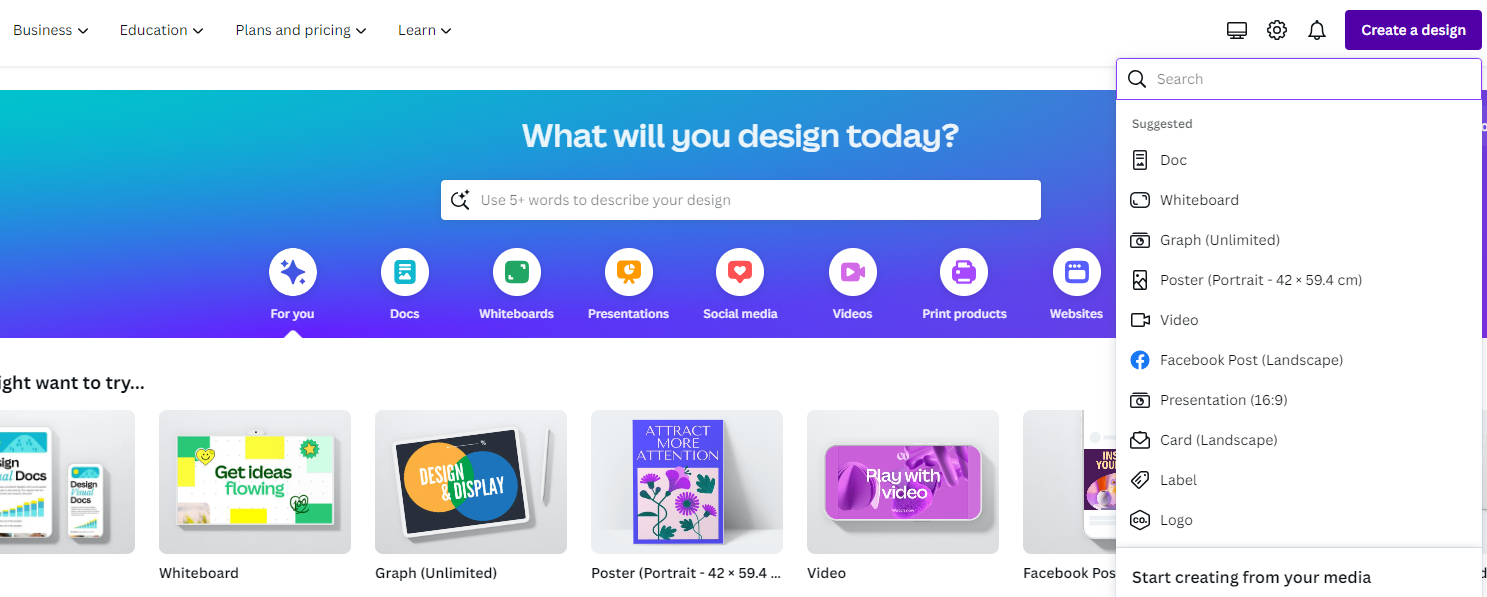
- Start by opening Canva and sign in with your credentials. Now navigate to the Recent designs and open the project that you’re working on, or create a new one by clicking on the Create a design button.
- Once the new/existing project is loaded, navigate to the Editor panel on the left and click on Elements. Next, look for the Search box, type in Shapes, and hit Enter.
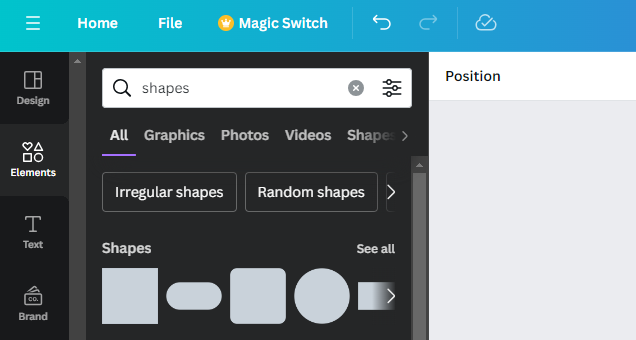
- Upon displaying results, click See all next to Shapes to grant access to all available shapes. Next, add different shapes to the design by clicking on them.

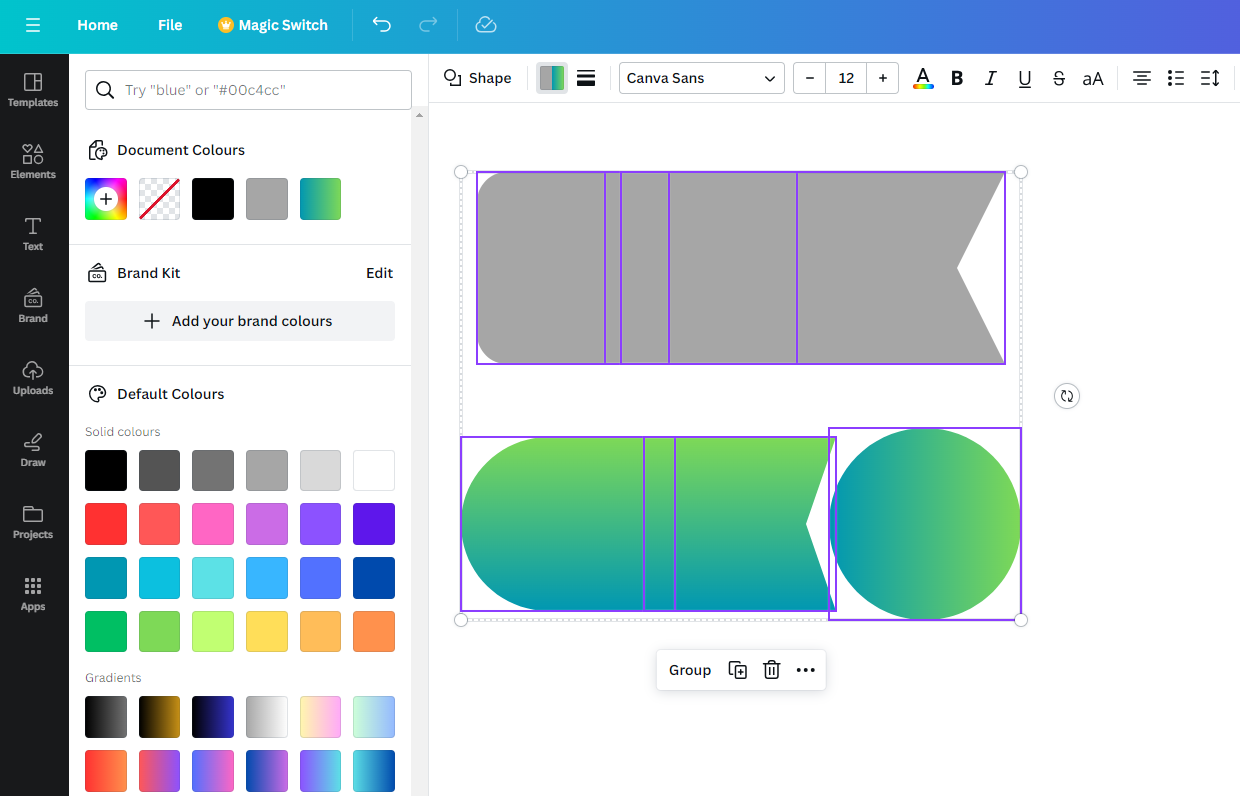
- Now, experiment with them and try to merge or align them with the designs until you find it engaging. Try using Gradients in the colors tab for better results.
Wrapping Up
Congratulations on creating custom shapes on Canva!
Canva turns out to be a letdown while creating custom images, and we won’t suggest using it for this purpose. For best results, we suggest downloading SVG files and adding them to the design.
Alternatively, try using online tools like Smode’s Shape Generator or conventional drawing software for more engaging results and enhanced flexibility.
Related Reading
Shapes Guide for Canva: Elevate Your Design Skills


