Canva offers you multiple shapes to work with. While they seem basic, you can create enhancing designs if you get creative. In this guide, we will help you get started with Shapes and also present you with multiple scenarios for an idea of how they can be used.
What we cover
Use Shapes on Canva
- Start by navigating to Canva and sign in with your credentials. Now, navigate to the Recent designs section, find the project you’re working on, and click on it.

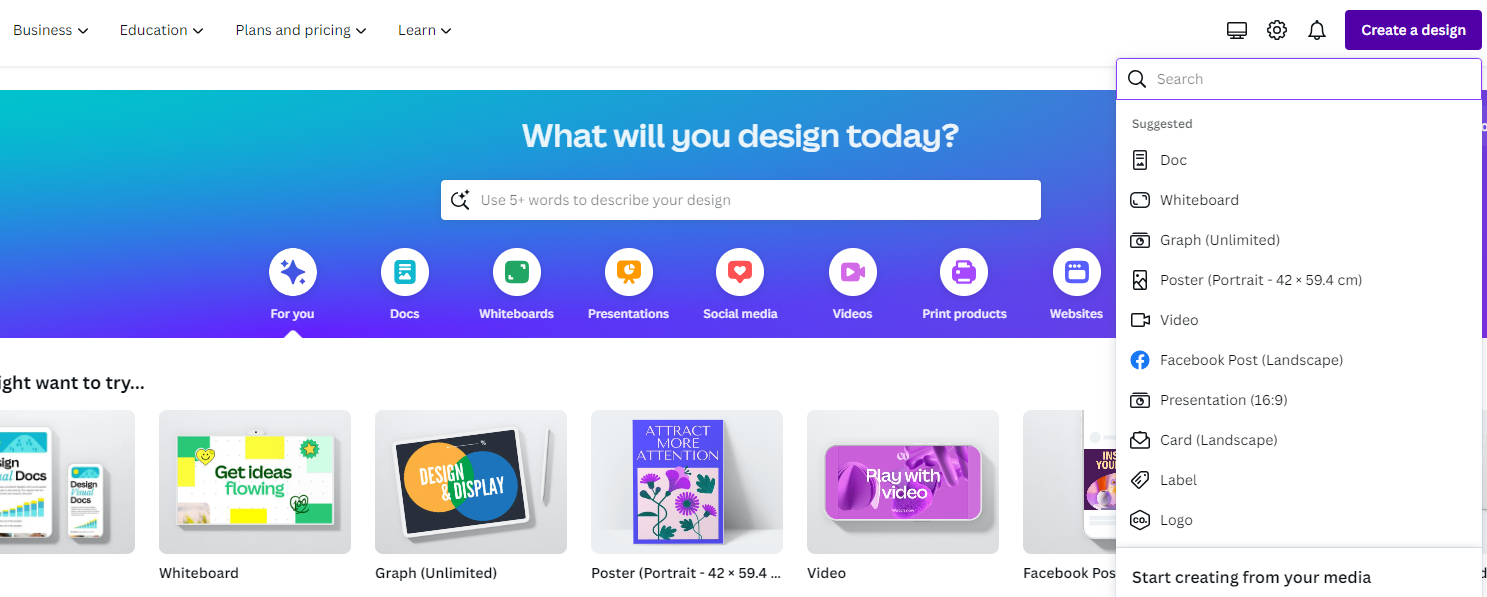
- If you haven’t started yet, do it by clicking on Create a design present at the top right corner and then choosing a design.
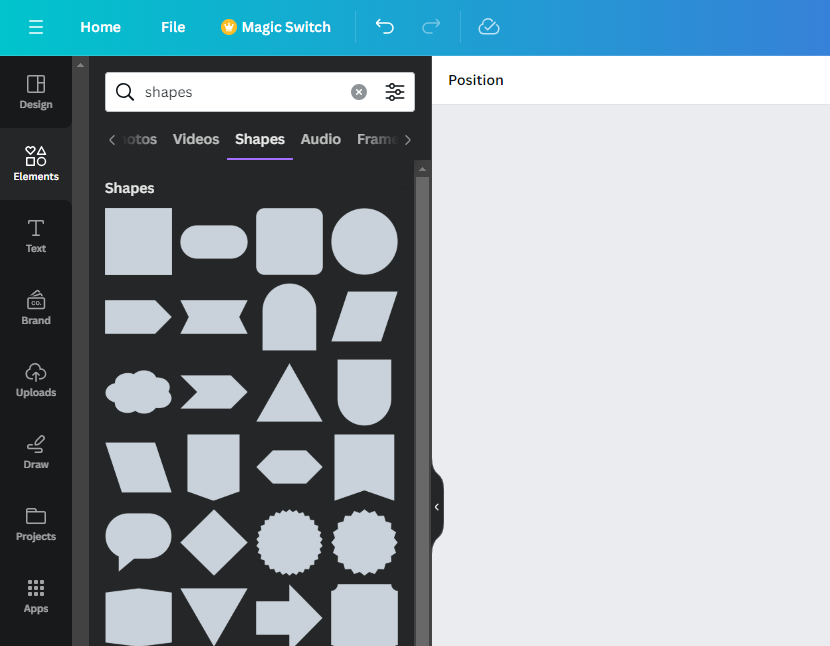
- Once the new/existing project is loaded, navigate to the Editor panel on the left and click on Elements. Next, look for the Search box, type in Shapes, and hit Enter.
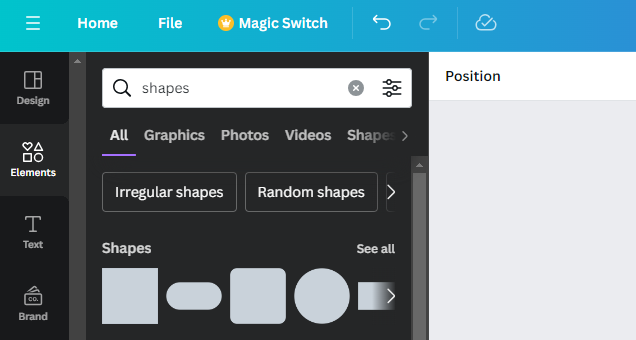
- With the results displayed featuring multiple sections, click on See all to get access to all available shapes.

- If you have done it right, you’re presented with all available Shapes, and clicking on any adds them to the design right away.
Get Creative with Shapes
Create Borders with Shapes
- Start by adding an image or text box to the design. Next, navigate to the Editor panel and click on Elements. Now, look for Shapes and pick one that matches your requirements by clicking on it.
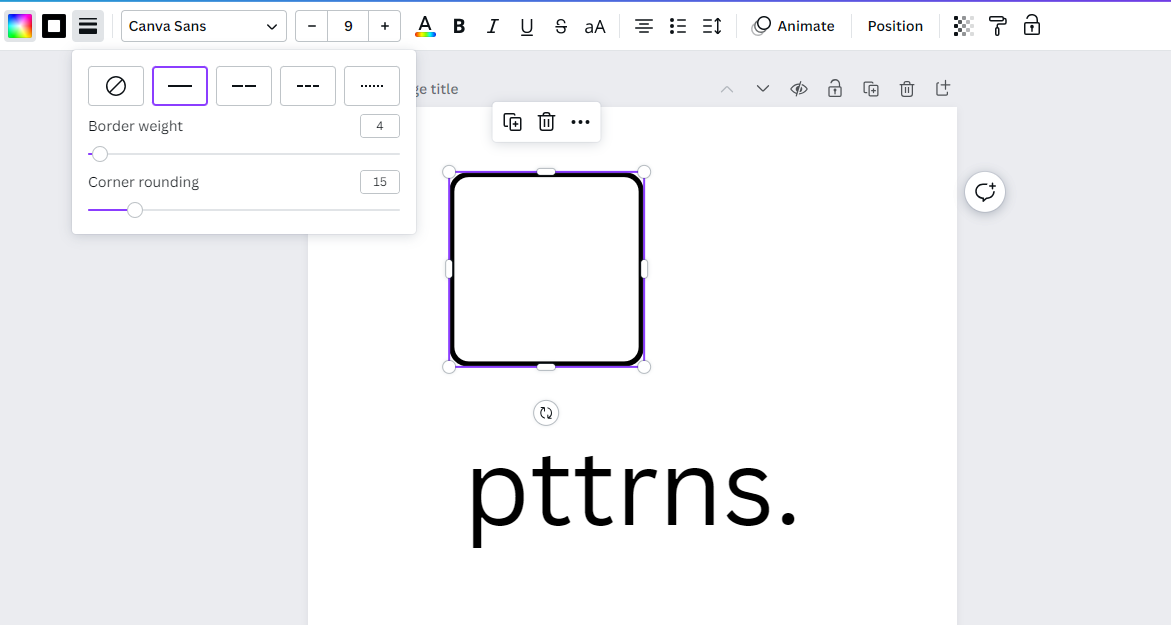
- Once it is added to the design, change the color according to the design and subject background. Next, add a border to it by clicking on the Border Style option present among others that are displayed at the top when selecting the Shape.
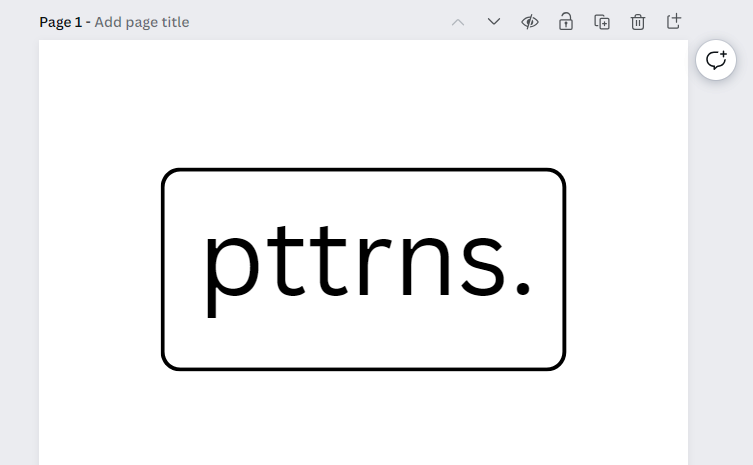
- With the shape converted as a border, layer it accordingly with the subject and make size adjustments. Here is how it should look by following the above steps:
Resize the Shape to Highlight Elements
- Repeat Step 1 from the above approach to add the shape to the design. Next, make changes to the shape according to the subject.
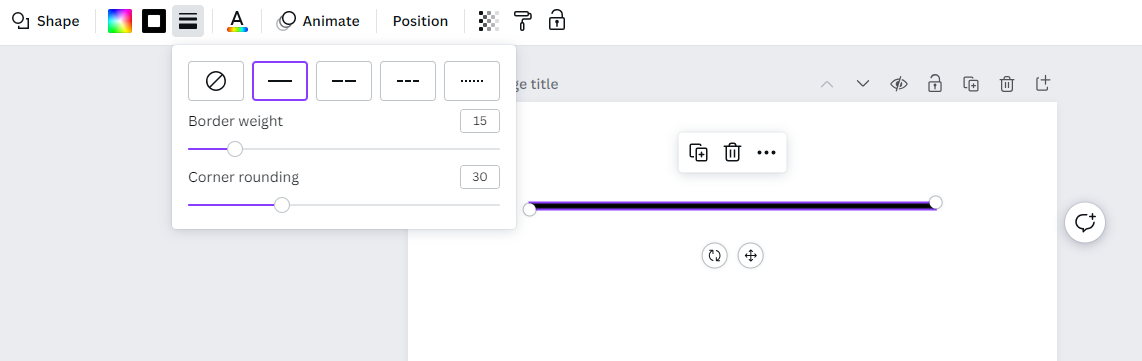
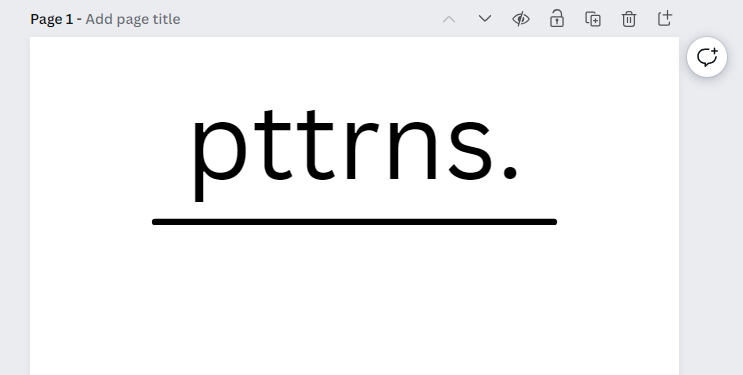
- For demonstration, we have added text to the design, and here is how we have made changes to the shape so it looks like an underline to the text.
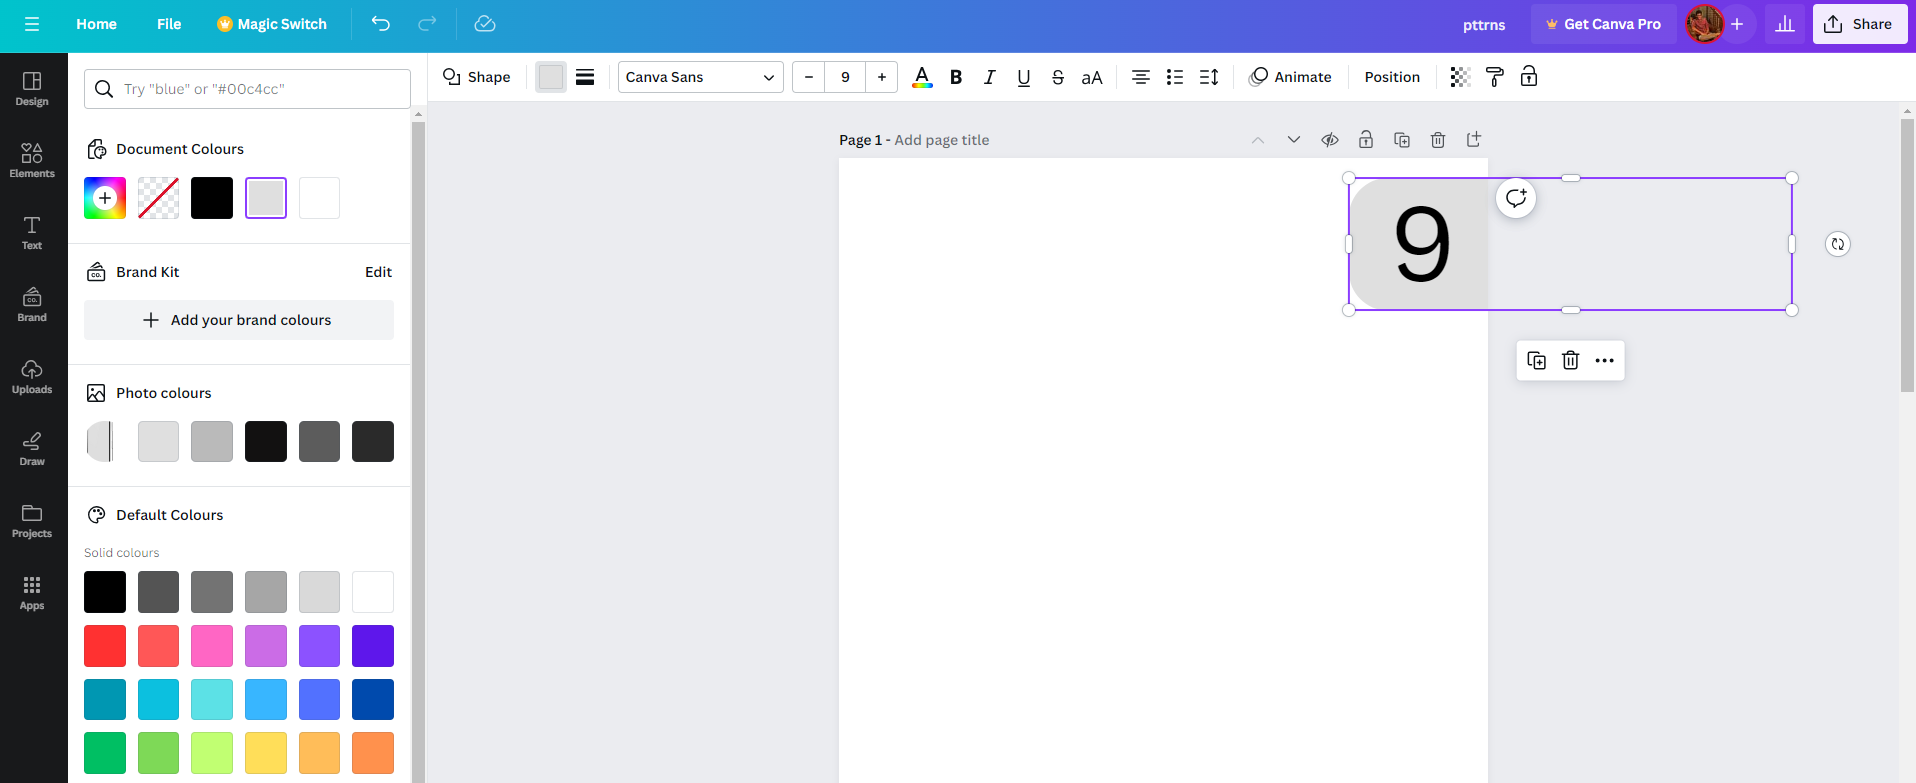
Use Shapes to Highlight Numbers
- Start by adding an image or text box to the design. Next, navigate to the Editor panel and click on Elements. Now, look for Shapes and pick one that matches your requirements by clicking on it.
- As we are working with numbers, we have used a text box to add a number to the design. Alternatively, you can use Graphics for more engaging results.

- With the text box and shape added to the design, change the color and make adjustments to its dimensions so it highlights the text box like below.
Wrapping Up
Congratulations on learning how to use Shapes on Canva!
While the above scenarios provided are for reference, we suggest you experiment more to get used to Canva and its shapes. If you’re specifically working with images, you might find the options lacking, and in such a scenario, use conventional photo editors for better results.
Related Reading
How To Unlock Aspect Ratio in Canva
How To Change Shape of Image in Canva


