Canva isn’t a complete photo editor but offers tools to address most editing needs efficiently. In this guide, we will use Magic Eraser of Canva to remove text, and here is a small demonstration featuring detailed steps to get you all covered.
Remove Text From Image in Canva
- Open your browser, navigate to Canva, and sign in with your credentials. Now, open the project you’re working on from the Recent designs. However, if you haven’t started yet, click Create a design and select a design.

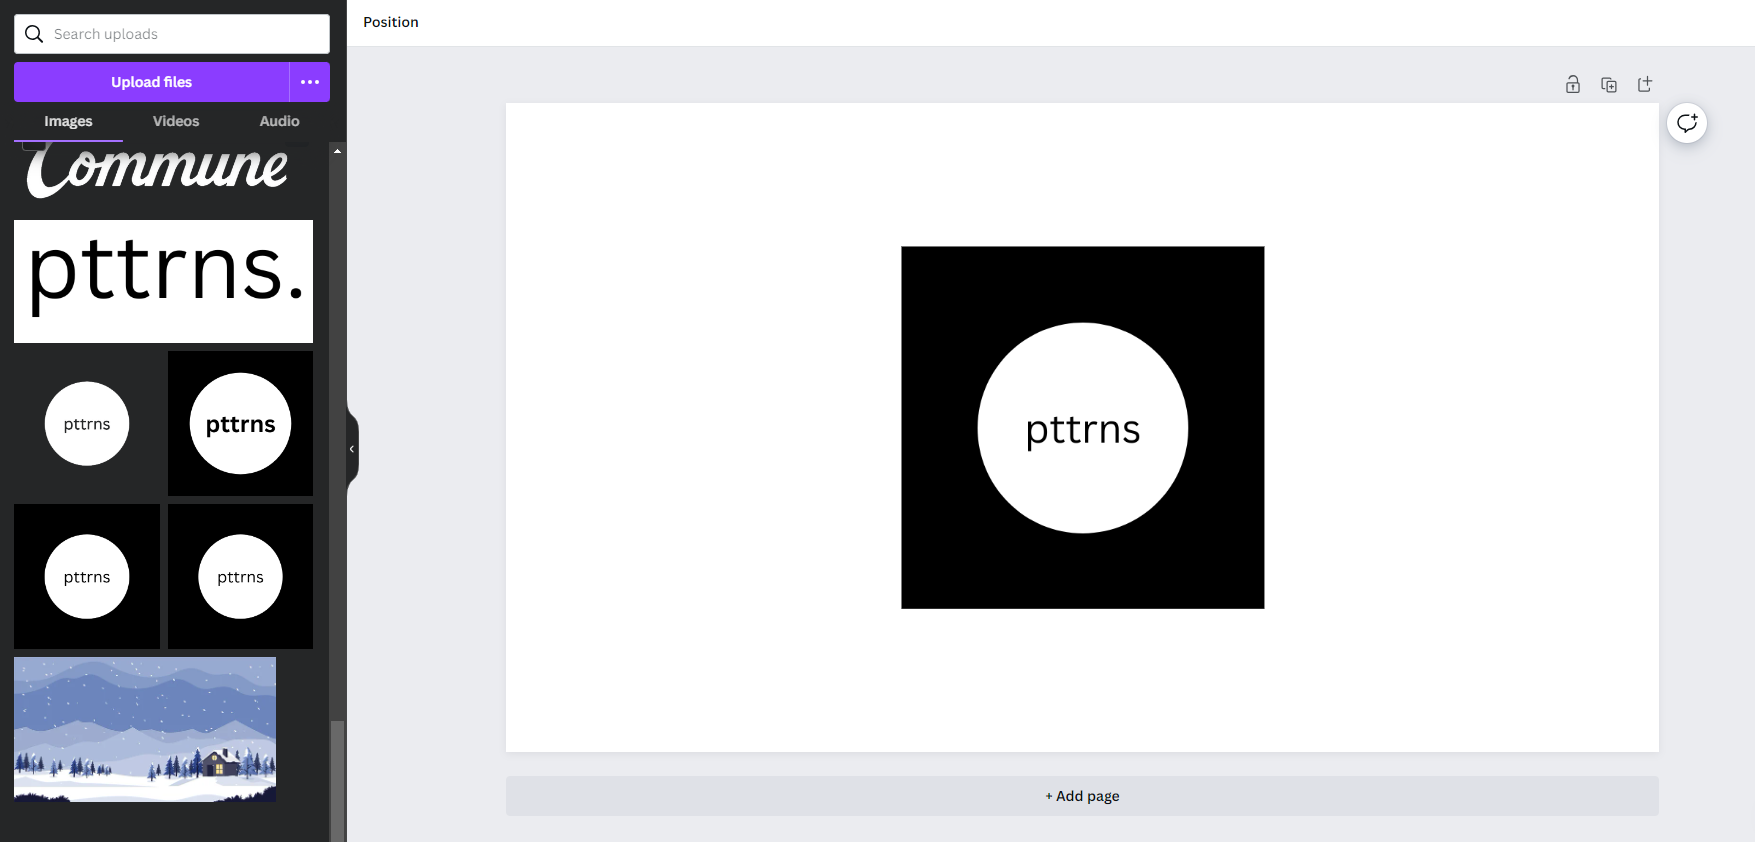
- With the new/existing design loaded, navigate to the editor panel on the left and click on Uploads. Now, click the image or drag and drop it on the canvas to start working on it.
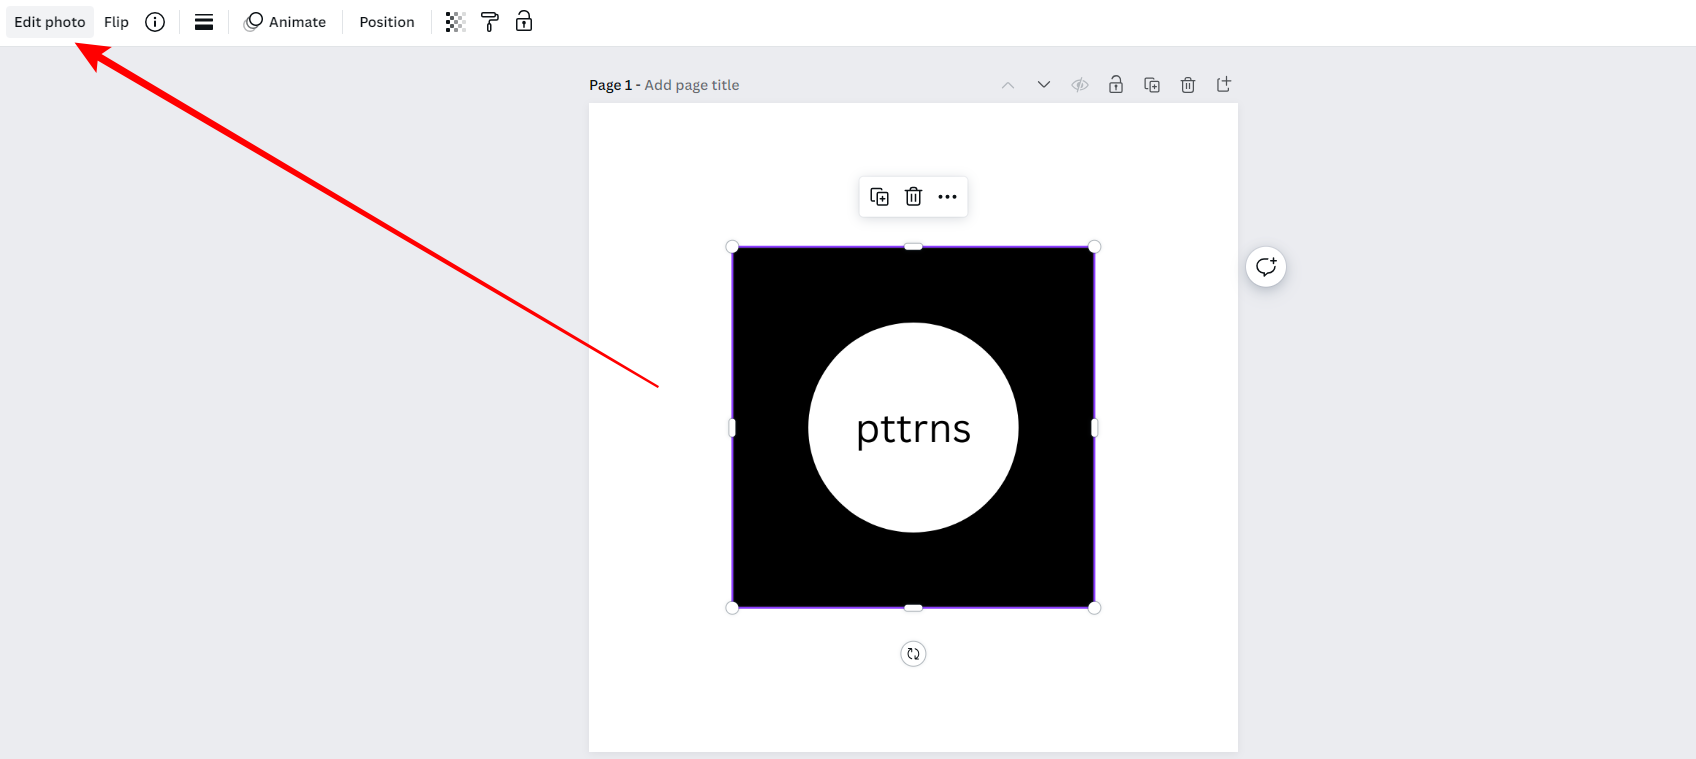
- After the image is added to the canvas, click on it to select it. By doing so, you will notice that the editor toolbar has been updated. From the options displayed, click on Edit photo (Refer to the image below for better understanding).
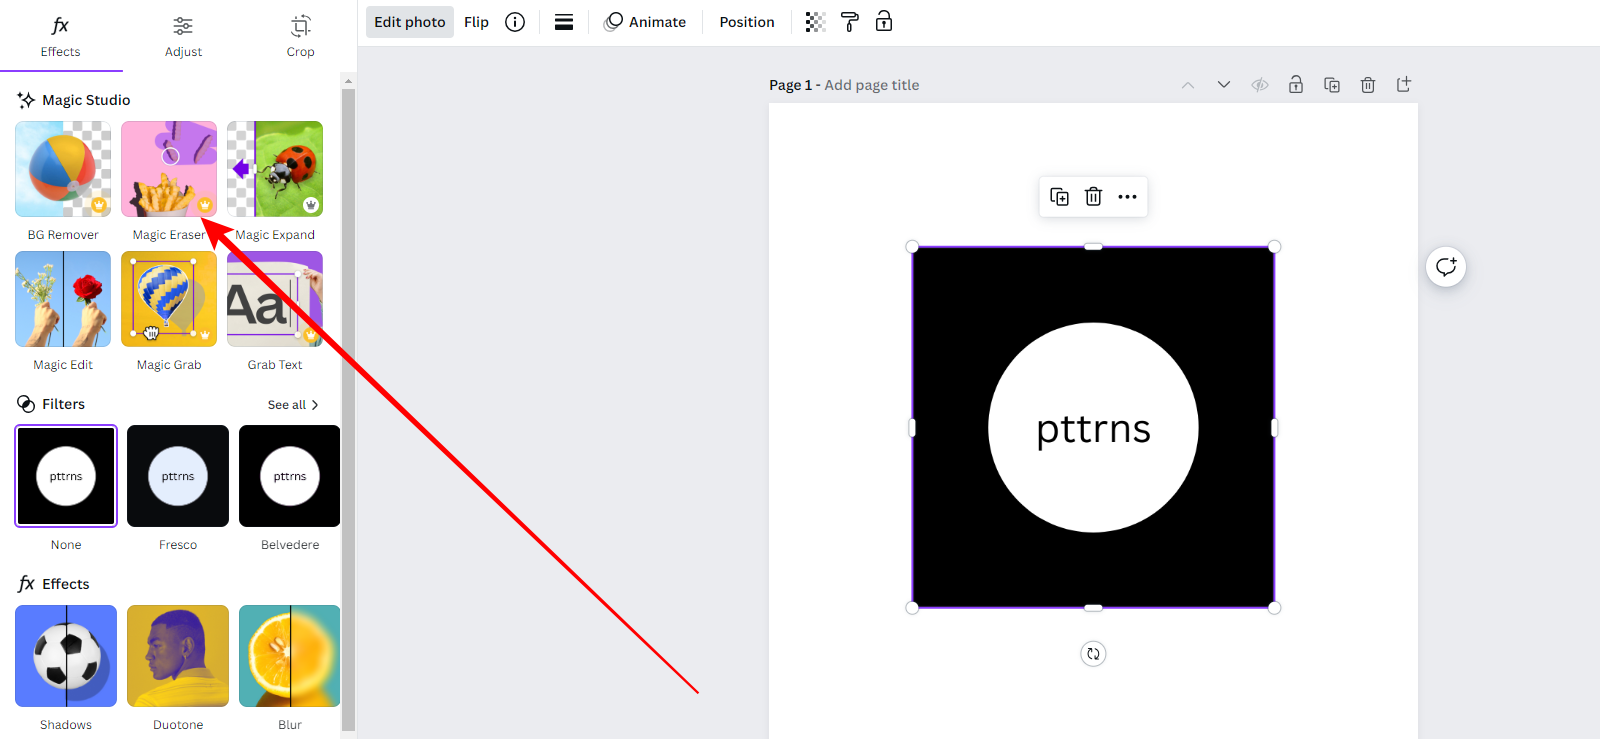
- The Edit photo option loads up the Effects tab on the left. Now, navigate to the Magic Studio section and click on Magic Eraser.
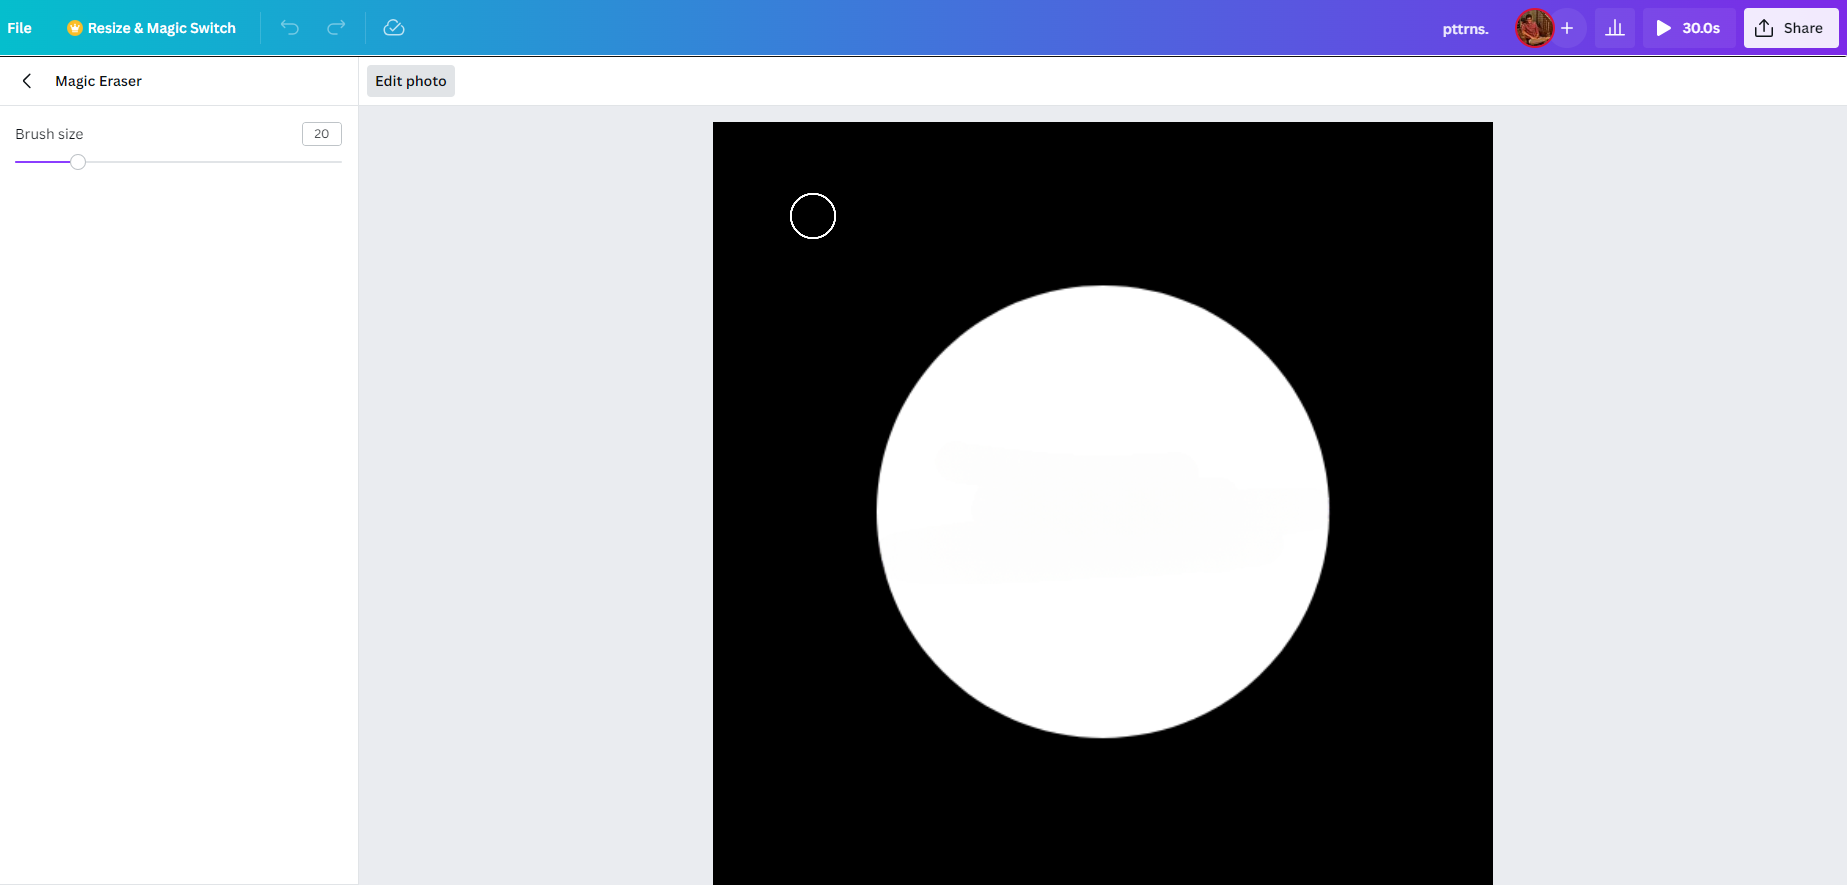
- Once the Magic Eraser tool is loaded, adjust the brush size and select the text to remove it (Refer to the image below for better understanding).

- While Canva might struggle to get accurate results, at all times, try to zoom in and select the text area specifically to get the desired results, as shown below.
Wrapping Up
Congratulations on learning how to remove text from an image in Canva!
While Canva makes removing text easier through the Magic Eraser tool, it is limited to users with Canva subscriptions. In this scenario, you could consider checking free online tools for this purpose or using conventional photo editing tools like Adobe Photoshop or GIMP.
Related Reading
How To Use Canva Text to Image Tool


