
What we cover
Why Make an Image Transparent?
There are many uses for making the image transparent, and here is how it can impact the visual appeal in the following ways:
- Transparent Images enable overlaying images and elements seamlessly.
- Creating an image transparent can help gain attention from users to specific areas or content.
- Transparency adds depth and sophistication to visuals.
- The charts and graphs that have transparency fit well with the content.
- Transparency is employed with logos to protect content and enhance branding.
Multiple Approaches To Make an Image Transparent on Windows
There are multiple ways to make an image transparent on Windows. In this guide, we made sure to include arguably the best ones that are straightforward and can be done right away without learning or having to worry about confusing steps.
Using Google Docs
- Open the web browser of your choice and navigate to Google Docs. Now log in with your account and open a document.
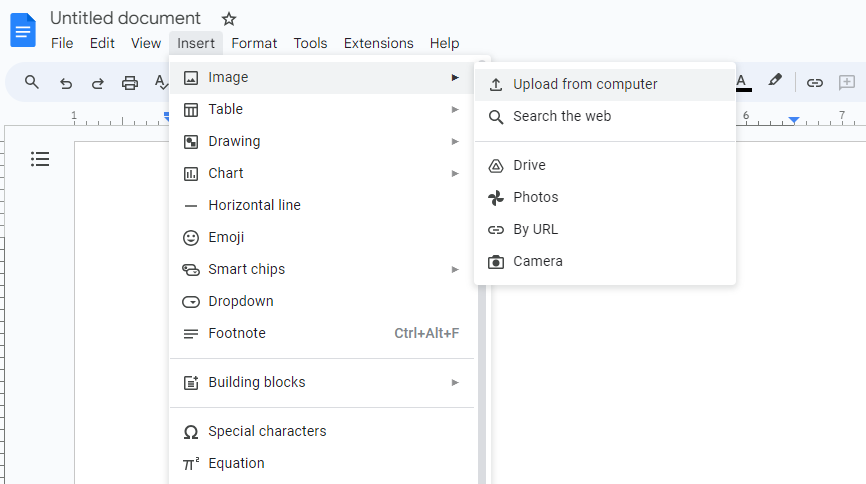
- After the document is loaded, navigate to the Menu bar and click on Insert. Now add the image to the document by clicking on Image and then Upload from the computer. If your image is not on your computer, select the right source from the list of options.
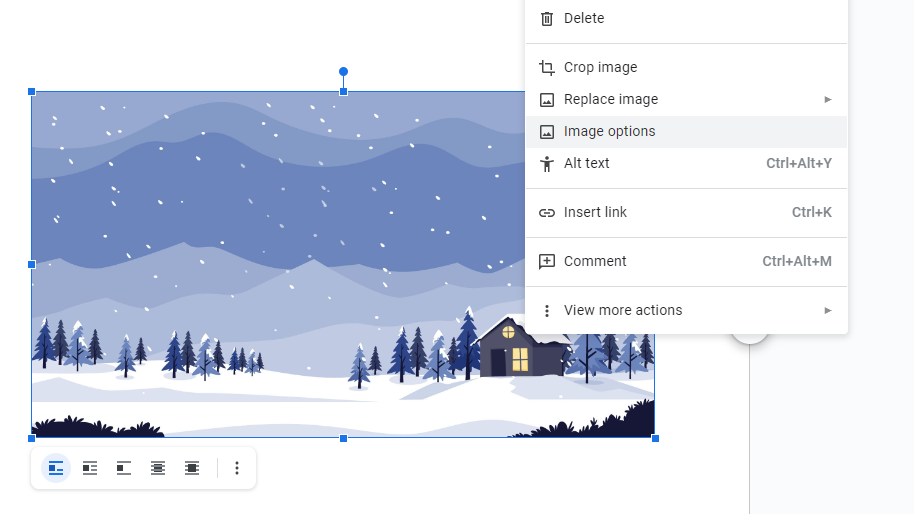
- Once the image is added to the document, right-click on the image for its options to appear, from which select Image Options.
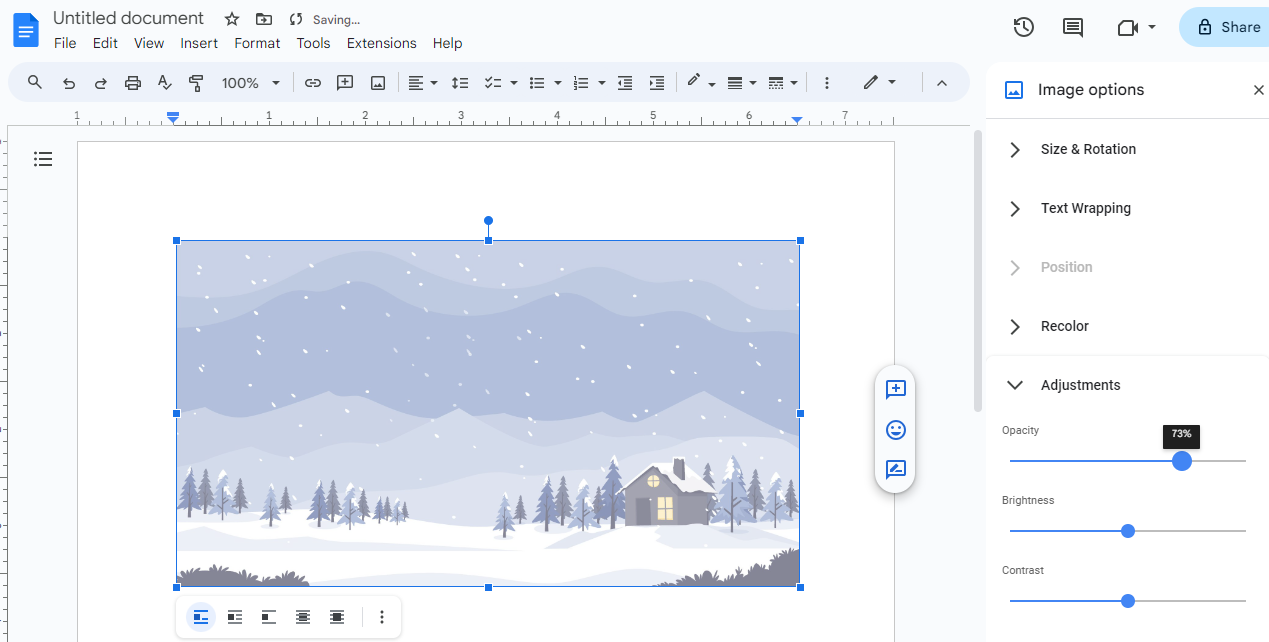
- Doing so, you will find Image Options on the right. Now, look for Adjustments and click on it. Under it, you will find multiple sliders; adjust the one under Opacity to make the image transparent.
Using Google Slides
- Like Google Docs, start by navigating to Google Slides, sign in, and open a document of your choice.
- After the document opens, navigate to the menu bar and click on Insert. To add the image, click on Image and then Upload from computer. While adding the image, ensure you select the right option so there won’t be any issues.

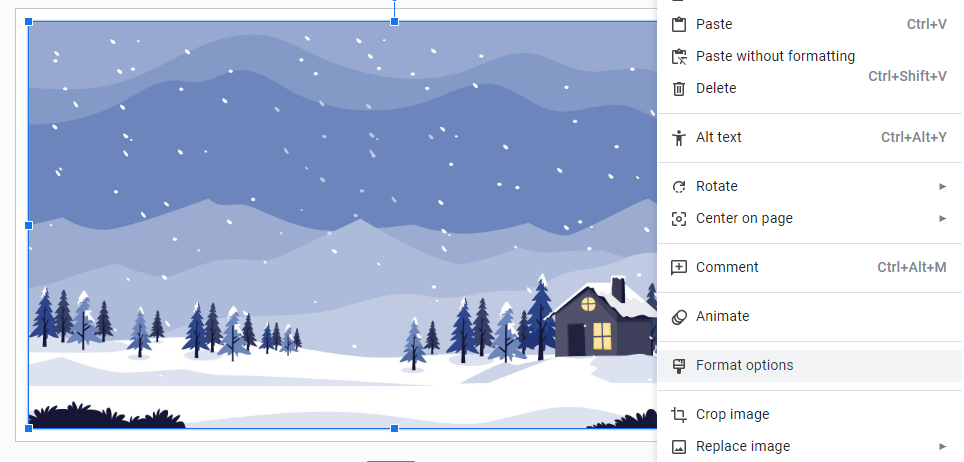
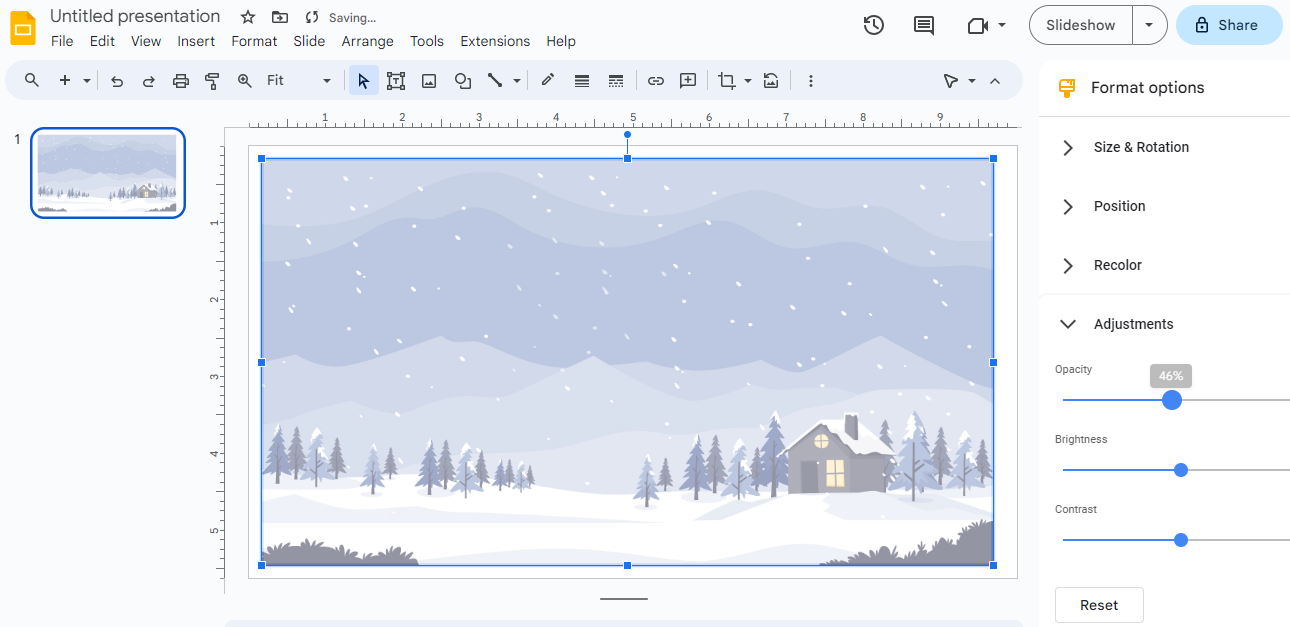
- Now right-click on the image for and from those that appear, click on Format Options.
- Doing so, you will find the Format Options extension displayed on the right. From the options listed in it, navigate to Adjustments and click on it. Now, find the slider under Opacity and reduce it to make the image transparent.
Using Microsoft 365/ Office 2021
It would be forever and meaningless to explain the process individually on different applications as the steps are the same. Hence, consider the below steps for Microsoft 365 [PowerPoint/Word/Excel] and Office 2021 [PowerPoint/Word/Excel].
- Open any application that is listed above from Microsoft 365 or Office 2021.
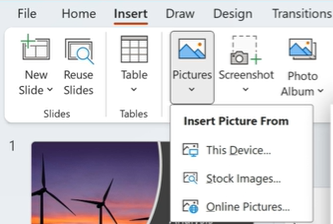
- After the document is loaded, navigate to the menu bar and click on Insert. Now, from the options provided, click on Pictures and select the right source from the drop-down.
- After the image is loaded on the document, click on the image, navigate to the Picture Tools Format tab, and select Transparency. Now, you can see different presets featuring different Opacity; select the amount of transparency you want by clicking on the preset of your choice.

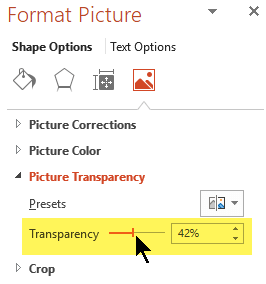
- If you want more control over the image transparency, click on Picture Transparency Options, navigate to Picture Transparency, and adjust the slider next to Transparency.
Using Online Image Transparency Tools
If you look for “make image transparent online” on the web browser, you will find several websites that can make an image transparent. Out of all the approaches in this article, this is arguably the easiest, and here are the steps for it:
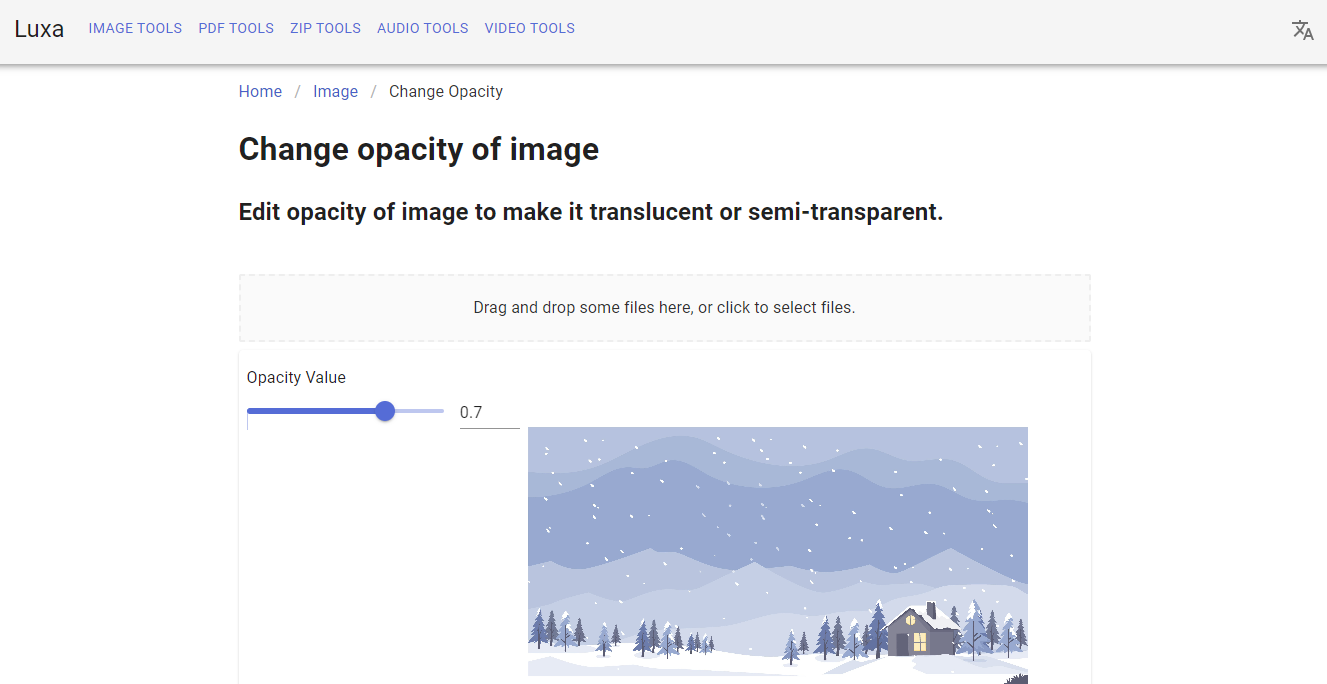
- Open any online transparency tools, and for demonstration, we have selected Luxa.
- After the website loads, look for the button that works as Upload, click on it,and select the image from your computer.
- Once the image is selected, look for the slider and adjust the opacity value by looking at the preview provided.
- After you’re satisfied with the preview, scroll down to find the Download button to download the image.

Using Third-Party Tools
We always consider using third-party tools as a last resort, as most of the basic image editing can be performed on Windows. However, if it is complex, it is necessary to rely on premium third-party tools, but we consider using the best open-source projects unless needed.
For demonstration, we have considered GIMP, one of the prominent open-source image editing software, and here are steps on how to use it to make an image transparent.
- If you don’t have GIMP, download and install it.
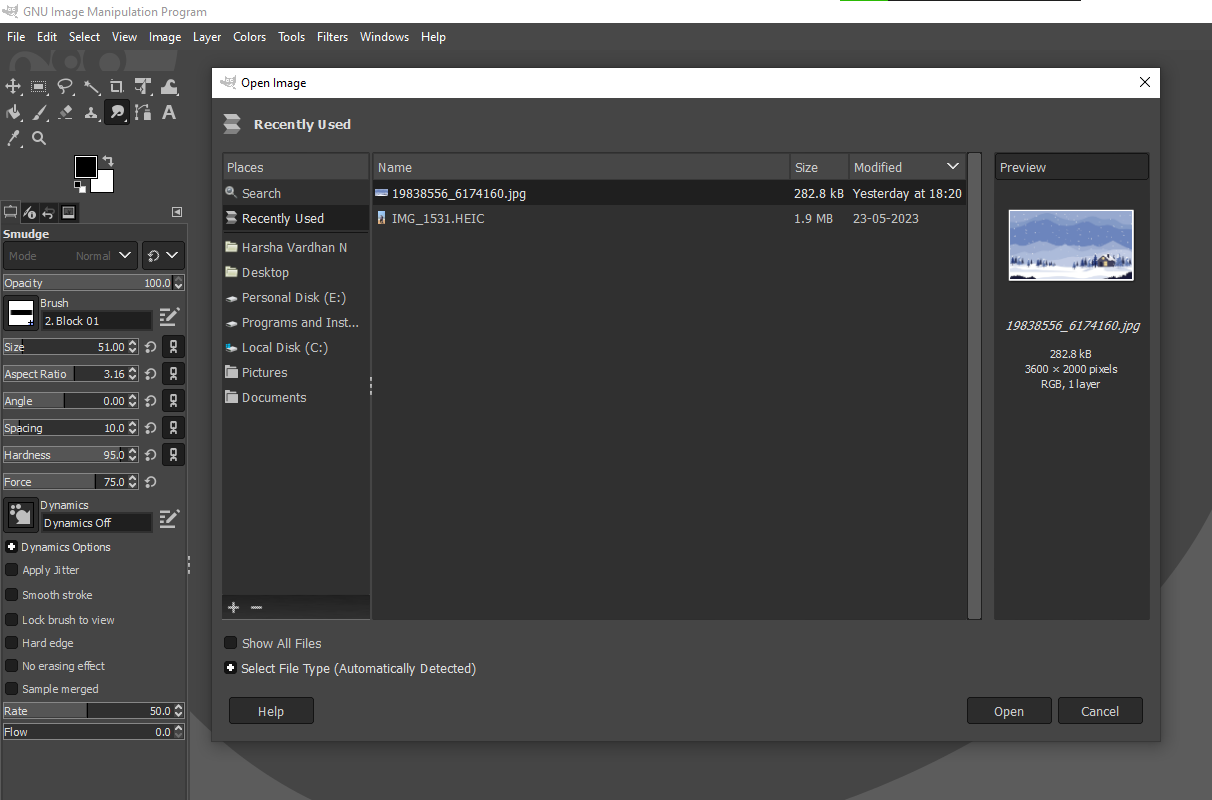
- Once installation is done, please open it, navigate to the menu bar, click on File, and then Open. Doing so opens a new window, from which you select the image and click on open.
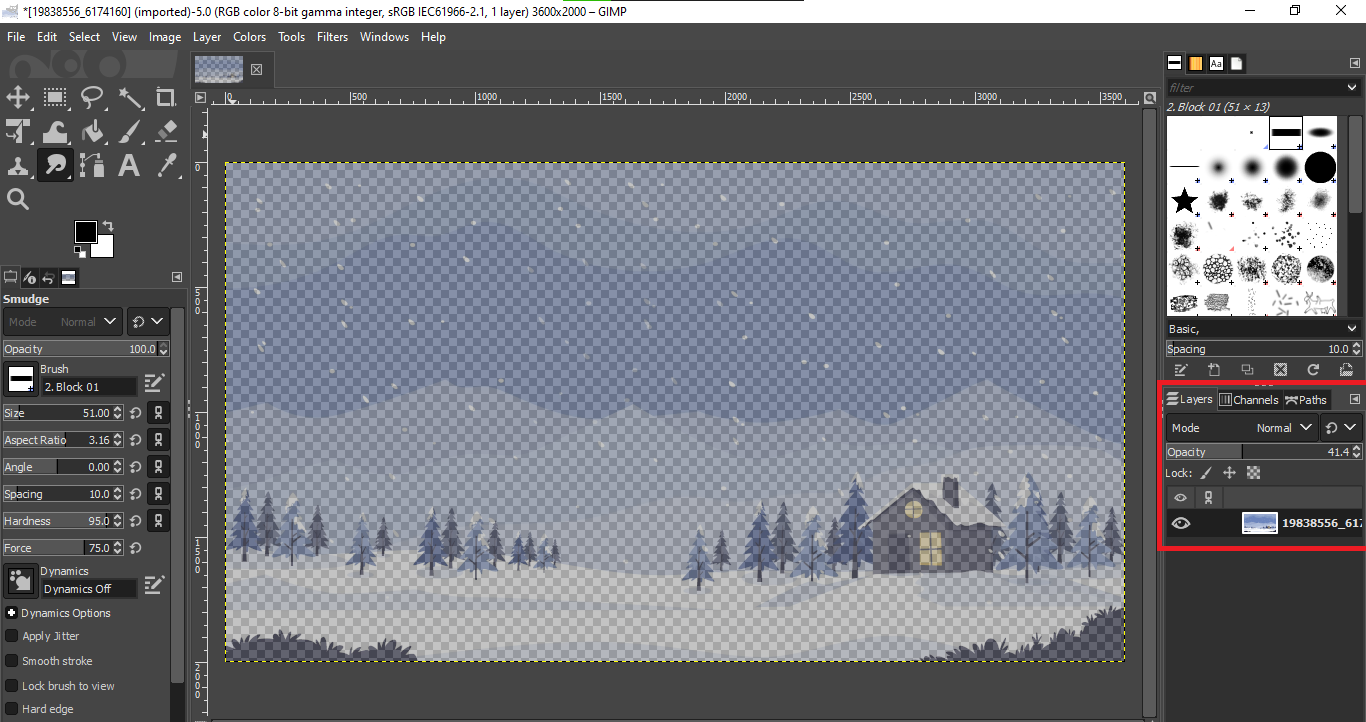
- After the image is loaded, look to the right and find Layers. Now click on it to find the slider with the text Opacity on it. Start by adjusting it, and once you are happy with the level of transparency, save the image.
Wrapping Up
Congratulations on successfully making an image transparent on Windows!
Through transparency, you can overlay elements, emphasize content, add depth to visuals, or enhance branding. We believe we have included arguably every easy approach, and we hope that you don’t find making an image transparent on Windows difficult anymore.
FAQs
How do you remove the background from image-free?
You can remove background from an image for free using Microsoft Paint 3D, online tools like Remove.bg, and also third-party applications like GIMP.
Can transparency be applied to specific portions of an image, not the entire image?
Yes, you can apply transparency to specific parts of an image using tools like GIMP by selecting and adjusting the Opacity of those areas.
Can transparency affect the file format of an image, such as PNG or JPEG?
Yes, transparency is often associated with PNG images, as they support alpha channels. JPEG images, on the other hand, do not support transparency and will fill transparent areas with a solid color.


