While Canva is one of the best online design tools, sometimes it lets you down by not offering some of the most useful tools like the Split tool. However, trial and error or experimenting with its tools can create a way around, and here are steps for it:
What we cover
Split an Image in Canva
With no dedicated to split an image in Canva, we will be using the Crop tool to mimic the split. Before proceeding with the steps, it is to remind you that it works only for a single split. Hence, if you’re trying to create multiple splits, skip this approach.
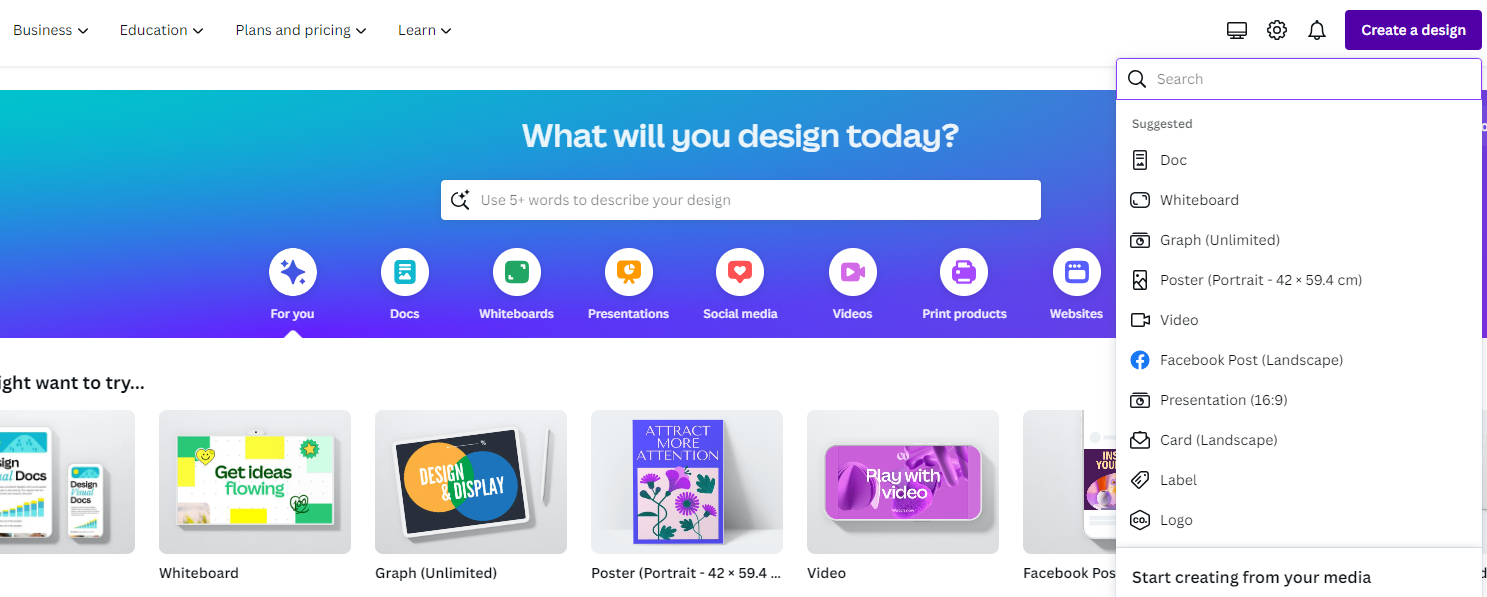
- Start by opening Canva and sign in with your credentials. Now navigate to the Recent designs and open the project that you’re working on, or create a new one by clicking on the Create a design button.
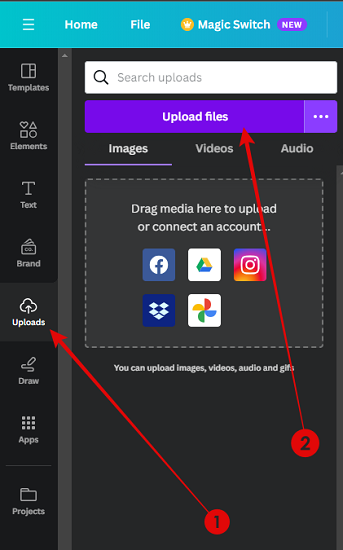
- Once the design is loaded, navigate to the Editor panel and click on Uploads. With the Uploads tab loaded, add the image by clicking on it. If you haven’t done it yet, navigate to the Upload files button and choose an image.
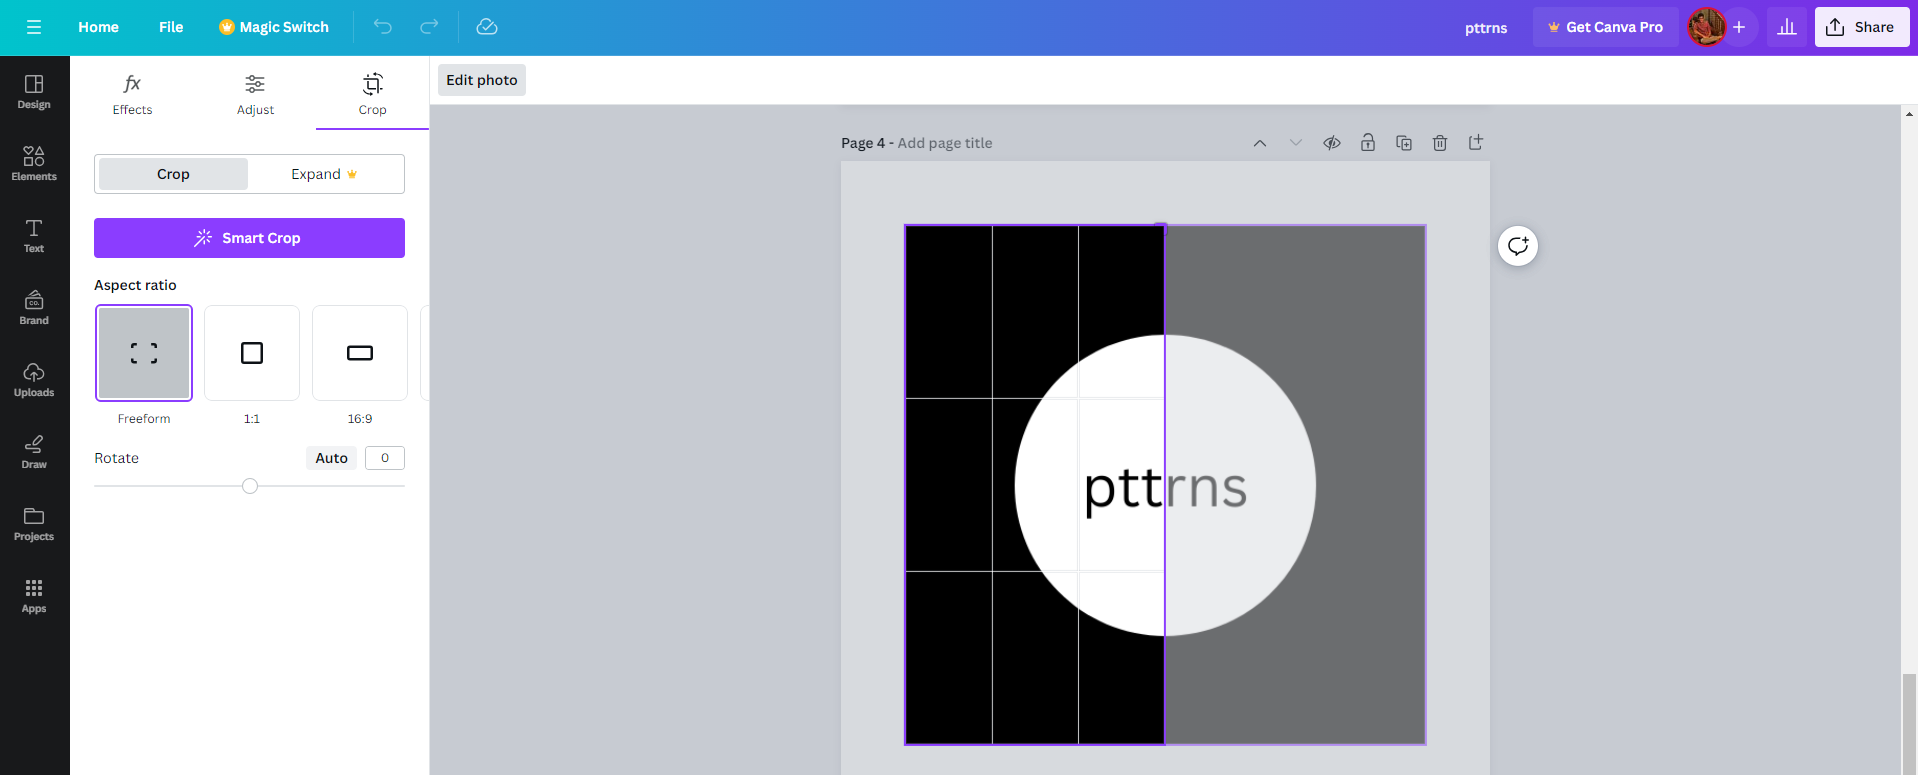
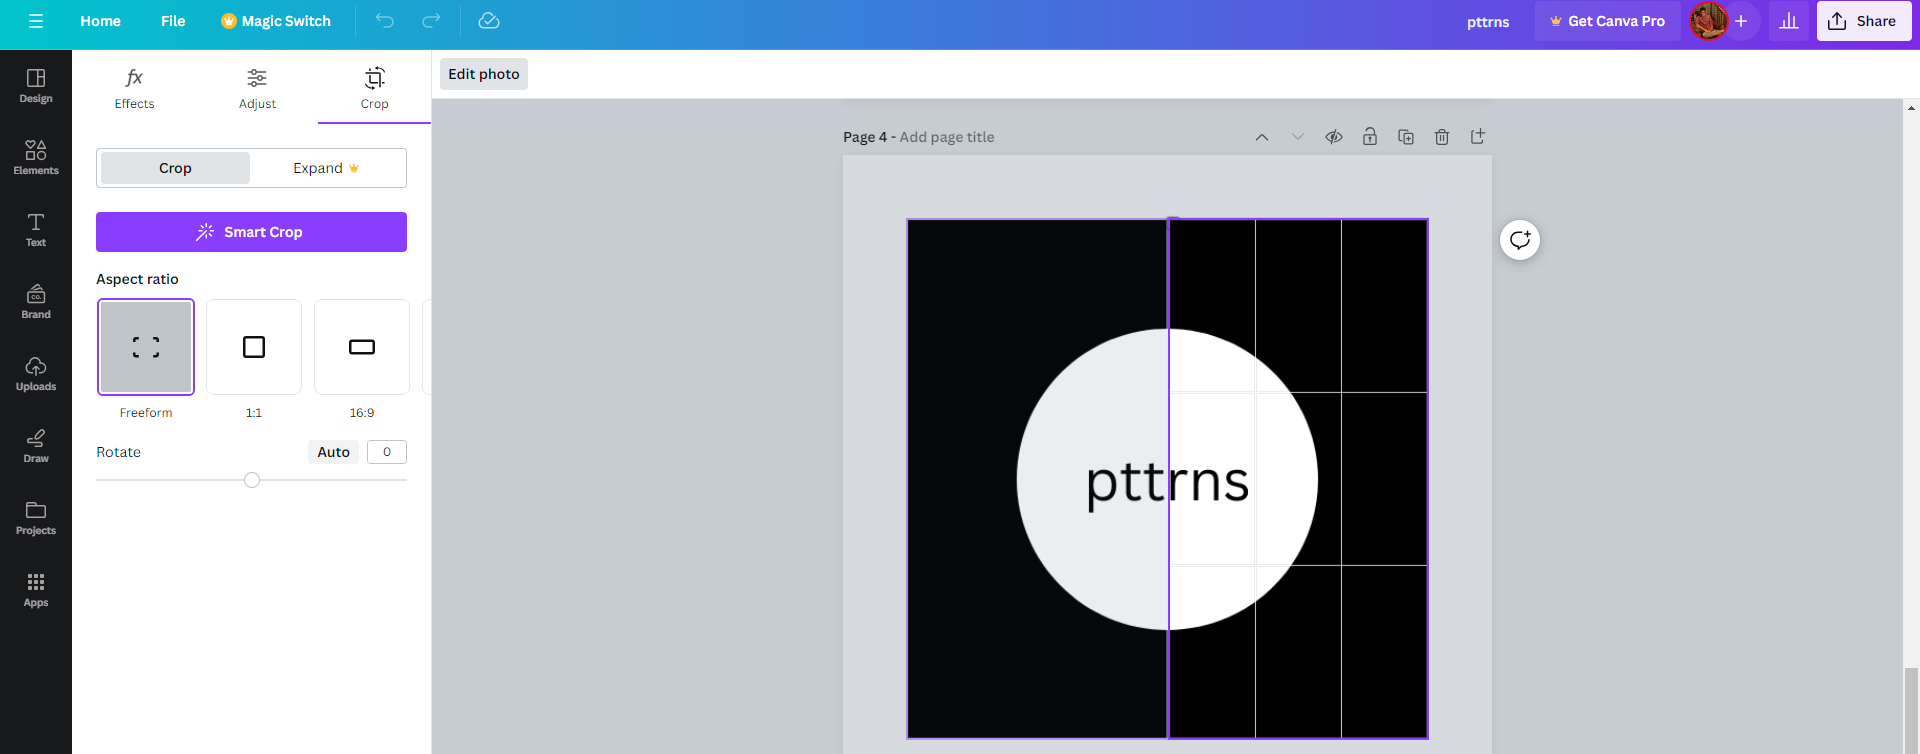
- With the image added to the design, double-click on it to reveal the Crop tab on the left. Now split the image in half, and you’re left with a cropped image.
- To finish the rest, add the same image to the design and repeat Step 3. While doing so, ensure you crop the other half of the image that hasn’t been cropped before.
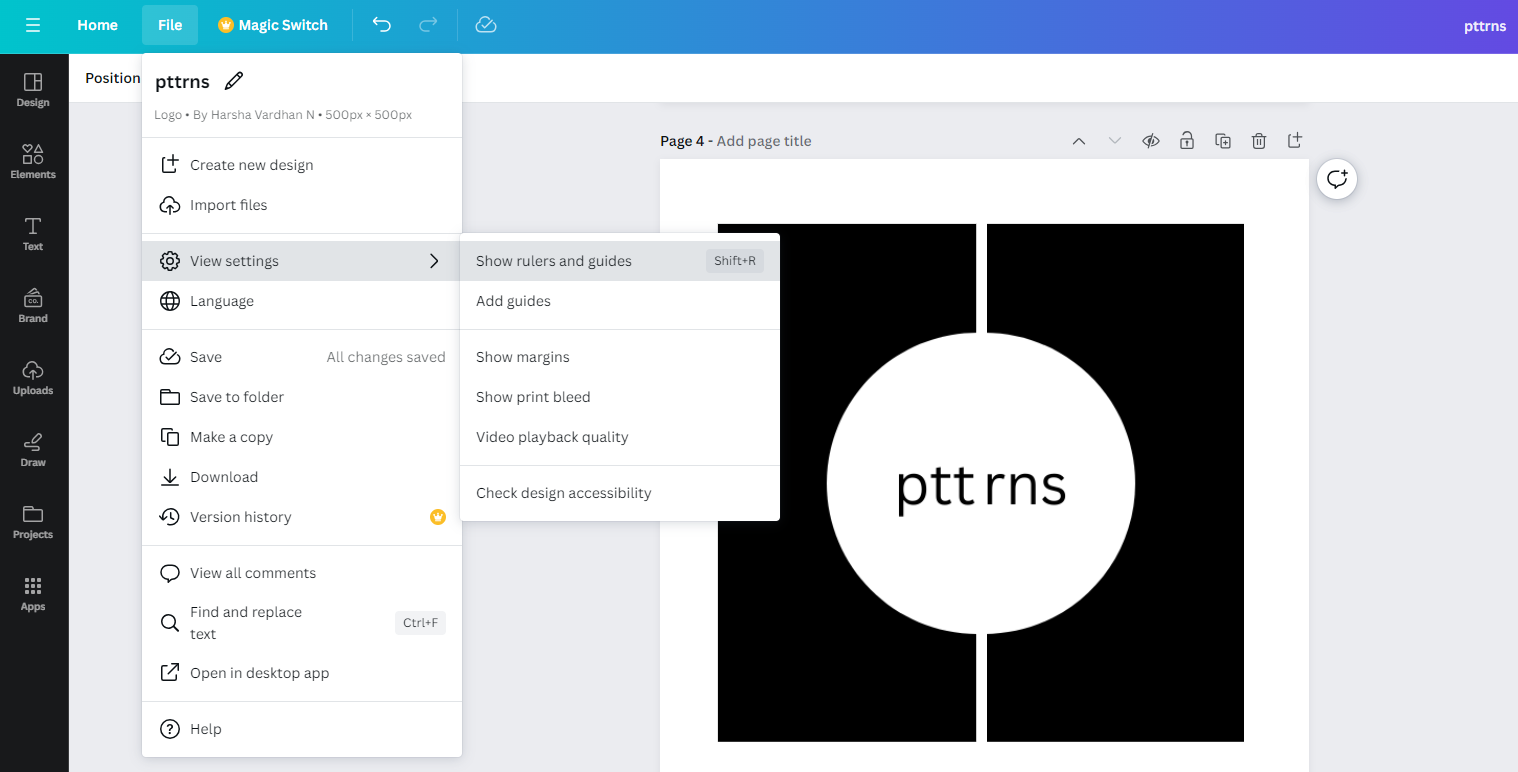
Pro Tip: To create a perfect split, ensure you use rulers for reference to your advantage. To enable them, navigate to File > View settings > Show rulers and guides and click on it.
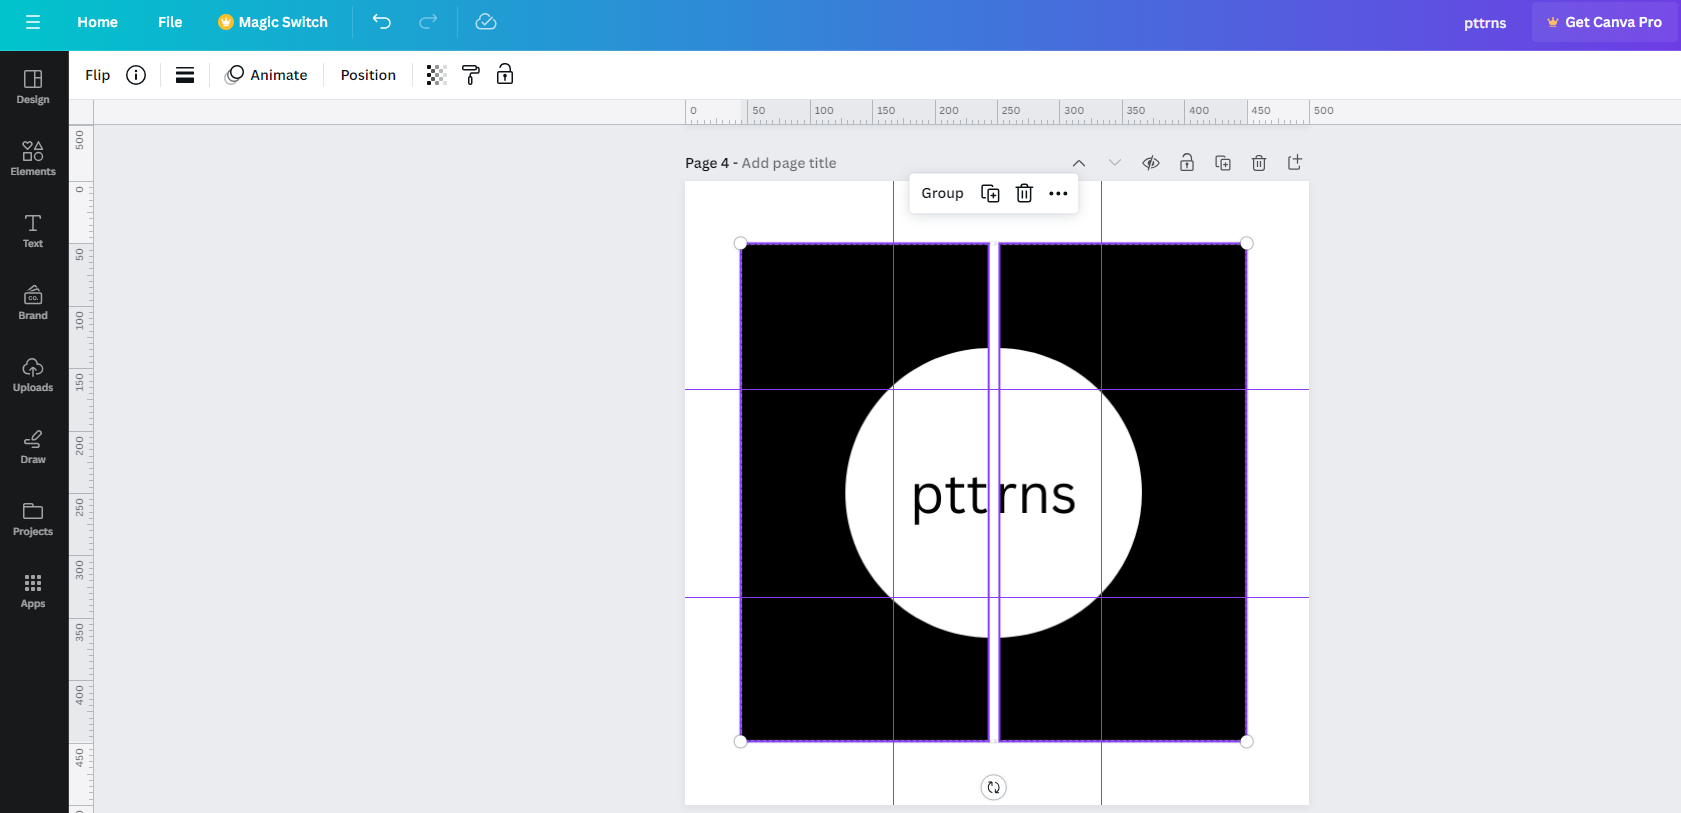
- Once you’re finished, adjust both halves accordingly to create a split. If you have done it right, you will have a similar result to the one below.
Split an Image using Online Tools
While the above approach can be used to create multiple splits, we don’t suggest it because of its complexity and limitations, such as reduced image quality. To address this, we have come up with a solution that involves using online image split tools, and here are the steps below:
- Start by navigating to any online image split tool. For demonstration, we have considered using the Pine Tools Split Image Online tool as it offers arguably more options than the rest.
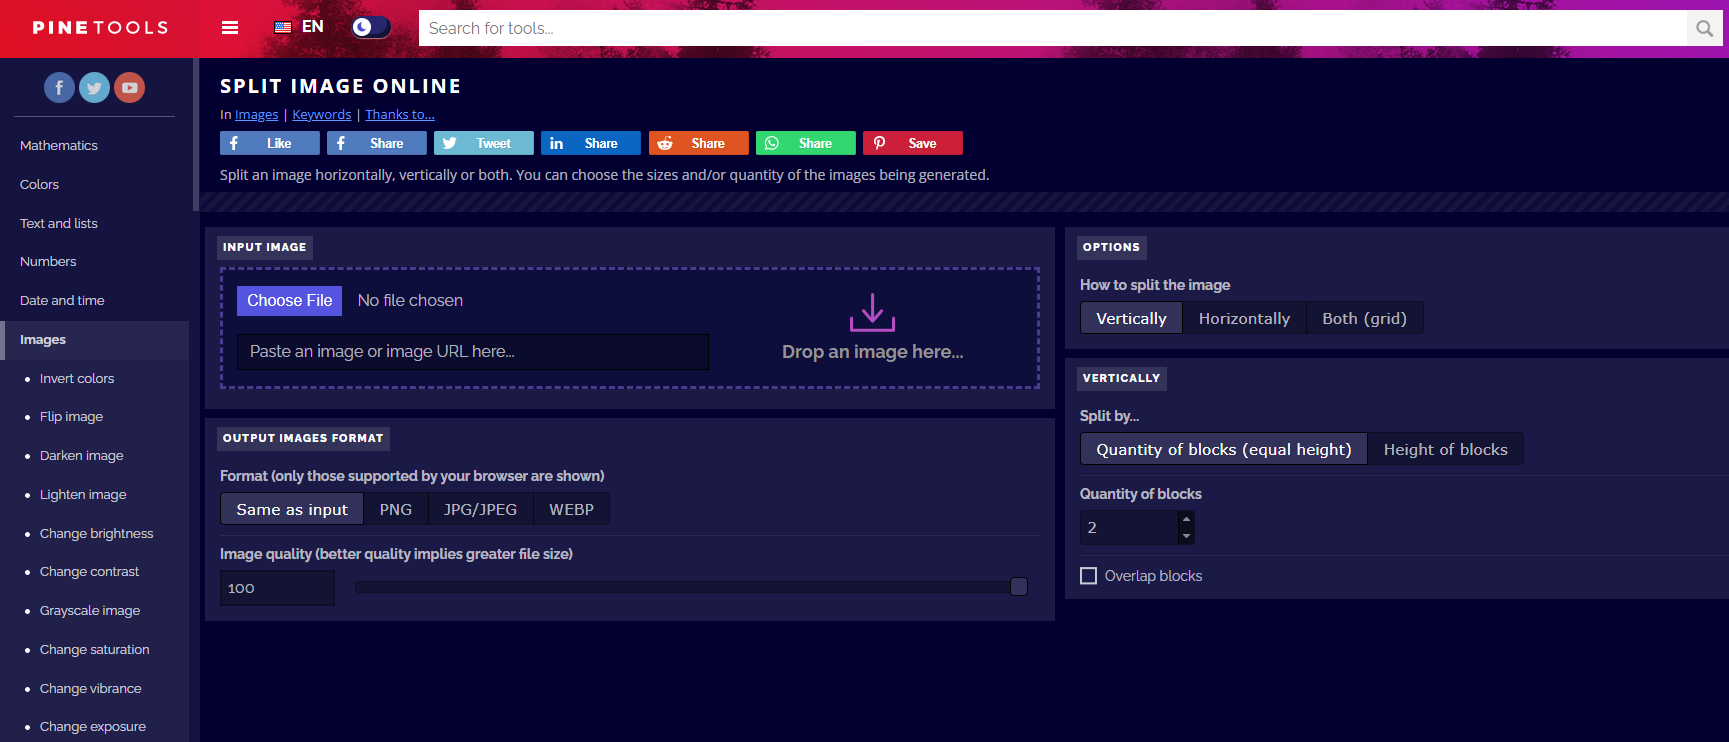
- Once it is uploaded, navigate to the Choose File button and click on it to upload the image to the tool. Next, navigate to the options on the right and select the split type according to your requirement [Vertical/Horizontal/Grid].
- Also, set the quantity/width size in the input boxes associated with Vertically and Horizontally sections.
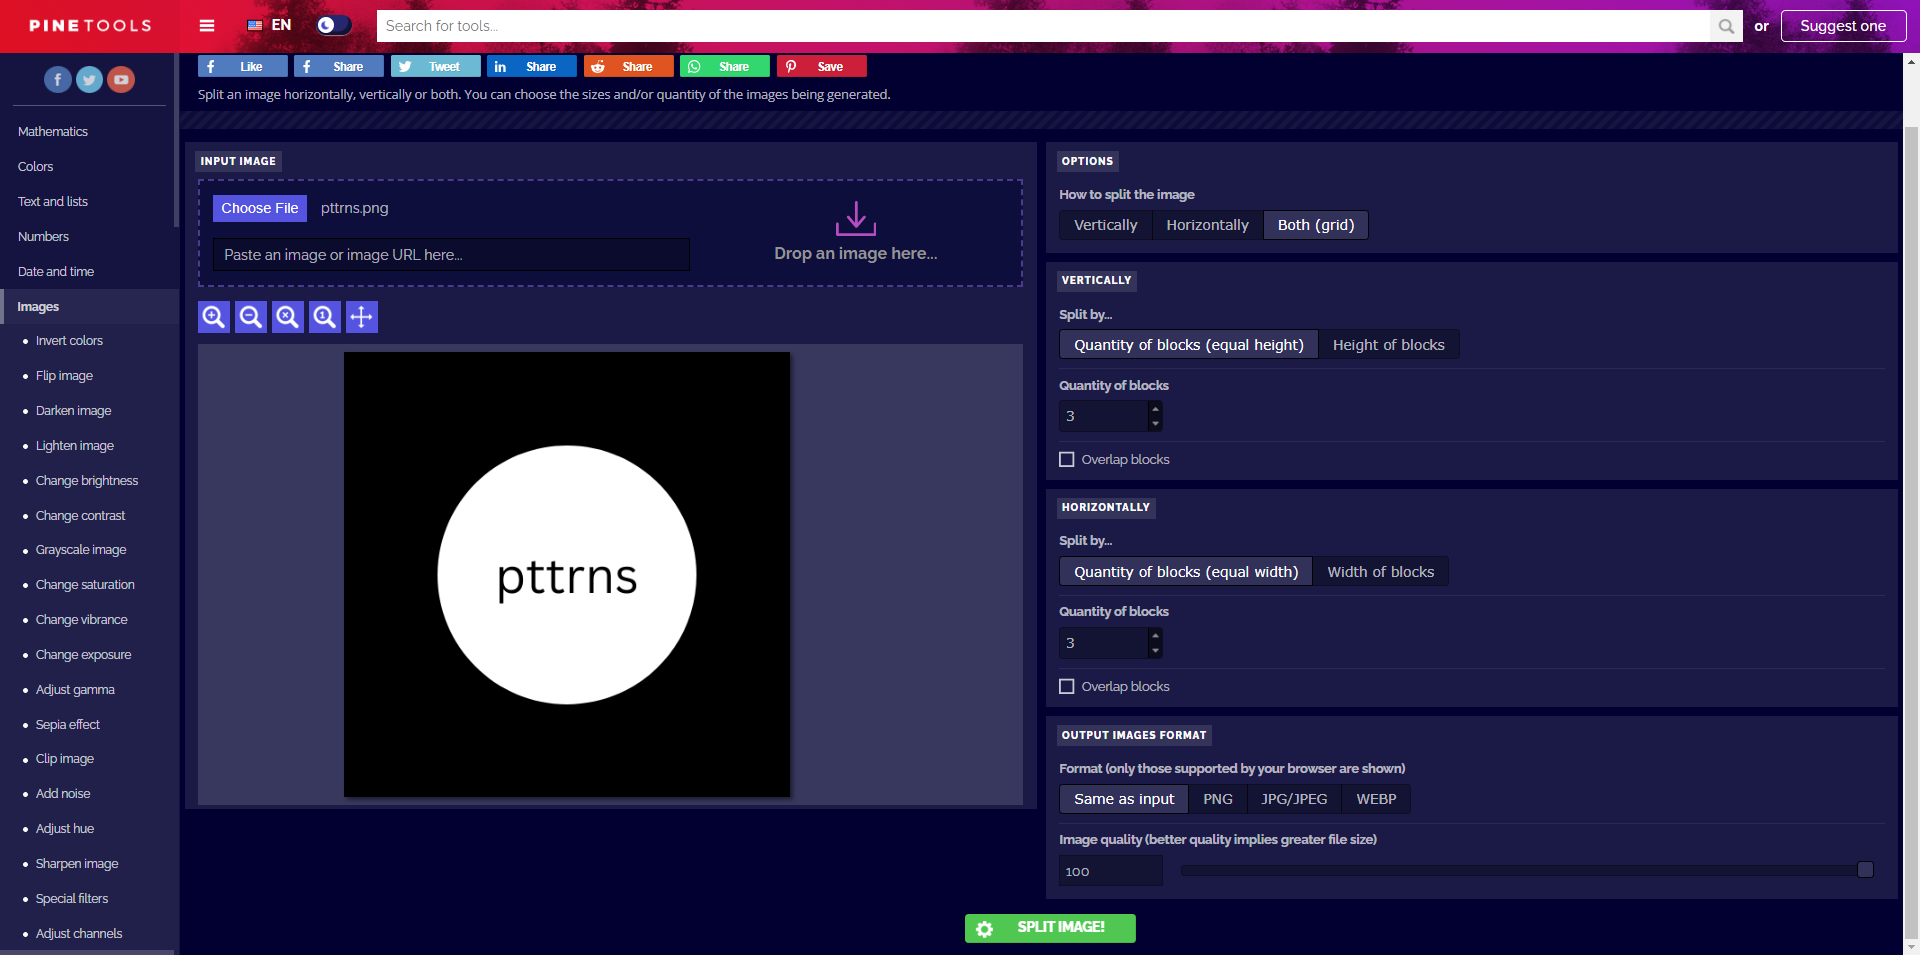
- Once you’re finished changing configurations, set the output file type and drag the slider to max (100) associated with Image quality. With everything set, cross-check everything and click on the Split Image button.
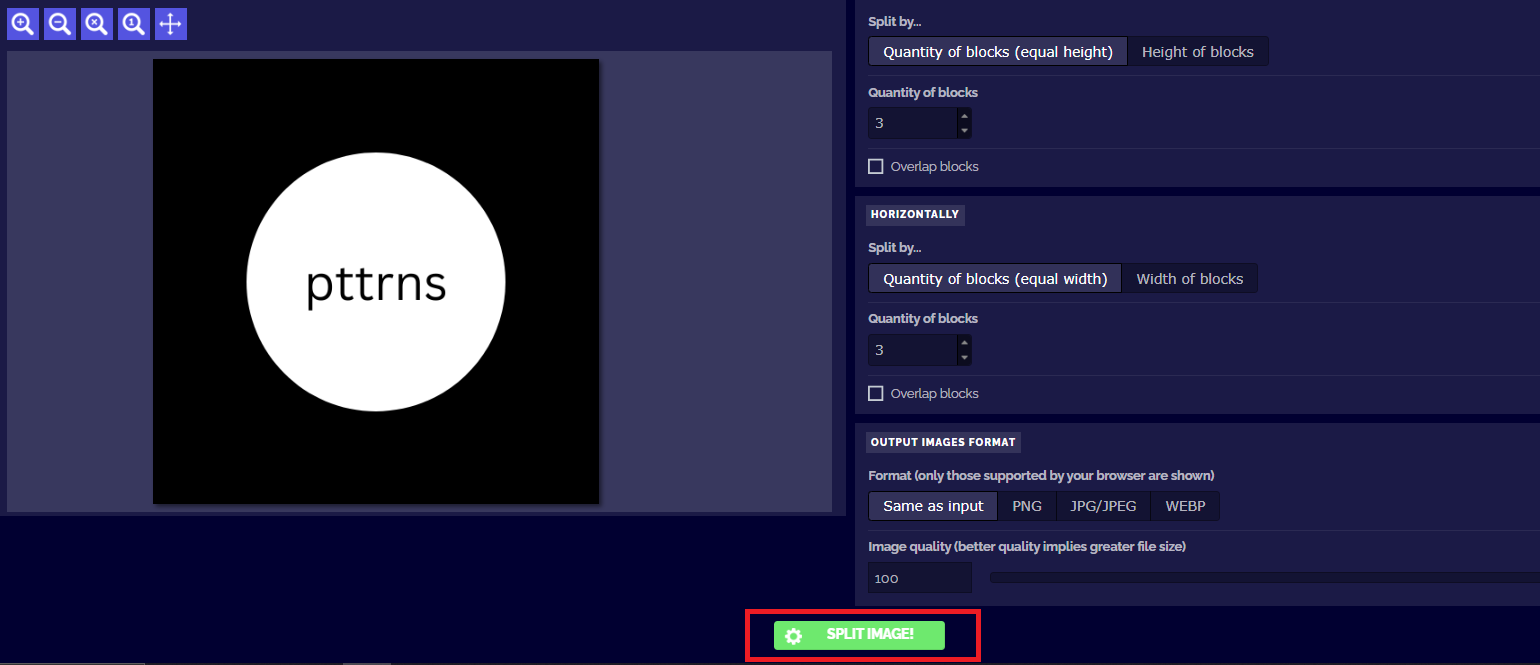
- By doing so, you are displayed with results at the bottom. For demonstration, we have split the image by 3×3, and the tool successfully split the image into nine parts. Now, you can download the zip file or download the image individually by clicking on them.

- With the images/zip downloaded, use File Explorer to open them, and here is the final result:

Wrapping Up
Congratulations on splitting an image in Canva!
While the above approaches let you split an image with ease, if you want more customization options while having access to flexibility and protecting privacy, use conventional tools like Adobe Photoshop or GIMP.
Related Reading
How To Curve an Image in Canva
How To Change the Shape of Image in Canva


