Learning how to blend pictures comes in handy if you’re trying to achieve seamless integration with the elements or background of the design. Also, you can enhance visual appeal and create engaging transitions by being creative.
If you’re trying to blend pictures in Canva, follow the steps below developed for two common scenarios.
What we cover
Blend Picture with the Background of the Design
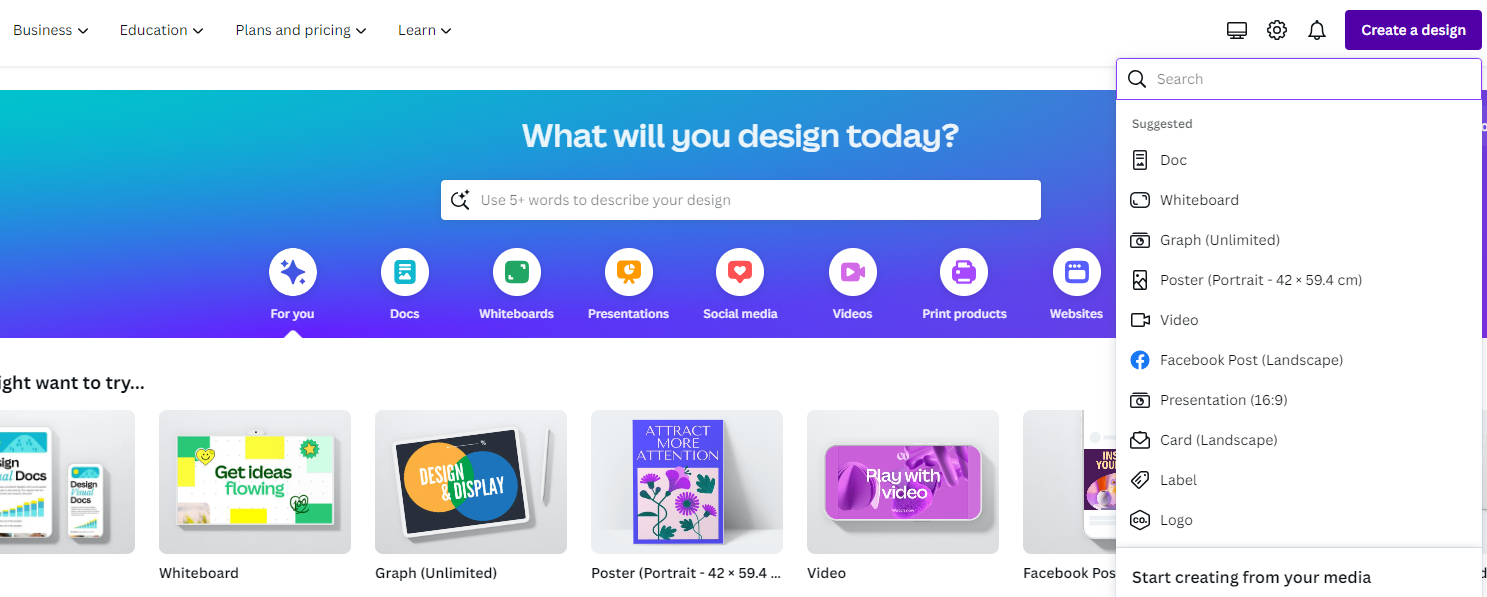
- Start by navigating to Canva and sign in with your credentials. Once you’re on the home screen, start by creating a new design by clicking on the Create a design button in the top right corner.
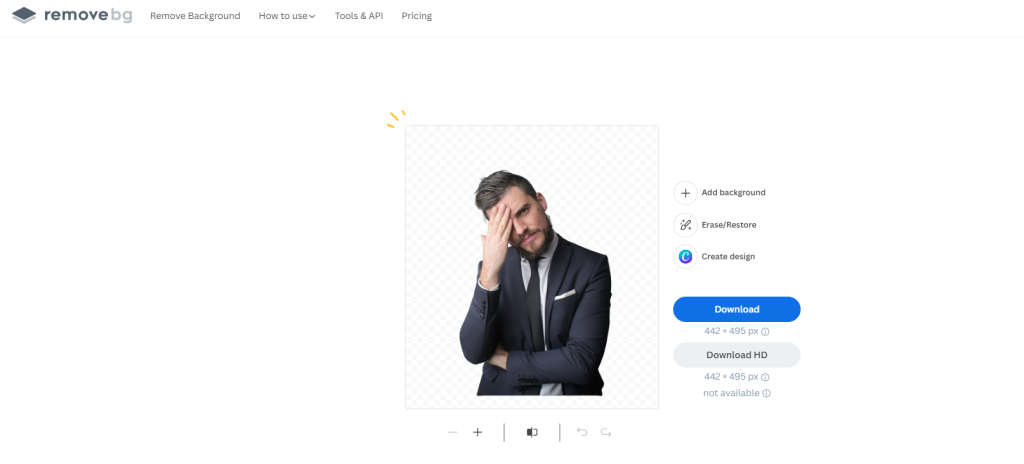
- Alternatively, if you’re already working on the design, open it from the Recent designs section on the home screen. Once the new/existing design is loaded, add the picture to it, and before doing ensure that the background is removed [remove.bg].
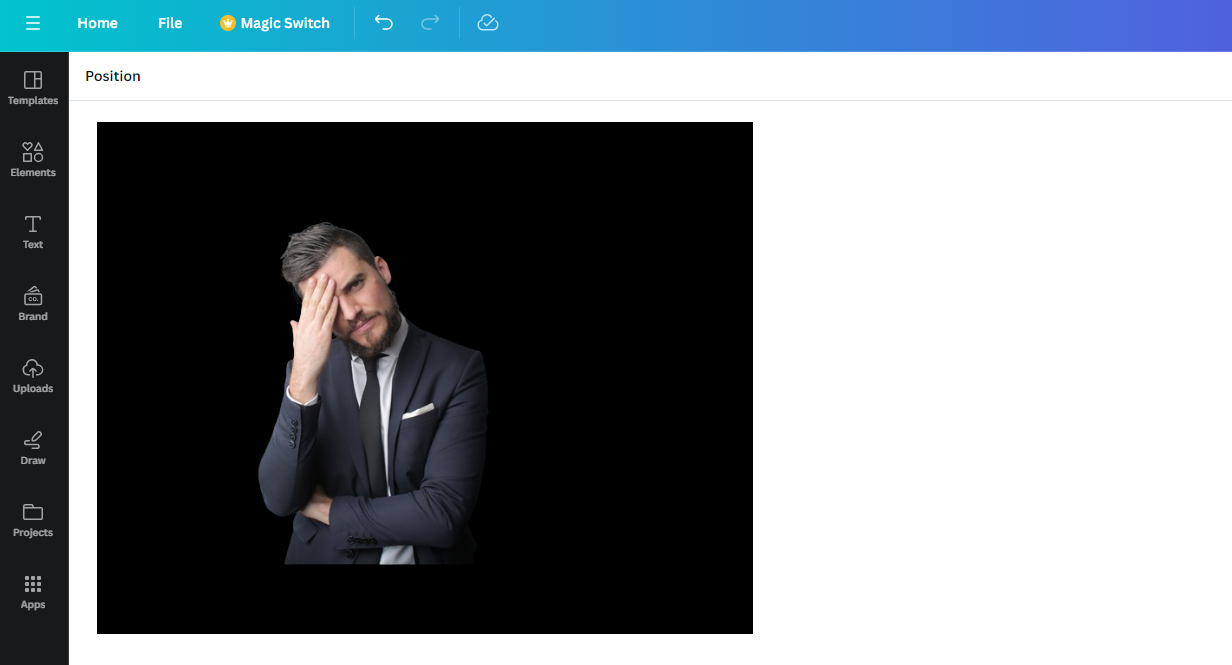
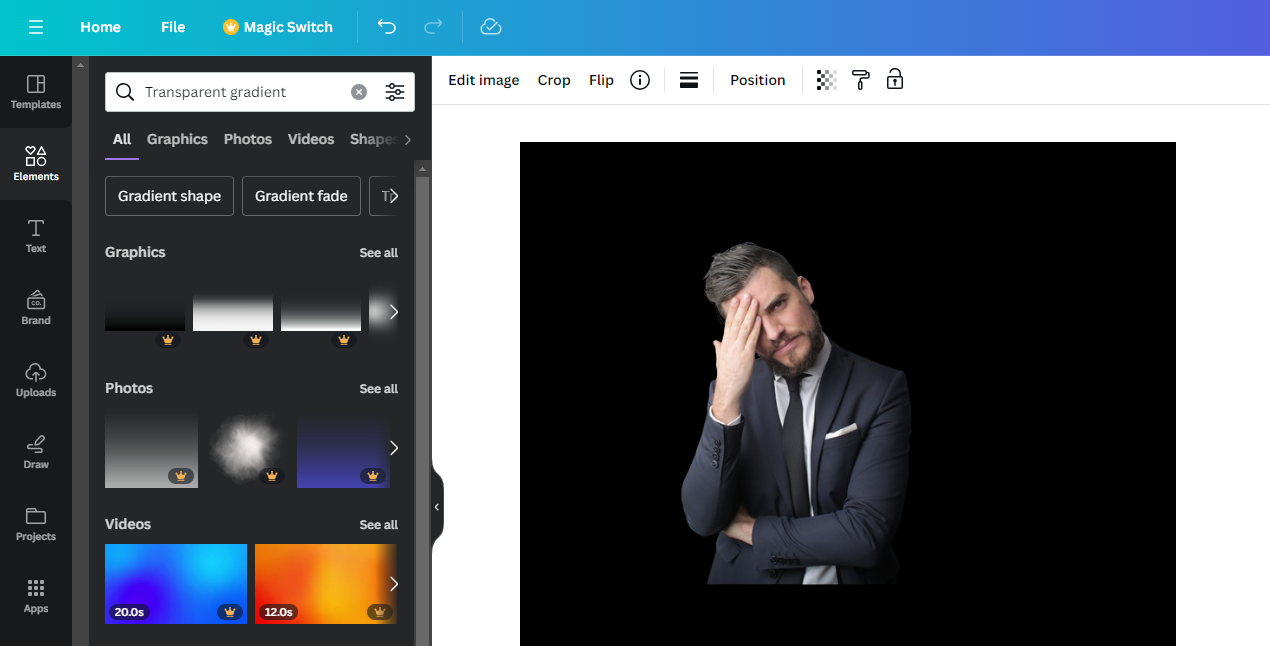
- Once the picture is added to the design, you will find a similar result to the one below, with it popping out of the background.
- Now, to blend the picture with the background, navigate to Elements on the left and click on it. Next, search for Transparent Gradients in the search box and hit Enter.
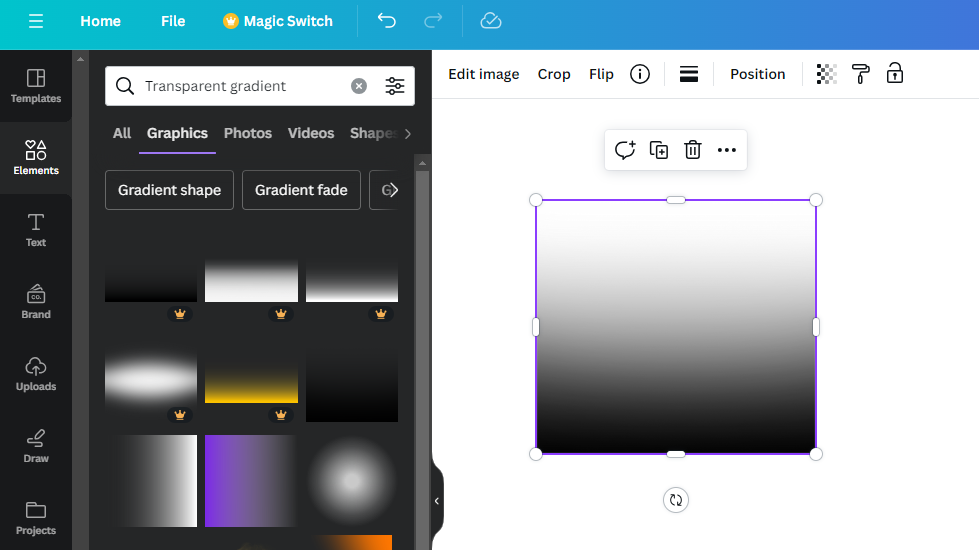
- With the results displayed, click on See all next to Graphics. By doing so, you can find all Transparent gradients listed. Now, click on the one that matches your picture to add it to the design.
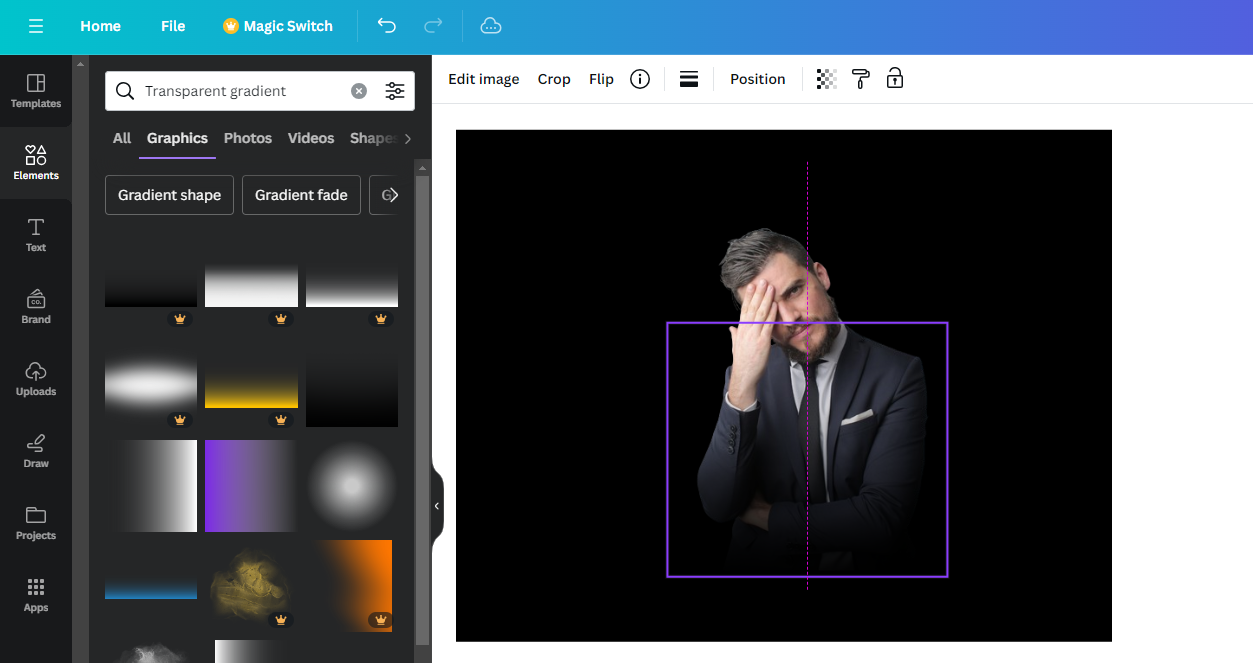
- Once done, move the gradient onto the picture like below to create a blending effect. If it doesn’t fit well, try changing the gradient color and size.
Blend Picture with the Other Picture
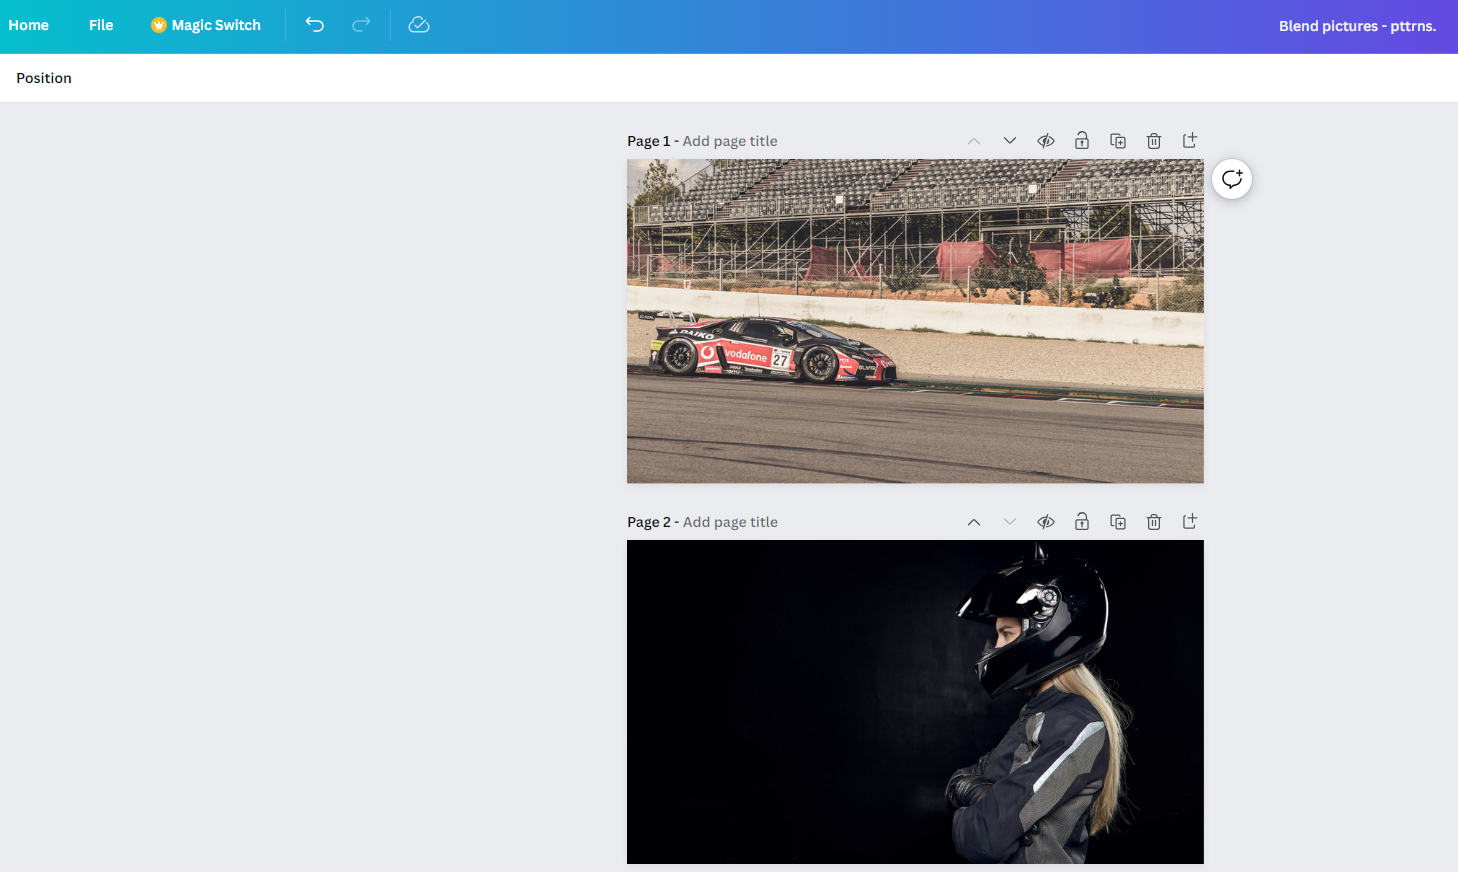
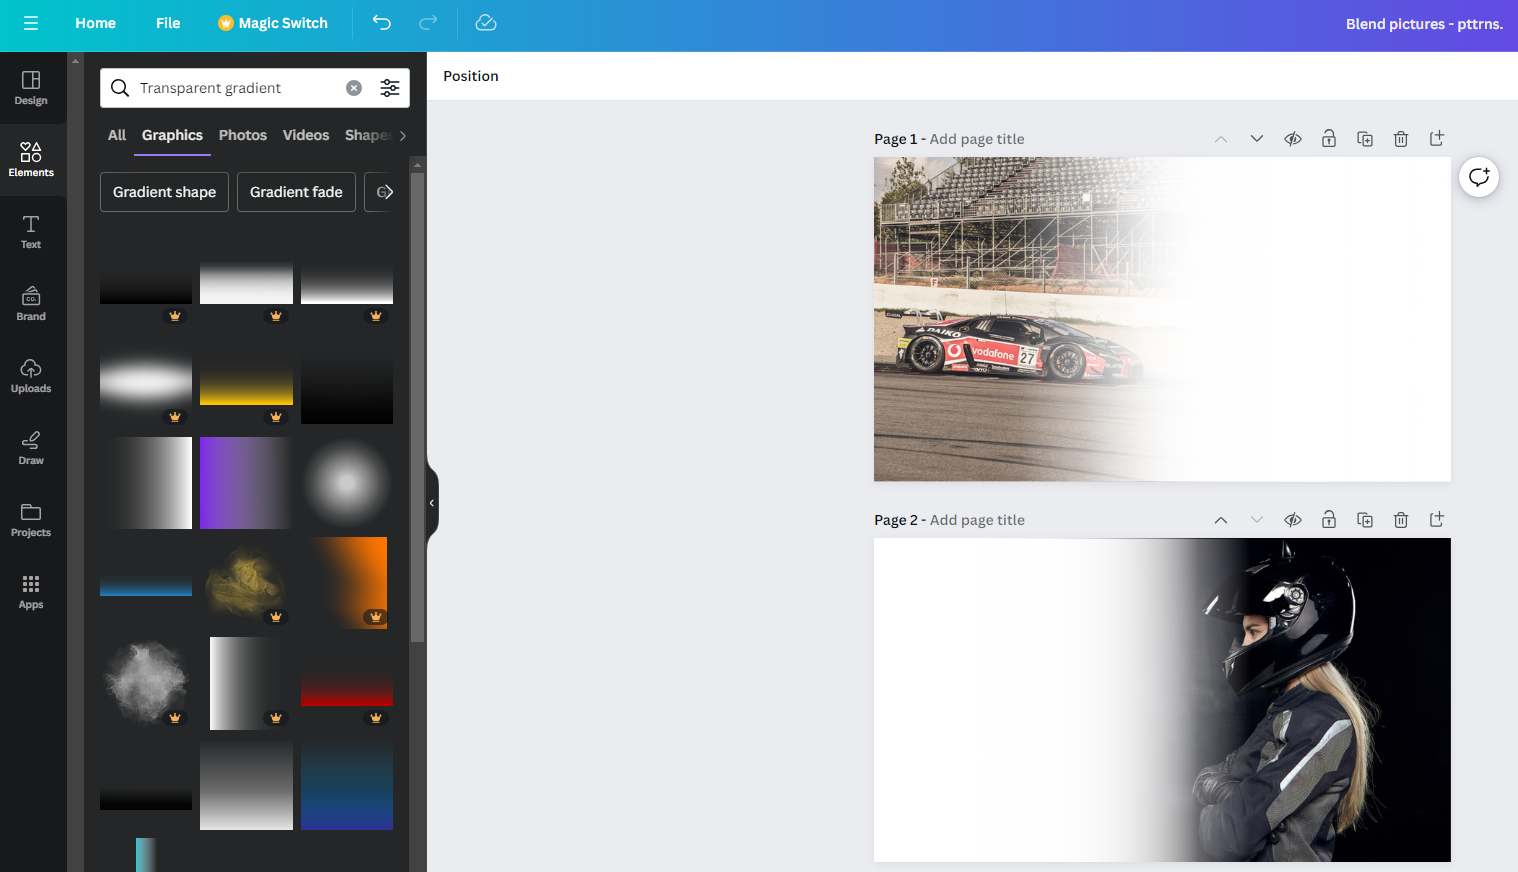
- Begin by opening the project you’re working on and adding both pictures to separate pages like the one below.
- With the images added to separate pages, include Transparent gradients from the Elements to the design like below. If you cannot find a gradient that covers half of the picture, duplicate and overlap on each other.
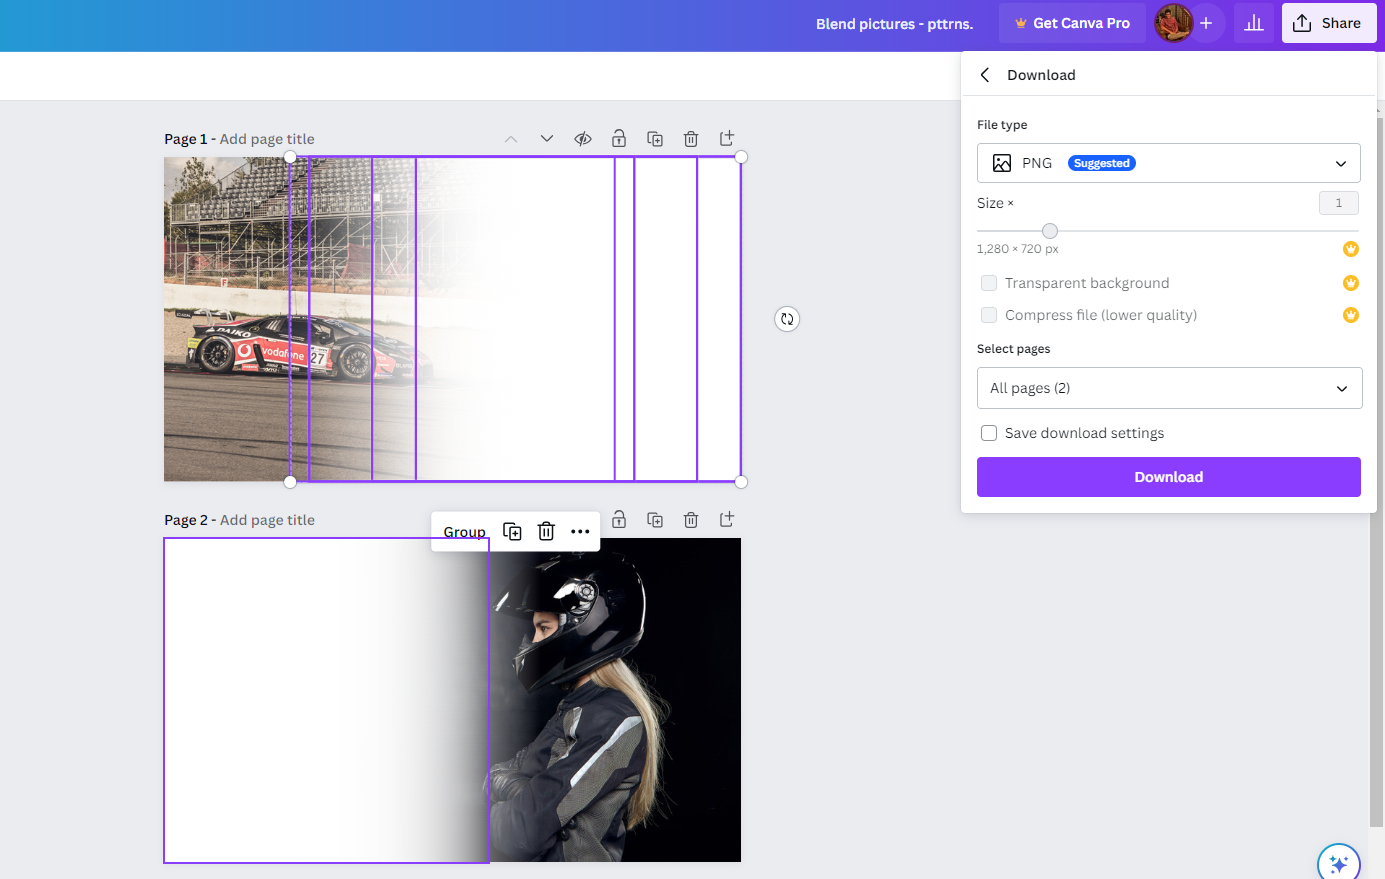
- With the transparent gradients added, download both pages as PNG from the Share button by clicking on Download from its options.
- Next, delete Page 2 and clear all the elements on Page 1. Now, upload the pictures to which transparent gradients are added. Once done, add them to Page 1 by placing one on another.

- Now, reduce the transparency of the top picture by adjusting the slider so that both are visible.
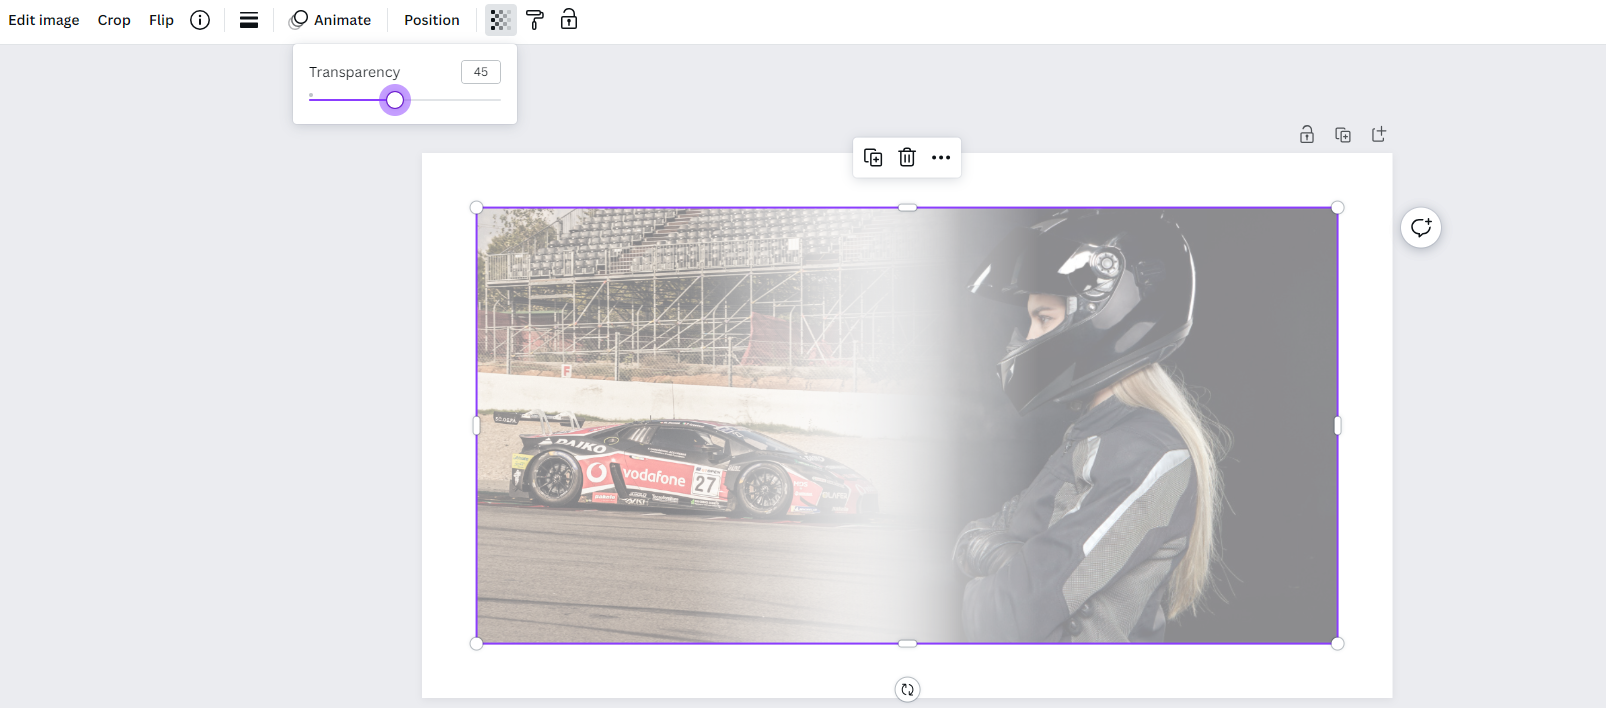
- In this state, the picture is faded and doesn’t look good. To make it better, download it as a PNG to make edits.

- After the faded picture is downloaded, upload it to Canva from the Uploads section and add it to the design. Once done, click on it to reveal the options on the top, and click on Edit photo.
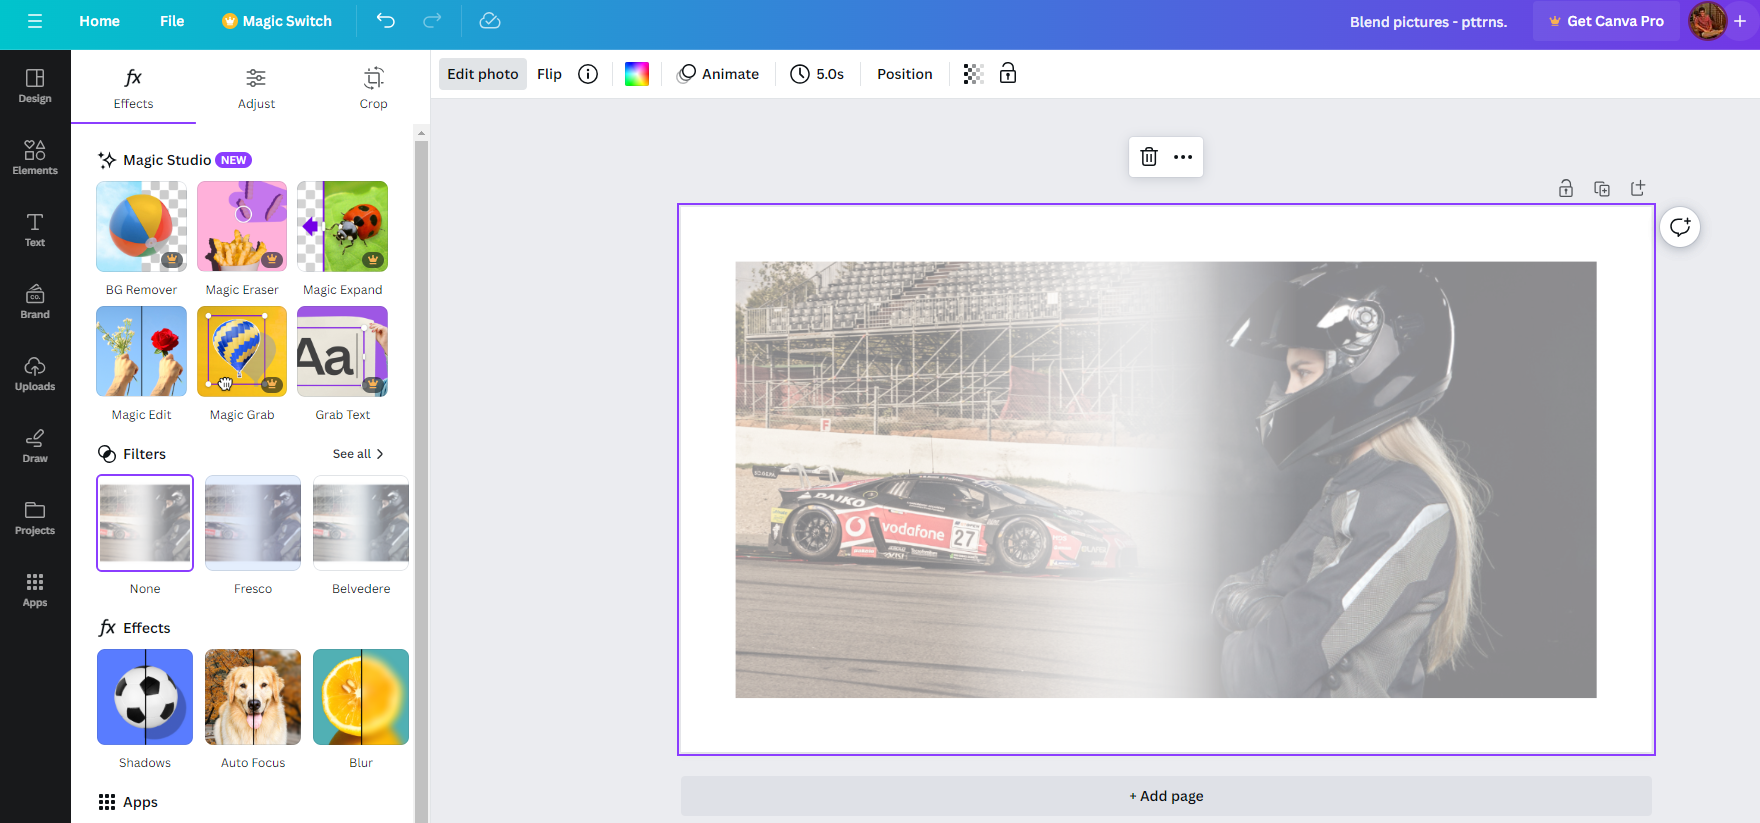
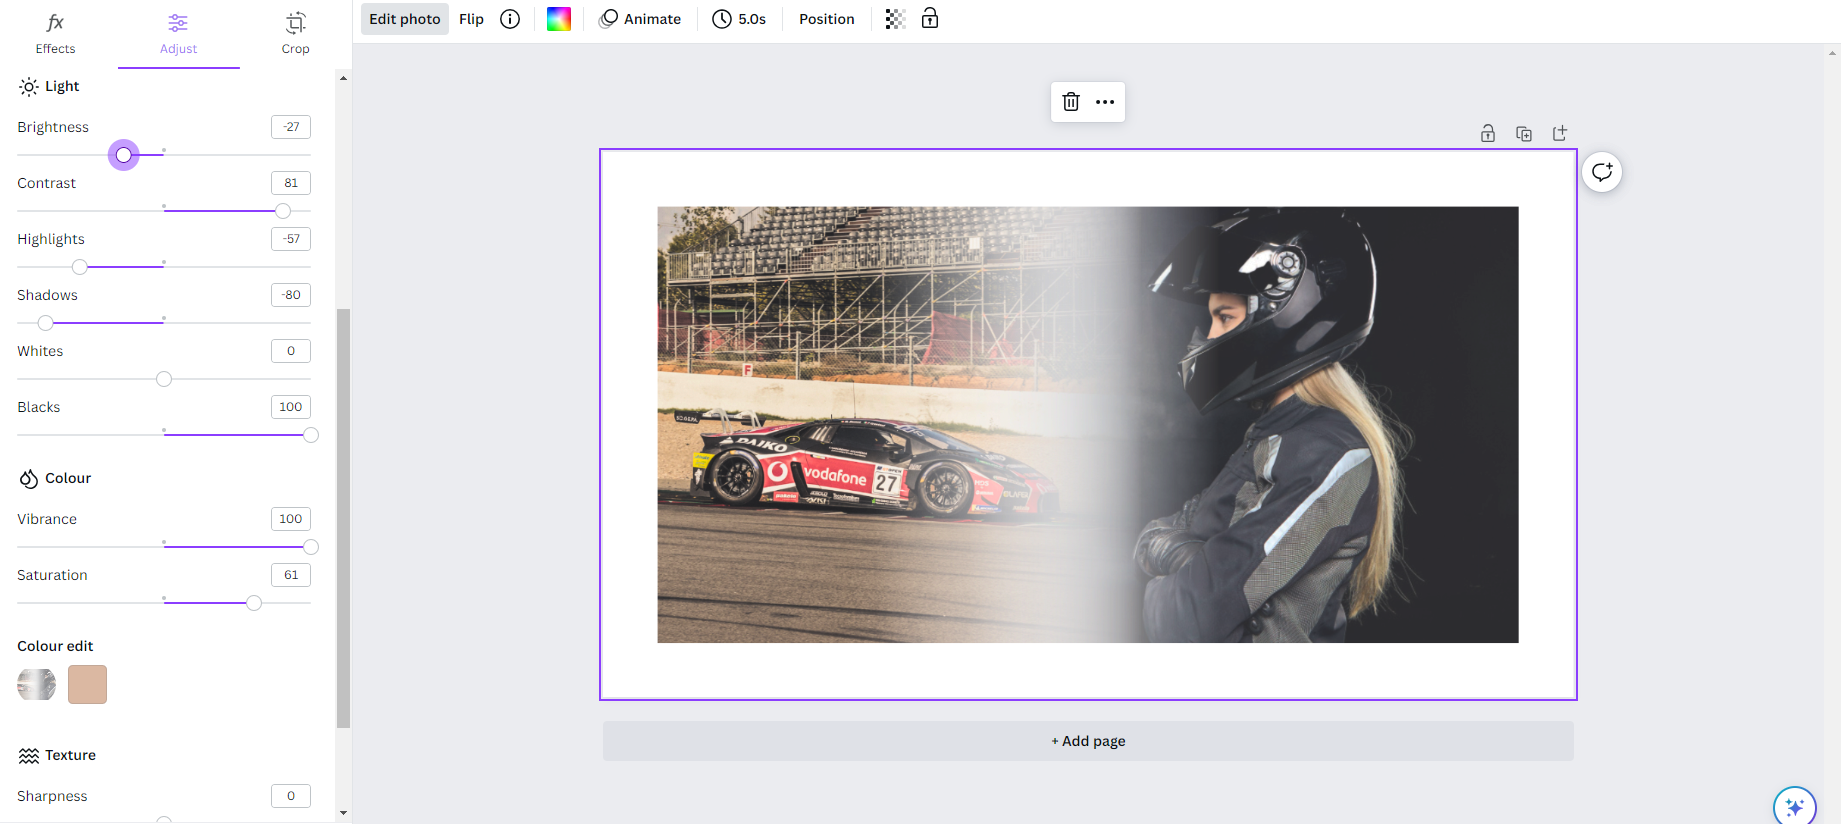
- Now, navigate to the Adjust tab on the left and begin adjusting the sliders to make the picture feel lively. Here is the result after we made changes to the faded picture.
Wrapping Up
Congratulations on learning to blend pictures in Canva!
While Canva can do a great job at blending the picture with a static background, it can turn complicated if you’re dealing with two different pictures. Also, it lacks flexibility, and the blend effects fit well only for certain images.
For best results, use dedicated image editors like Photoshop, and if you find it difficult to learn, the quick alternative is online image editors like Lunapic.
Related Reading
How To Blur Edges of Photo in Canva


