
Learning how to blur the edges of photos can be essential in directing attention, enhancing depth, creating artistic effects, highlighting details, and establishing a visual hierarchy within an image.
If trying to achieve it on Canva, follow the below approaches with detailed steps that can help you blur the edge of a photo right away:
What we cover
Blur Edges of a Photo using Effects
- Start by accessing Canva and opening your ongoing design from the Recent designs section. If you haven’t started any design yet, begin by selecting Create a design and choosing a design to start with.
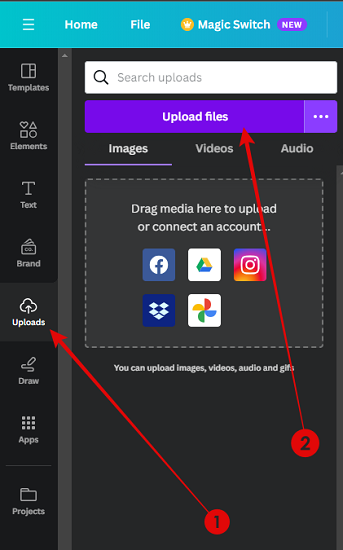
- To add an image to your design, if not done already, go to the Uploads section on the left-hand side and click on the Upload files button. Once it is uploaded, click on it to add it to your design.
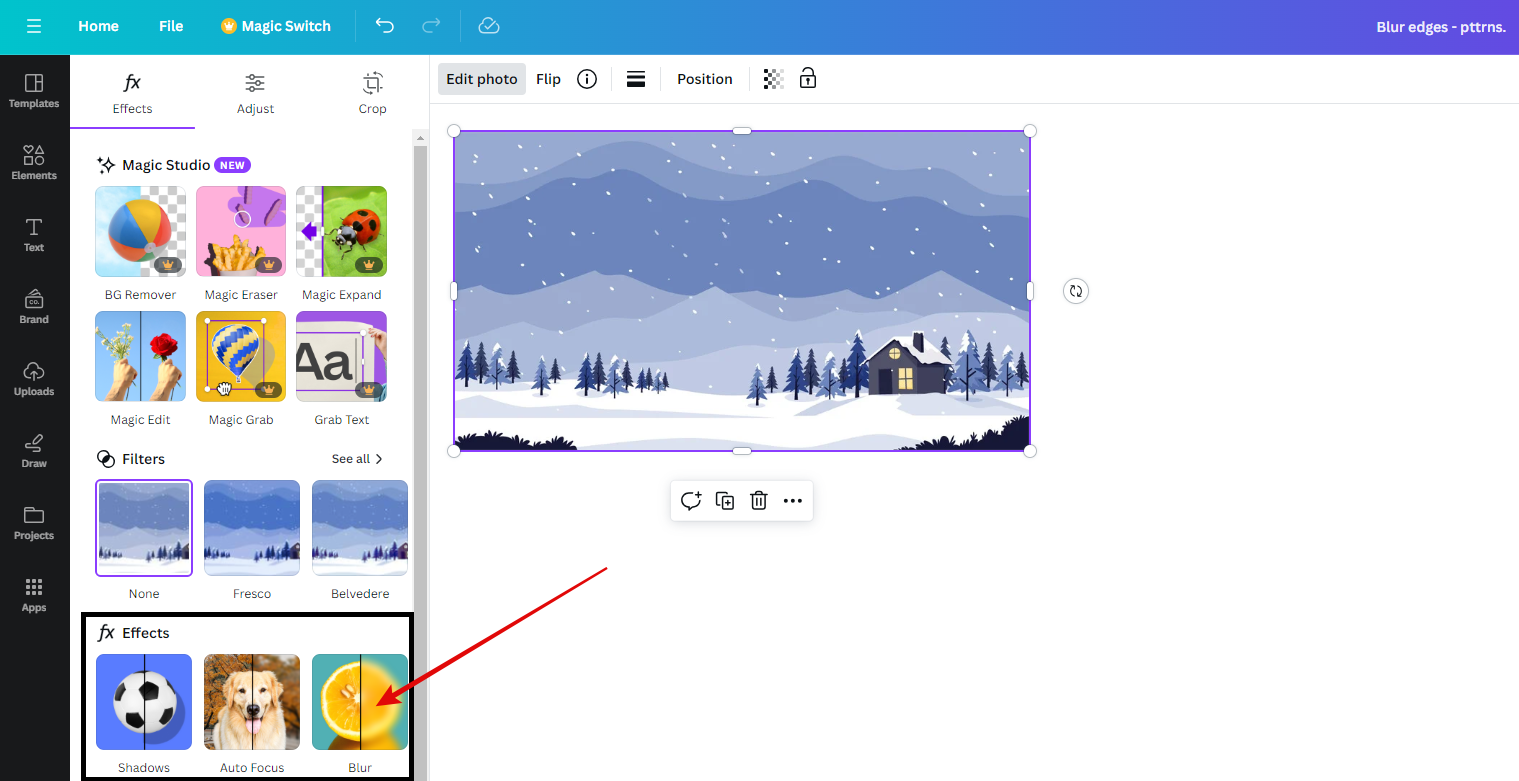
- After adding the image, click on it to reveal options located at the top. From these options, choose Edit photo. Now, navigate to the Effects section and click on Blur.
- With the Blur tool loaded, adjust the brush size and intensity. Next, pass the brush along the edges of the photo like below.
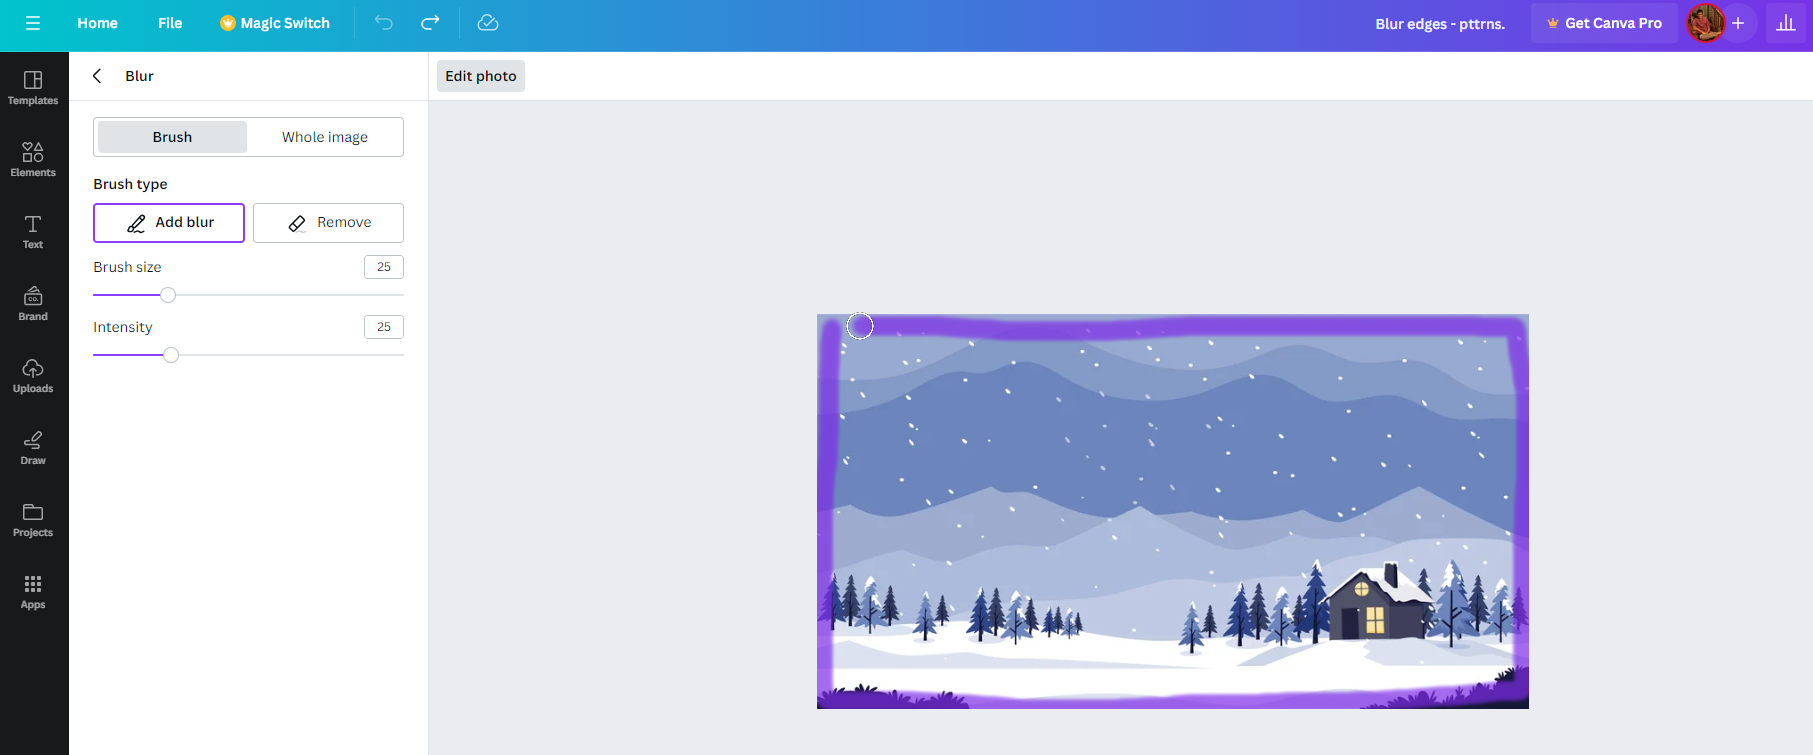
- If you have marked the brush accidentally, use the Remove button to restore the photo by removing the blur effect created. Once you’re done making changes, you might see a similar result to the one below.

Blur Edges of a Photo using Gradients
While the Blur tool works exceptionally well, the brush goes uneven when applying the blur effect. Unfortunately, no preset shapes were offered to avoid such irregularities.
However, there is a way around it. While it isn’t the right alternative and doesn’t offer customizations, it fixes the irregularities.
- Begin by repeating Steps 1& 2 from the above approach, and if done right, the image is added to the design.
- Next, navigate to the options on the left and click on Elements. Now, type Transparent Gradient in the search box associated with the Elements tab and hit Enter. Once you’re displayed with results, click on the Graphics tab to display all available transparent gradients.
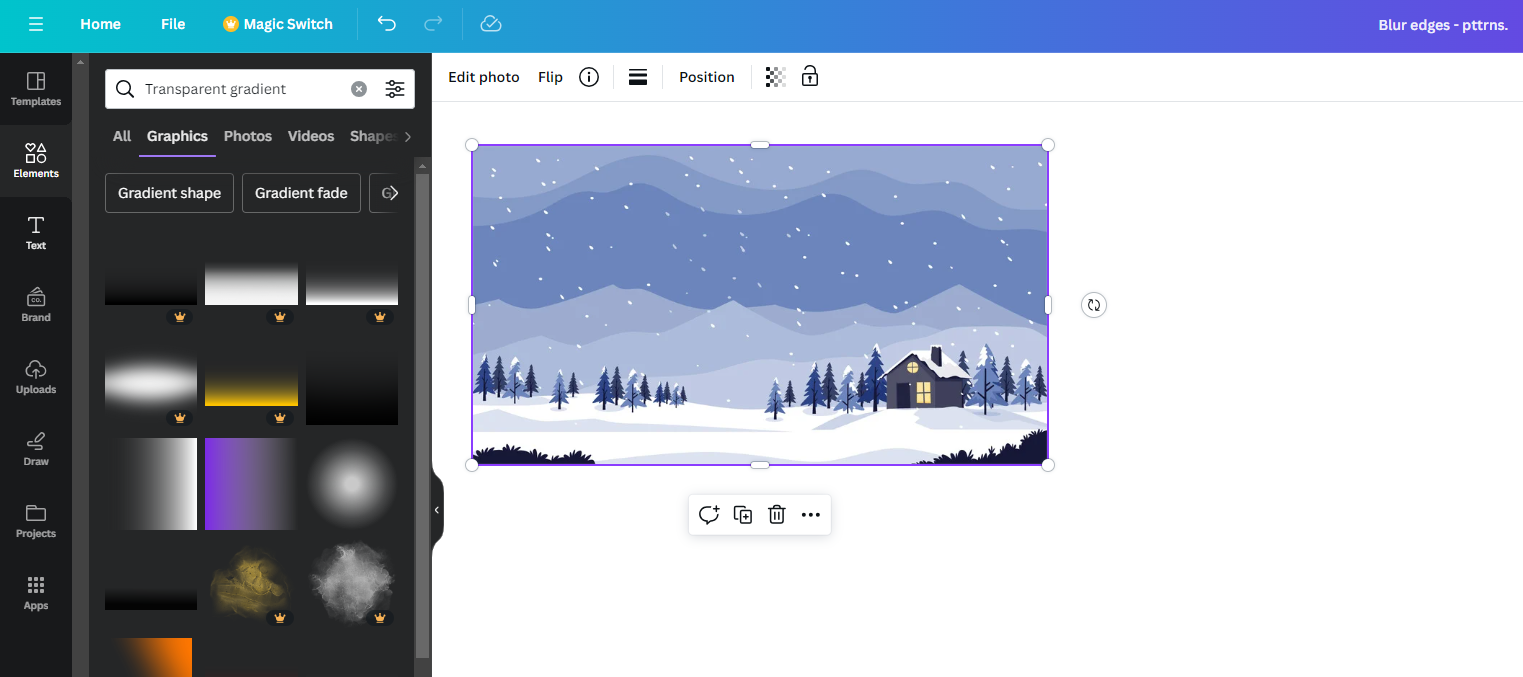
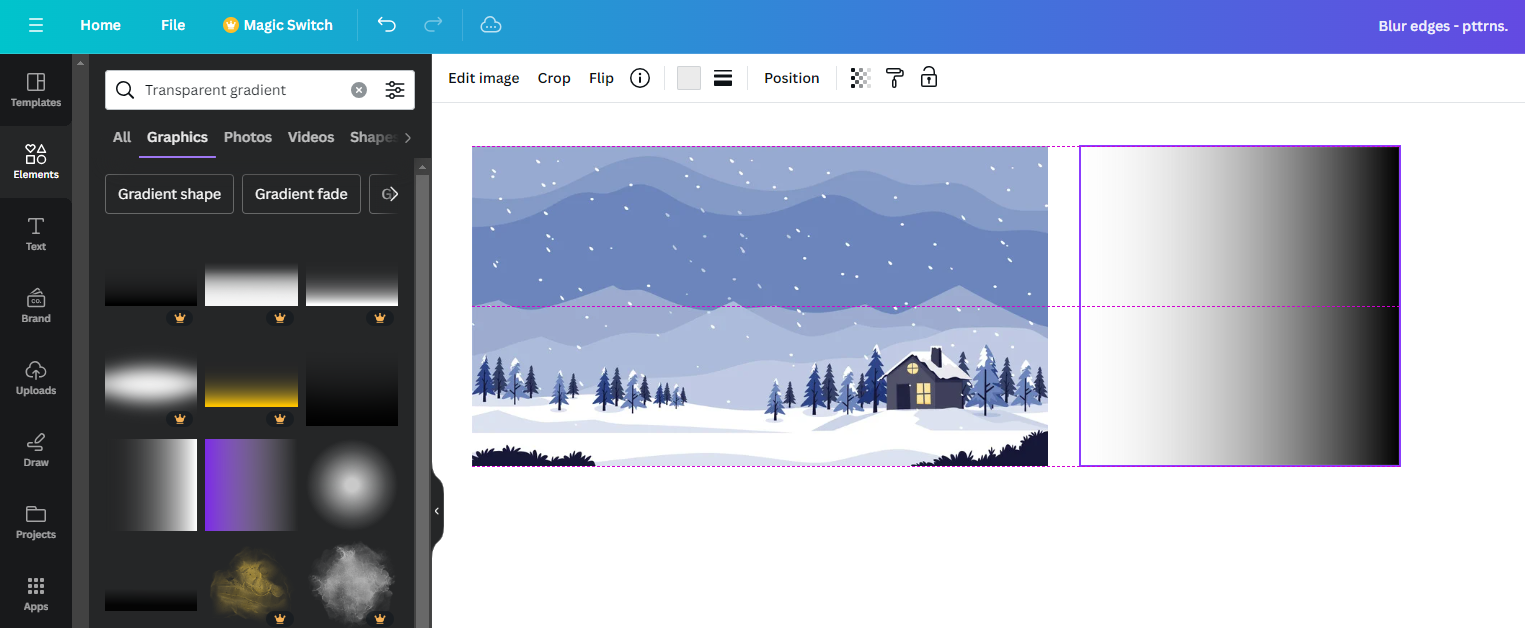
- Now, add the transparent gradient to the design that matches your photo by clicking on it. Next, adjust the height and color of the gradient accordingly. [Refer to the below image for better understanding]
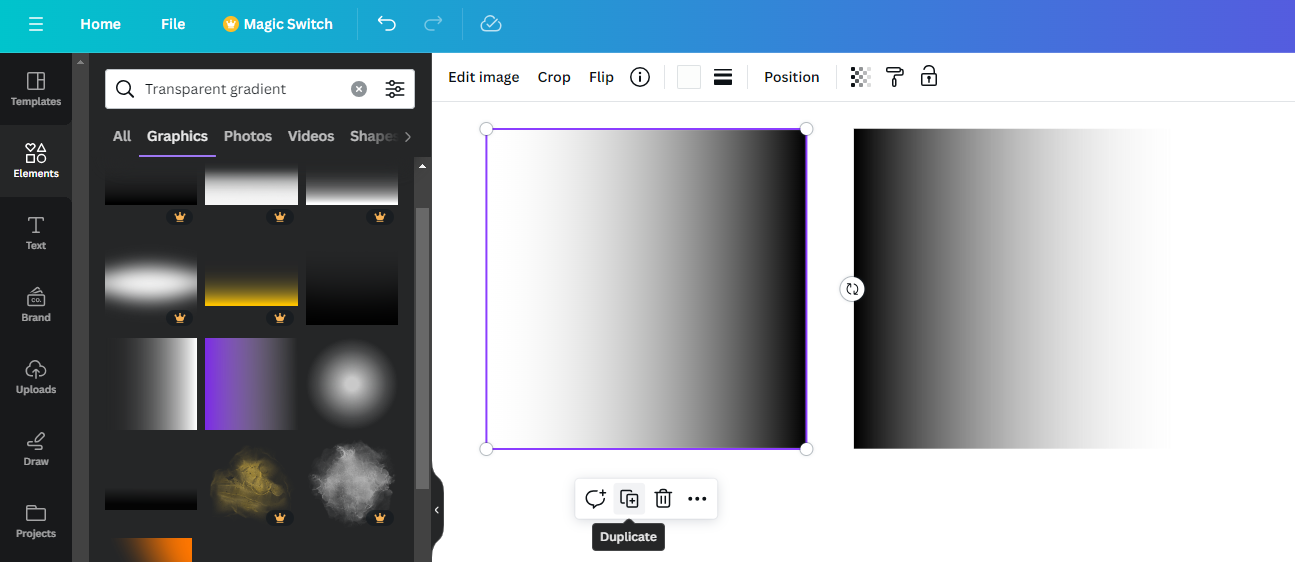
- Next, duplicate the gradient and rotate it 180 degrees to create a mirror copy of it. [Refer to the below image for better understanding]
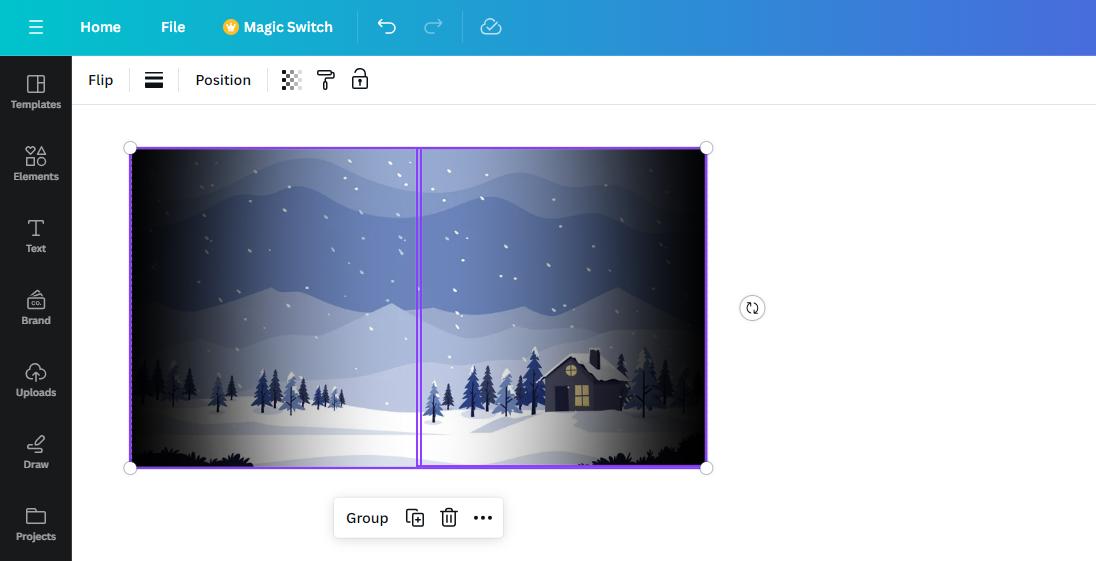
- With the gradients ready, move them onto the photo and align their edges with the photo edges. If you have done it right, you will get a blur effect around the edges like below.
Wrapping Up
Congratulations on successfully creating a blur effect on the edges of your photo!
While the approach that involves using gradients creates engaging blur effects, it fails when the image borders are uneven or if the shape is other than a rectangle or square.
Hence, if you’re looking for the best result, you might be disappointed with Canva. In such a scenario, consider using online/open-source/paid image editing tools for more flexibility and customization.
Related Reading
How To Make 2×2 Image Size in Canva


