
Are you working on creating vector files in Canva for the first time? Worry not! Check out the detailed steps provided to do it with ease.
Vector files are used in graphic design, marketing, branding, and multimedia presentations for their ability to resize without losing quality, ensuring clear visuals at any size. Also, they’re easy to edit and have small file sizes, making them adaptable across different media types.
What we cover
Create Vector Files in Canva
The creation of vector files in Canva can be done right away through a few steps. However, the limitation lies behind downloading the design as a vector, as it is available only for Canva Pro and Canva for Teams users.
If you have access to Canva’s premium versions, follow the below steps to get started:
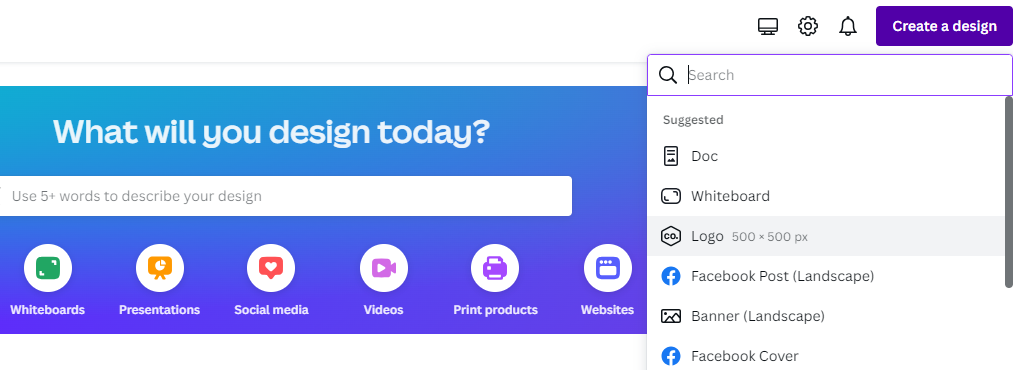
- Start by opening the project you’re working on or create a new layout by using the Create a design button from the home screen. For demonstration, we have selected Logo and suggest doing the same if you’re working on logo creation.
- After the existing/new project is loaded, start by working on creating a design. While this could take a while, and considering there isn’t a common design to explain, do it on your own.
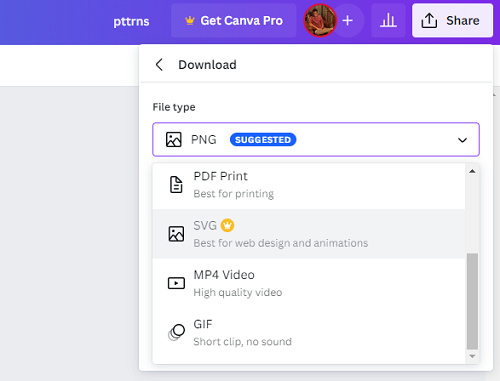
- After you have finished designing your design, like we have done in the above picture, download it as a vector. To do this, navigate to the top right corner and click on Share, and from its options, click on Download.

- Doing this opens a separate box featuring all the download options. Now navigate to File type, select SVG [Scalable Vector Graphics] from its drop-down, and then click on the Download button.
What to do if I don’t have Canva Pro?
If you have successfully finished the design on Canva and couldn’t download it as a SVG file, worry not, as there is a way around and the below steps will help you through:
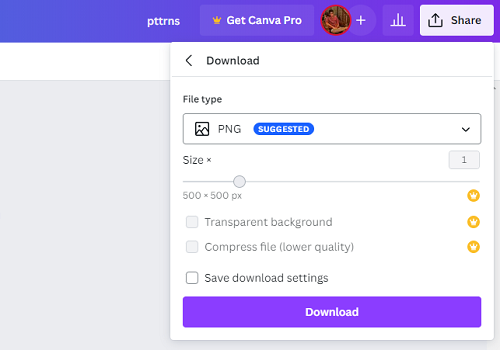
- Considering you have finished the design and have realized that the SVG option isn’t available, select either PNG or PDF from the drop-down and click on the Download button.
- Once the design is downloaded as PNG, open a new tab on your browser and navigate to Online Image Vectorizer.
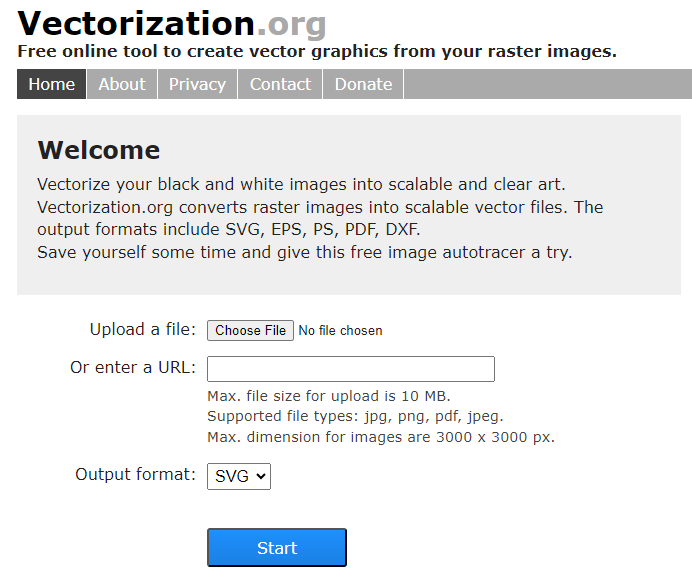
- After the webpage is loaded, start by uploading the PNG file downloaded earlier of your design developed in Canva through the Choose File button. Next, adjust the Output Format and click on the Start button.
Pro Tip: Many usually get confused between SVG [Scalable Vector Graphics] and EPS [Encapsulated PostScript], and if you’re facing the same, here is a quick explanation:
EPS is preferred for print projects or compatibility with Adobe software. On the other hand, SVG is well-suited for web-based graphics and modern web design needs.
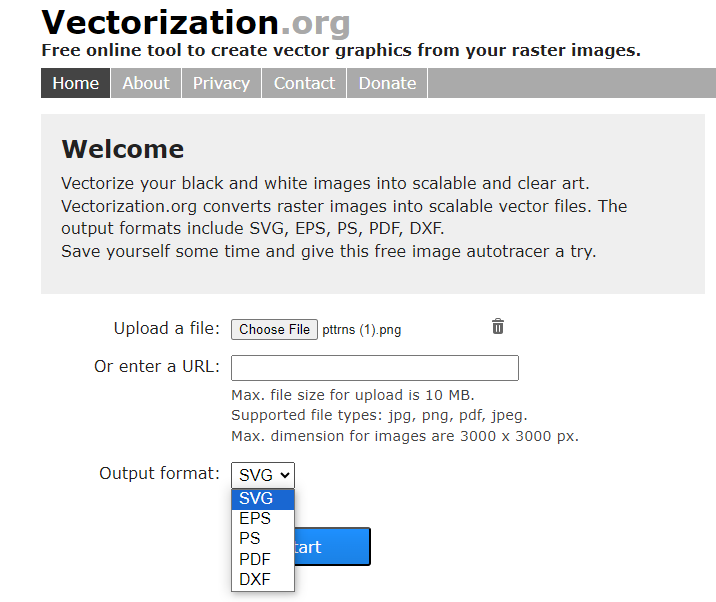
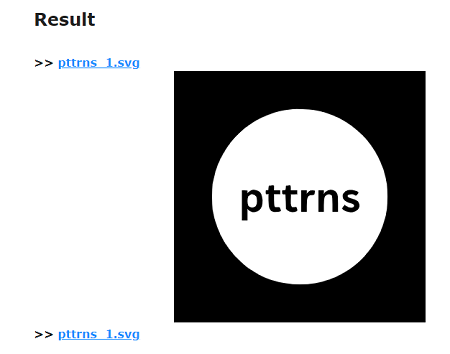
- For demonstration, we have selected SVG. Now, wait for the tool to vectorize the image, and you’re displayed with a preview. Click on the preview or file name to download the image as a vector file.
Wrapping Up
Congratulations on creating a vector file in Canva!
The quality of the design after converting to a vector file can result in some minor imperfections. While the online vectorization tools do a great job with the conversion, we suggest processing the PNG through similar tools until you find the best one.
If you’re working on sensitive data or want perfect results, download the design developed in Canva as PNG/PDF and convert it to a vector file in Adobe Illustrator.
FAQs
How to convert PNG/PDF files to EPS in Adobe Illustrator?
1. Start Adobe Illustrator and begin by opening the file and removing all clipping masks in it. You can do this easily by selecting everything, then right-clicking or going to “Object” and choosing “Release Clipping Mask.”
2. Next, delete any white boxes around your logo to clean up your design.
3. Now, click on “View” and choose “Outline.” After the outline is displayed, delete any remaining boxes you see to ensure you’ve removed all white boxes.
4. Usually, the imperfections are caused by the text, so make sure your text is turned into vectors. To do this, select the text, right-click, and select “Create Outlines.”
5. Once you’ve finished preparing your design, it’s time to export. Go to “Object,” then “Artboards,” and select “Fit to Selected Artwork.”
6. Save your work by going to “File” and selecting “Save As.” Now, from the available options, click on EPS format, and while doing so, ensure that the “Transparent” option is checked.
Related Reading
How To Create 300 DPI Images Using Canva
How to Remove Backgrounds in Canva
How To Replace an Image in Canva


