Canva features a wide range of images and videos which are customizable and easy to work with. While it supports modification of GIFs, there isn’t any available to get started unless uploaded.
To address this, we will guide you on how to create a GIF from scratch (image and video) right away through the detailed steps below.
What we cover
Make GIF in Canva using an Image
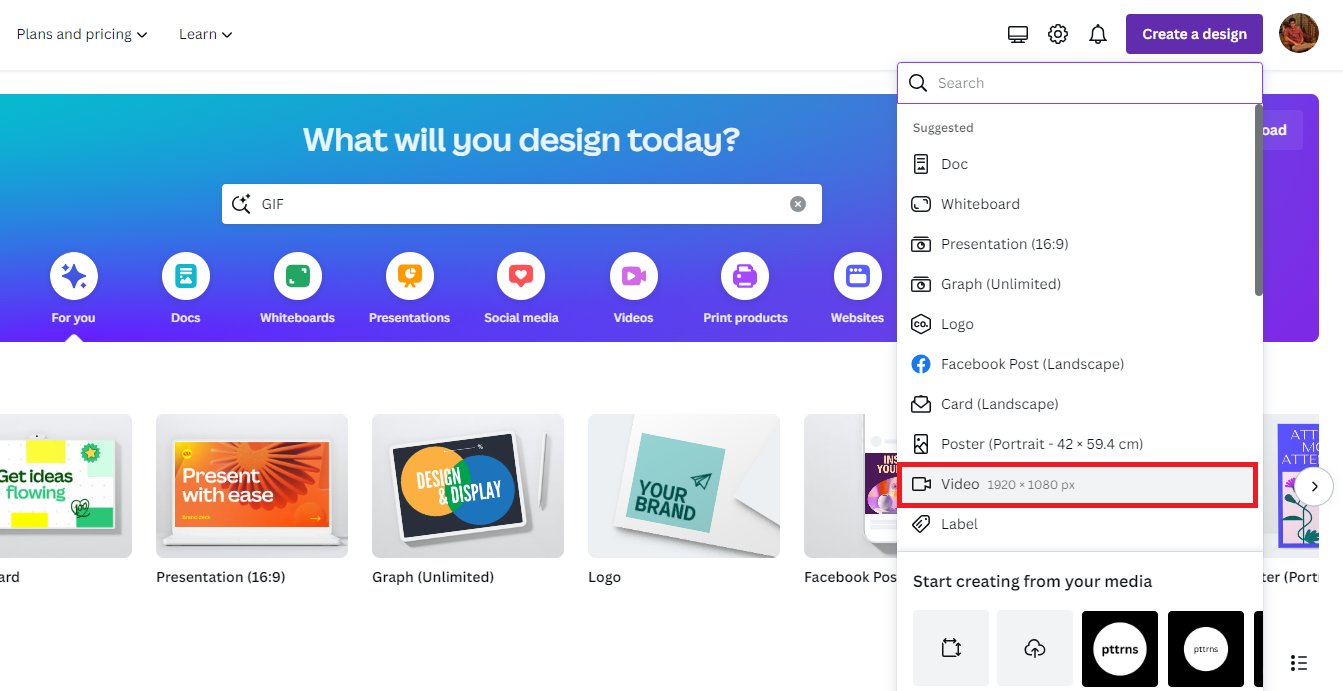
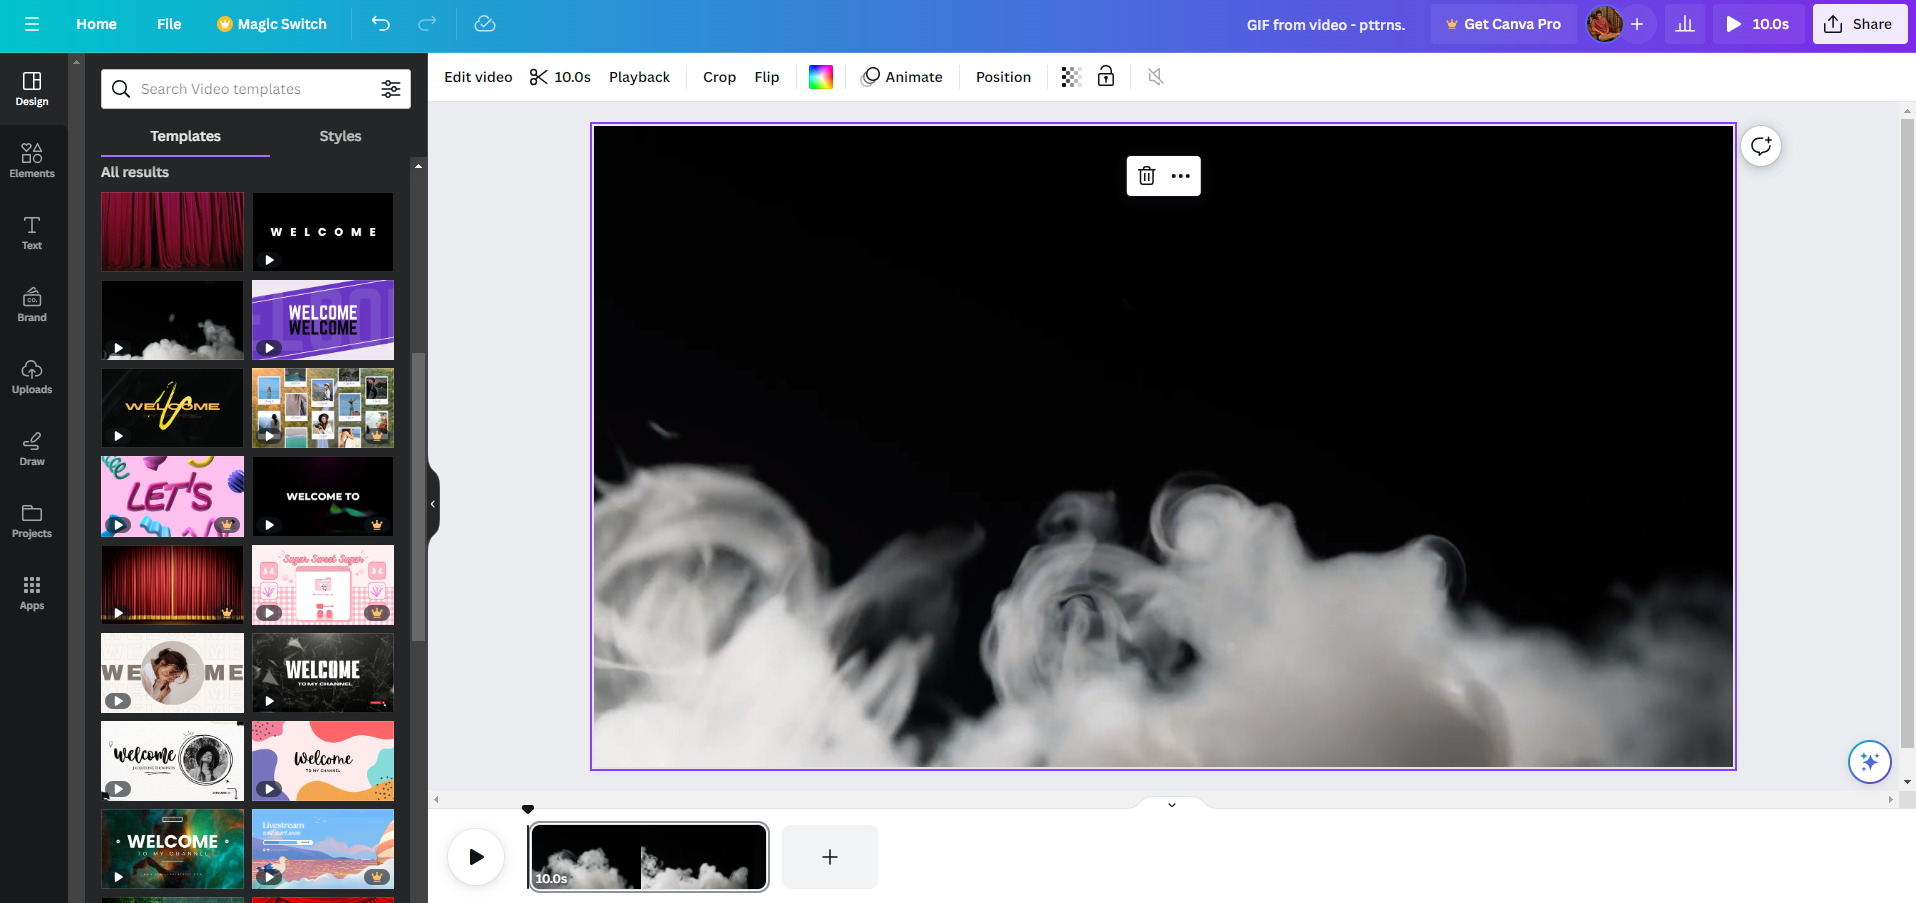
- Start by navigating to Canva and sign in with your credentials. Once you’re redirected to the home screen, begin by navigating to the Create a design button, click on it, and choose Video.
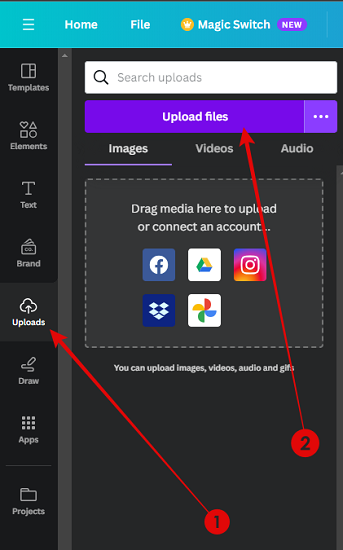
- Now wait for the design to load, and once all options are visible, navigate to Uploads and select an image to add to the design by clicking on it. If you haven’t uploaded it yet, do so by pressing the Upload files button.
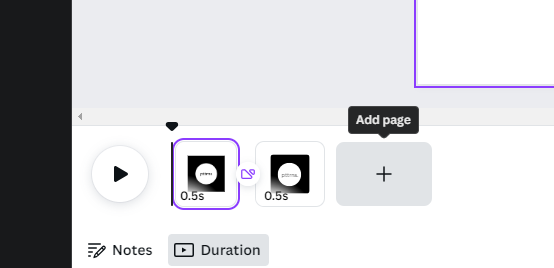
- With the image added to the design, add another page that features the result. While it isn’t necessary to be in this pattern, you can add multiple pages and include images, text, transitions, and animations to your liking. However, the last page must be the result.
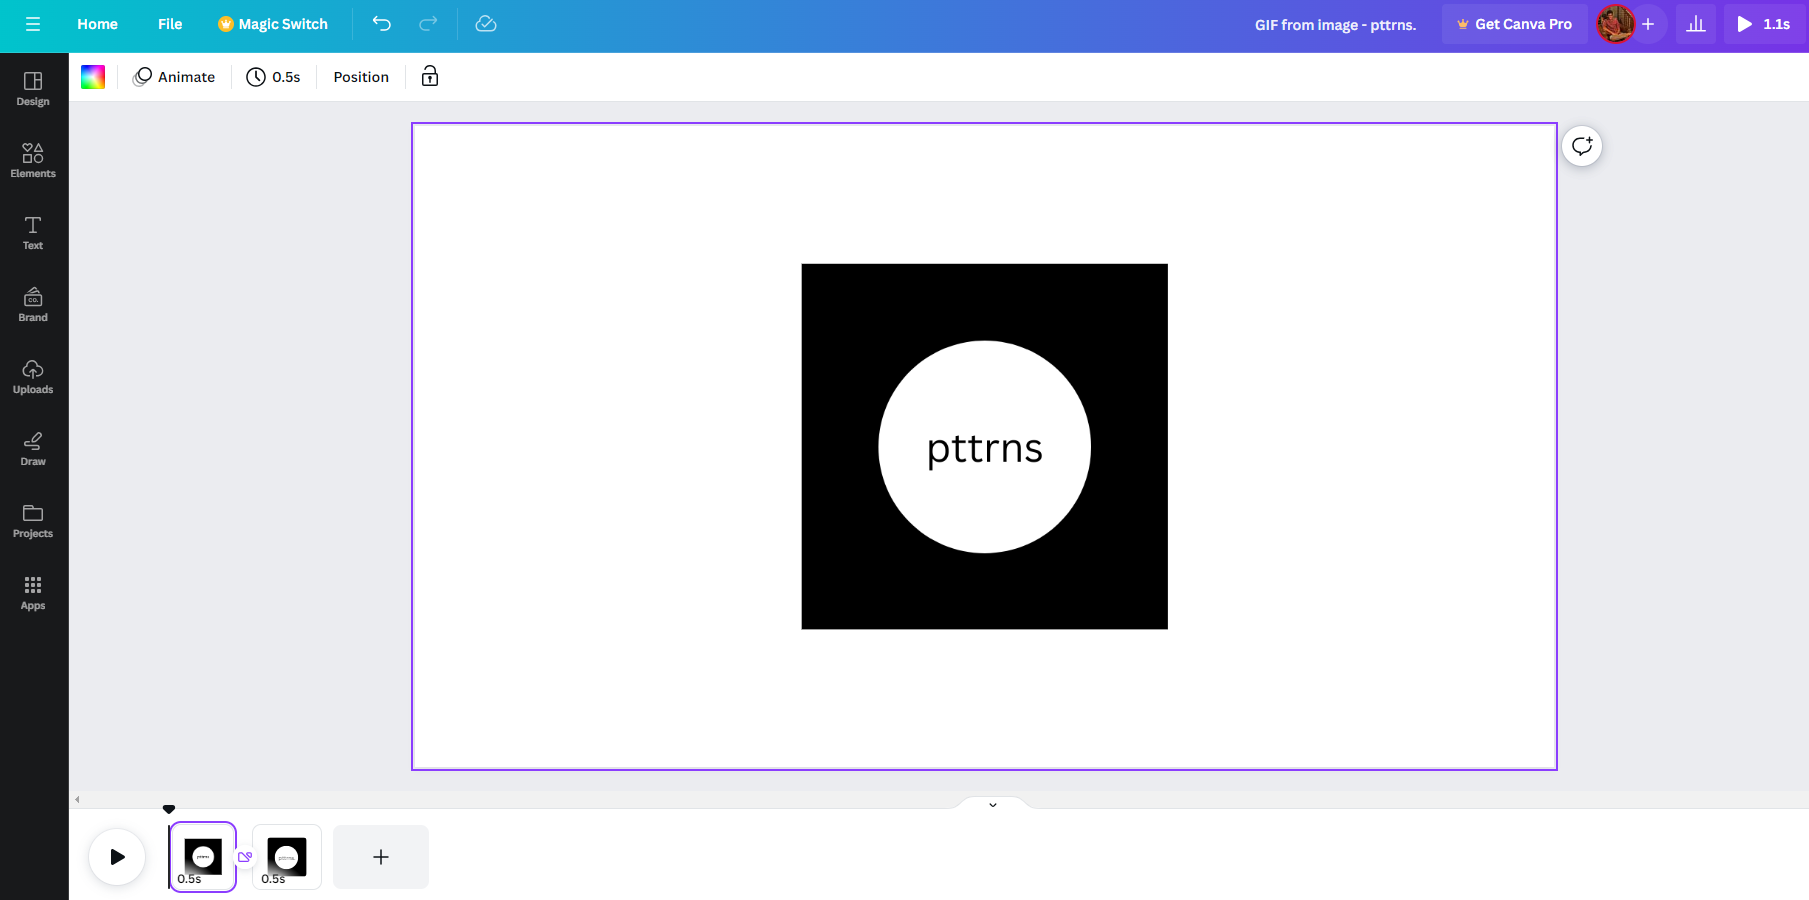
- For better understanding, we have created a simple GIF featuring two pages. The first page of the design features the starting frame of the GIF (Refer to the image below).
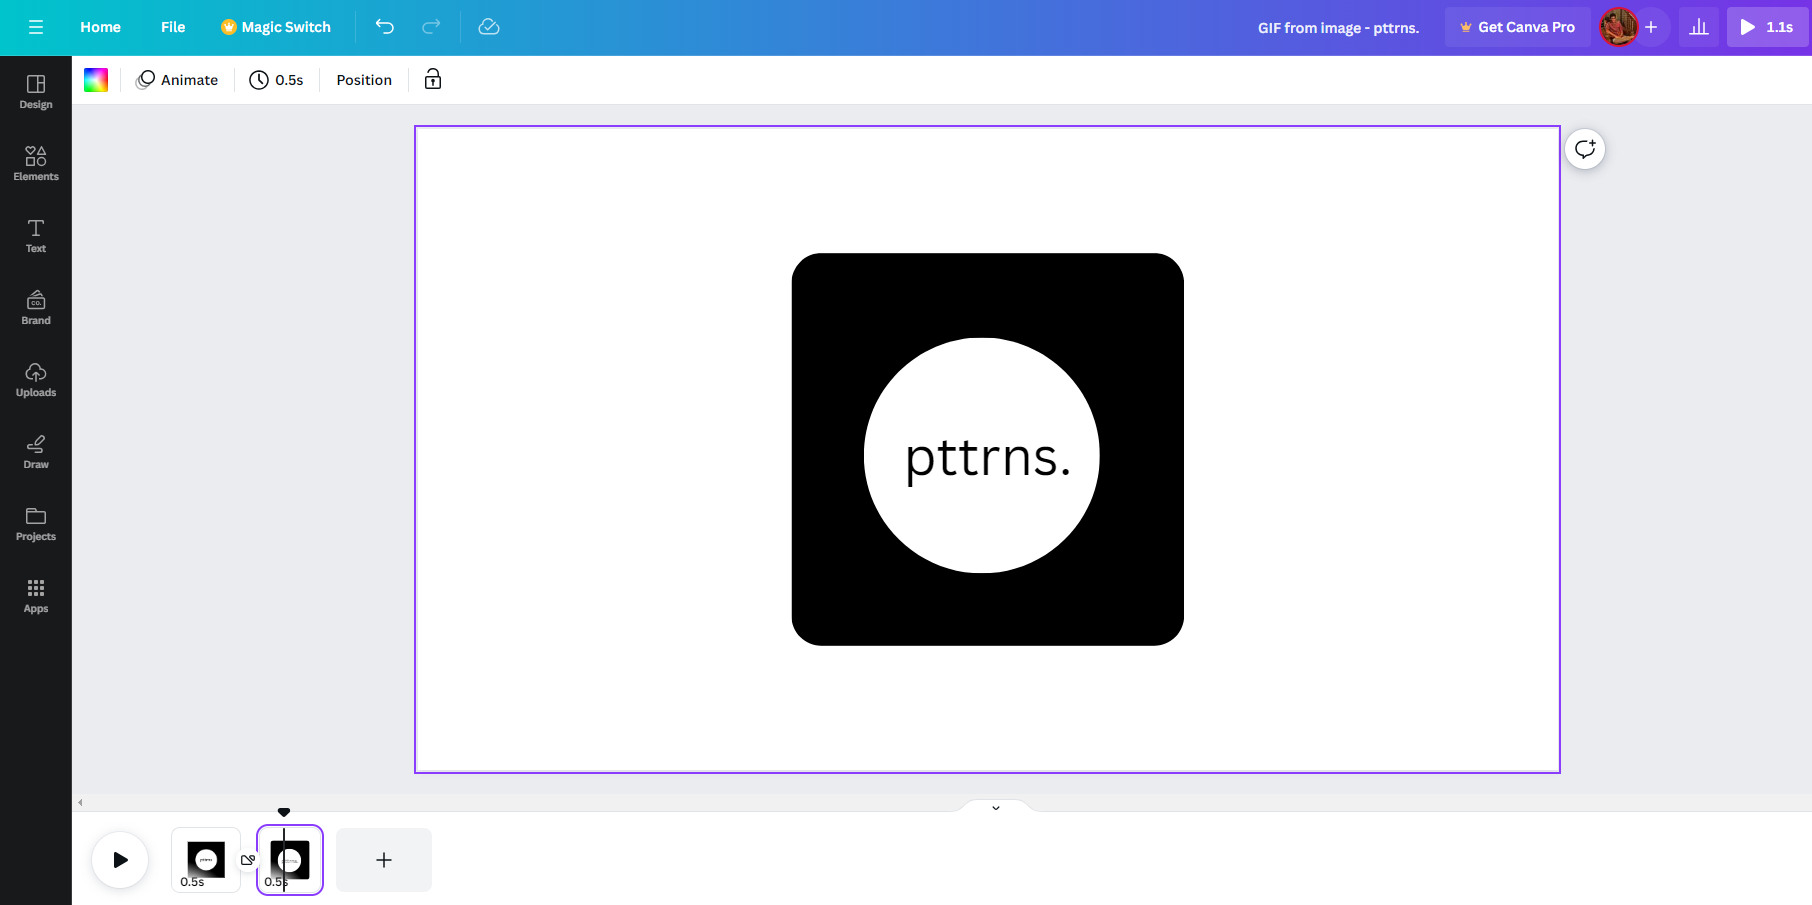
- Next, we added another page and included the final frame of the GIF in it (Refer to the image below).
- With starting and ending frames, the design is ready to be converted. However, it doesn’t feel engaging, so we have added a transition between both pages.
- To do it, click on the Add transition option, which is displayed on clicking the three horizontal dots icon present in each page preview (Refer to the image below).
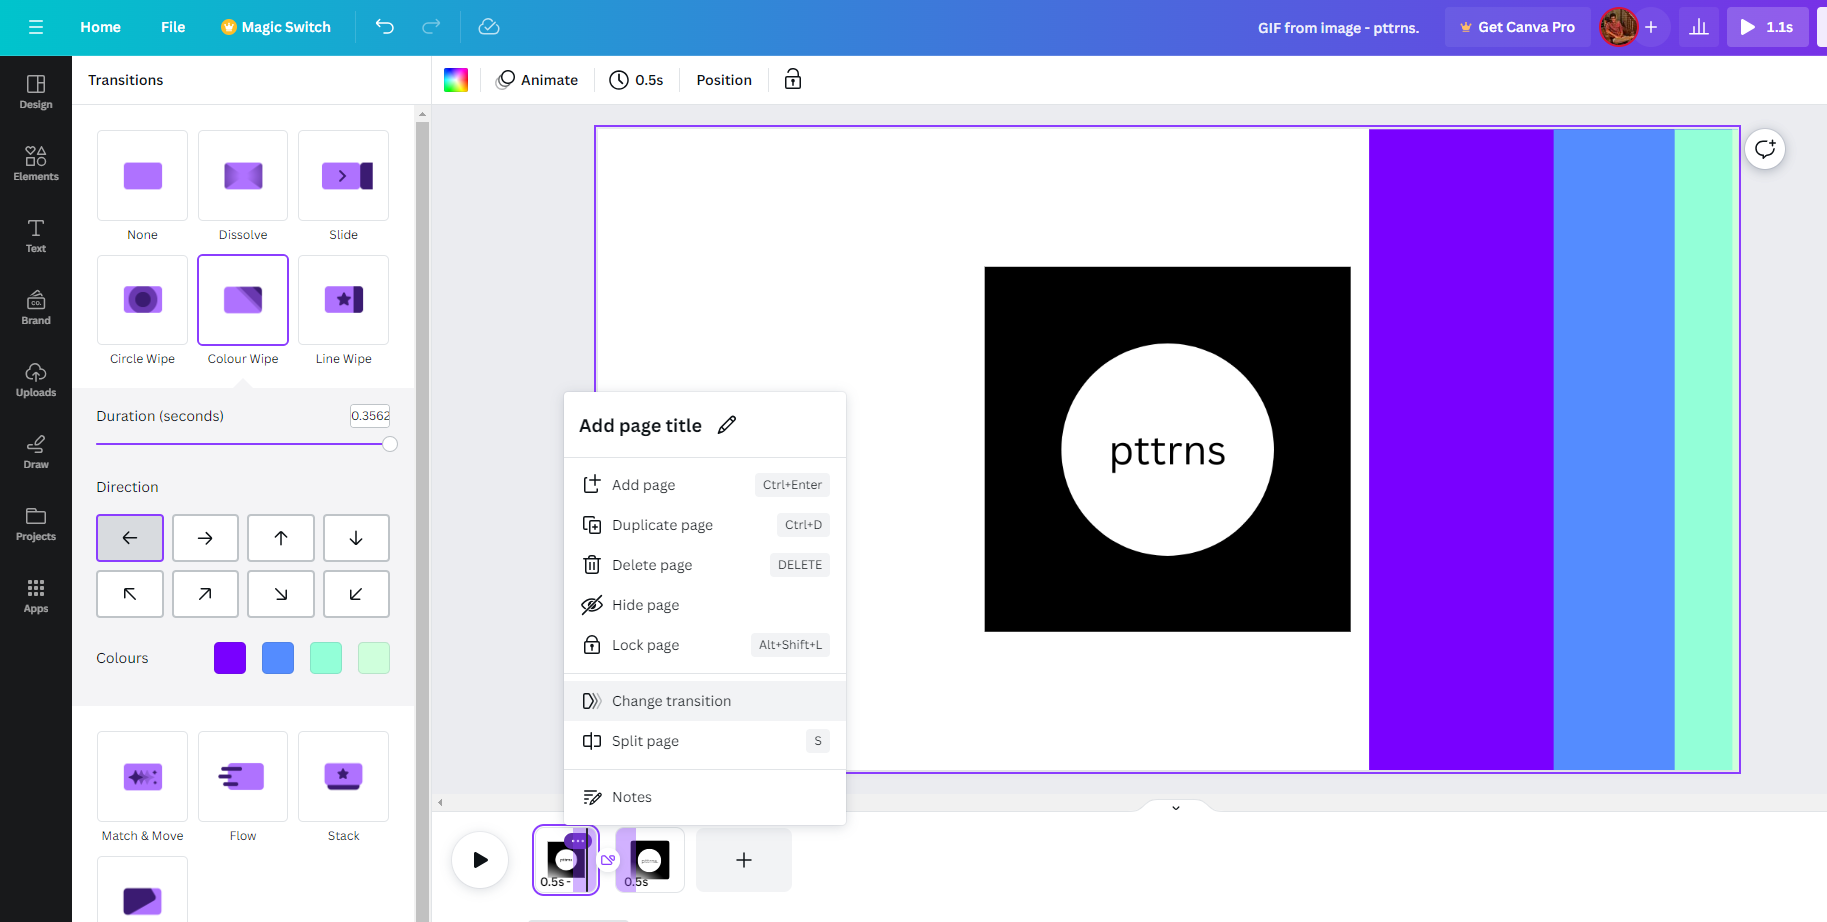
Note: Adding transition can turn tricky if you’re doing it for the first. We suggest you keep experimenting by adjusting the duration and editing the timer. Doing this is important as it remains the same for images and text, and here is our result for reference:
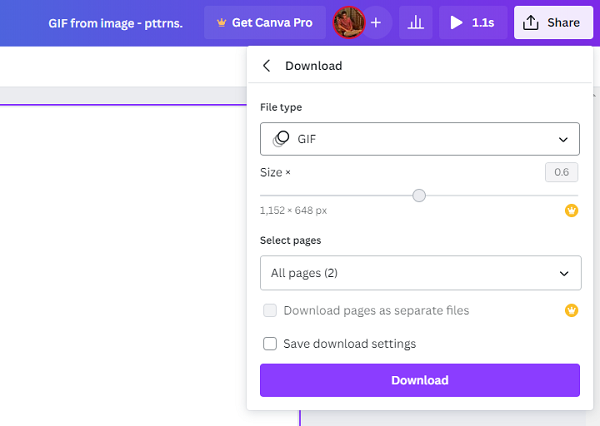
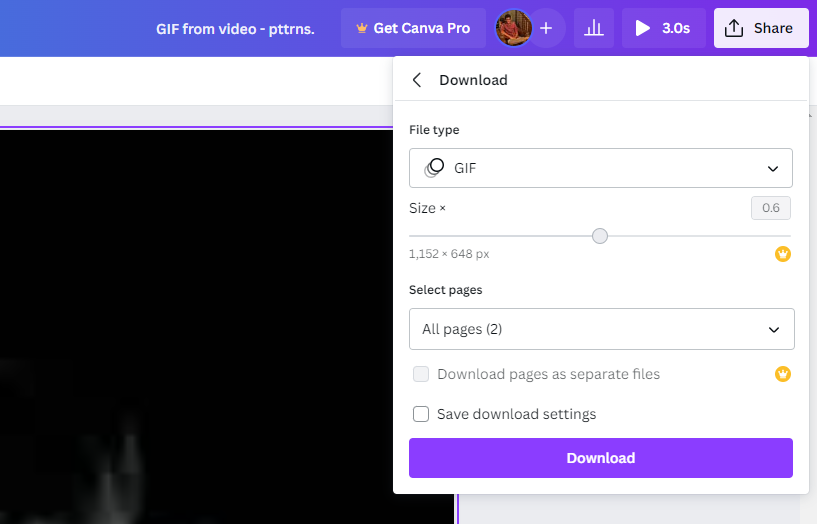
- Once you’re happy with the edits, navigate to the Share option in the top right corner and click on it. Next, from its options, click on Download, and once a dedicated downloads section appears, set the File type as GIF and click on the Download button.
Make GIF in Canva using a Video
While the process of making a GIF using images features multiple steps, if you’re using a video, it gets a little easier.
- Refer to Step 1&2 from the above approach and add or upload a video instead of an image. For demonstration, we have considered a free video available on Canva, which can be found in Design [Templates].
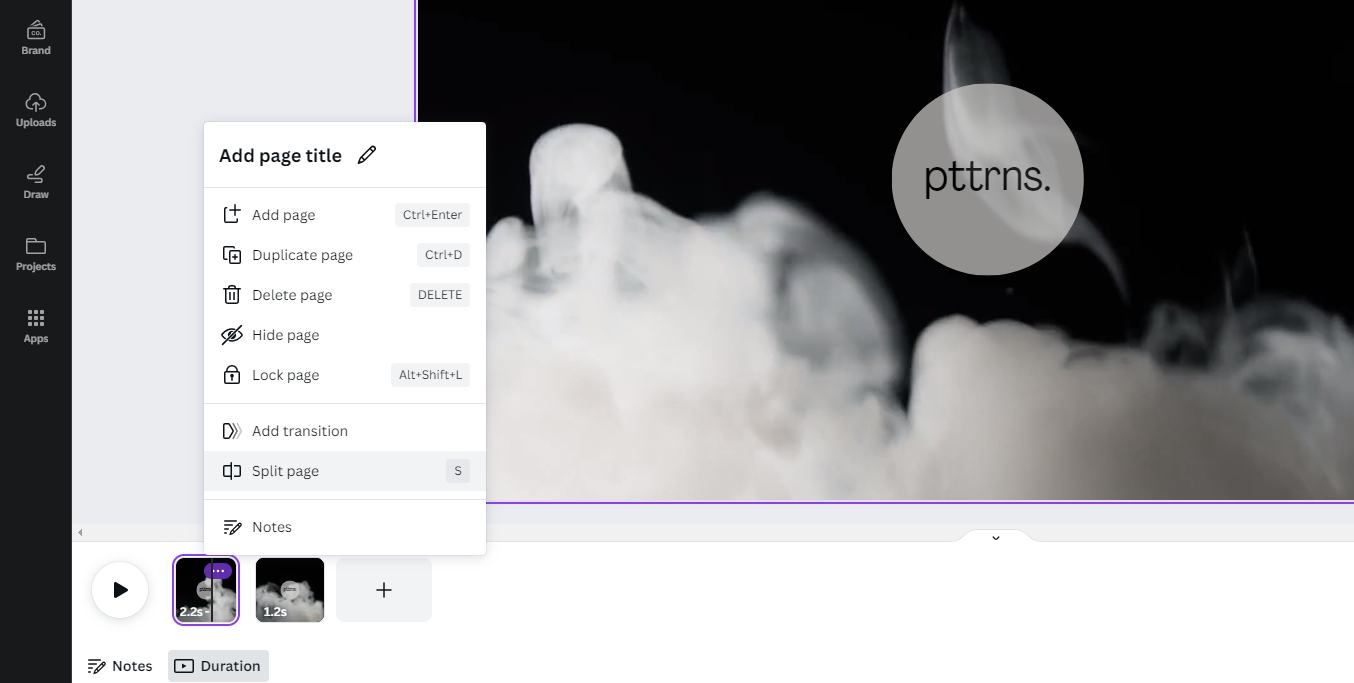
- Next, to make room for transition, animation, or including an image, we have split the video. To do it, adjust the slider at the bottom and click on S. Alternatively, you can click on three horizontal dots present inside the preview and click on the Split page.
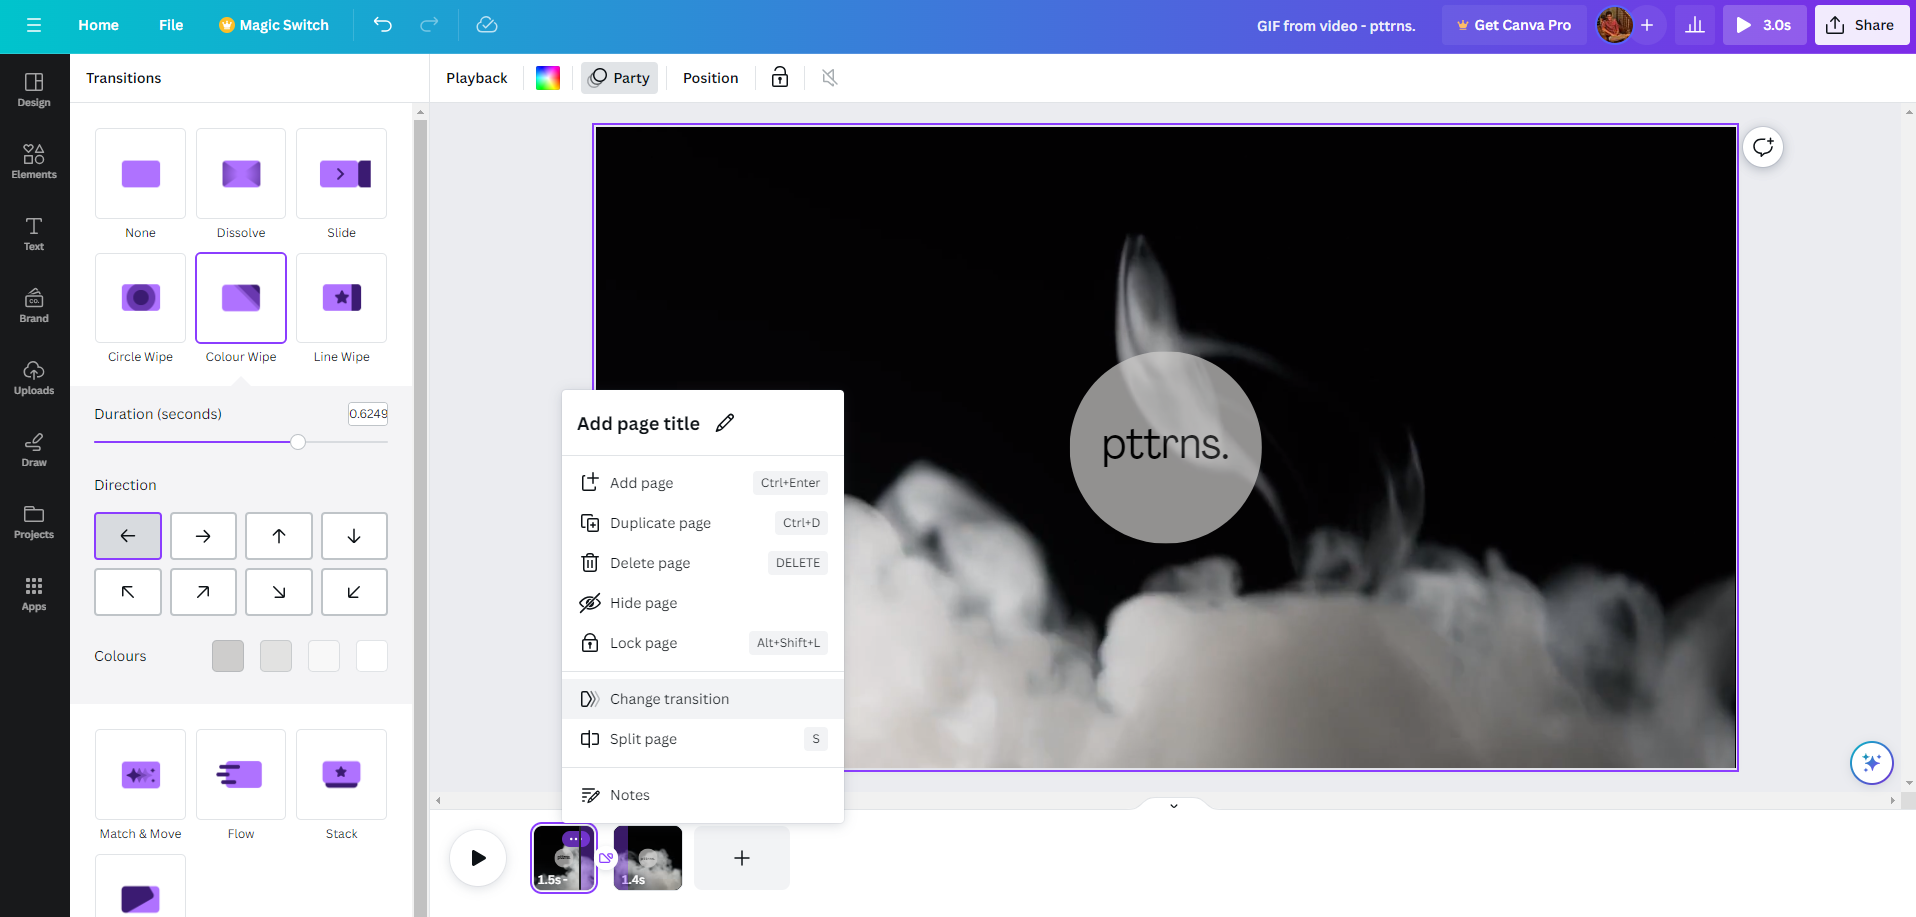
- To make the GIF engaging, we have added a shape and created a transition by clicking on the Add transition option, which is displayed by clicking the three horizontal dots icon present in each page preview.
Note: As you have done with the above approach, keep on experimenting by adjusting the duration and editing the timer. Doing this is important as it remains the same for images and text (any element), and here is our result for reference:
- Once you’re happy with the edits, click on the Share option on the top right corner and click on it. Next, from its options, click on Download, set the File type as GIF, and click on the Download button.
Wrapping Up
Congratulations on learning how to create a GIF from image and video in Canva!
The steps demonstrated for GIF creation are curated for those new to making a GIF in Canva. If you keep on experimenting, you can create more engaging GIFs than we demonstrated, but it might require some learning and time.
However, if both approaches feel too complex and you aren’t able to make a GIF, use online GIF creators or apps. If none works for you, use free GIFs from websites like Tenor or GIPHY.
Related Reading
How To Remove GIF Background in Canva


