
In this article, we’ll show you the easiest and most popular ways to take screenshots on Windows 10 and 11. We’ll also teach you about other ways to take screenshots, how to save and share them, and how to take screenshots in older versions of Windows.
How to Take a Screenshot on Windows 10 and Windows 11?
The Print Screen key, often labeled as PrtSc or PrtScn on your keyboard, is the simplest and most commonly used way to take a screenshot in Windows. It is located in the top-right corner of the keyboard.
Using the Print Screen (PrtSc) Key
There are three simple and commonly used methods for taking a screenshot in Windows using the Print Screen button:
1. Full-Screen Screenshot:
- To take a screenshot of the entire screen, press the PrtSc key once.
- The screenshot will be saved to your clipboard.
- Alternatively, press the Windows + PrtSc keys to capture the entire screen and automatically save it.
However, this option may be disabled by default on Windows 11. Instead, when you press the PrtSc key, it will open the Snipping Tool with a variety of options for taking screenshots. To disable the Snipping Tool opening functionality with the Print Screen key, follow these steps:
- Open Windows Settings and go to Accessibility > Keyboard.

- Turn off the Use the Print screen key to open screen capture option.
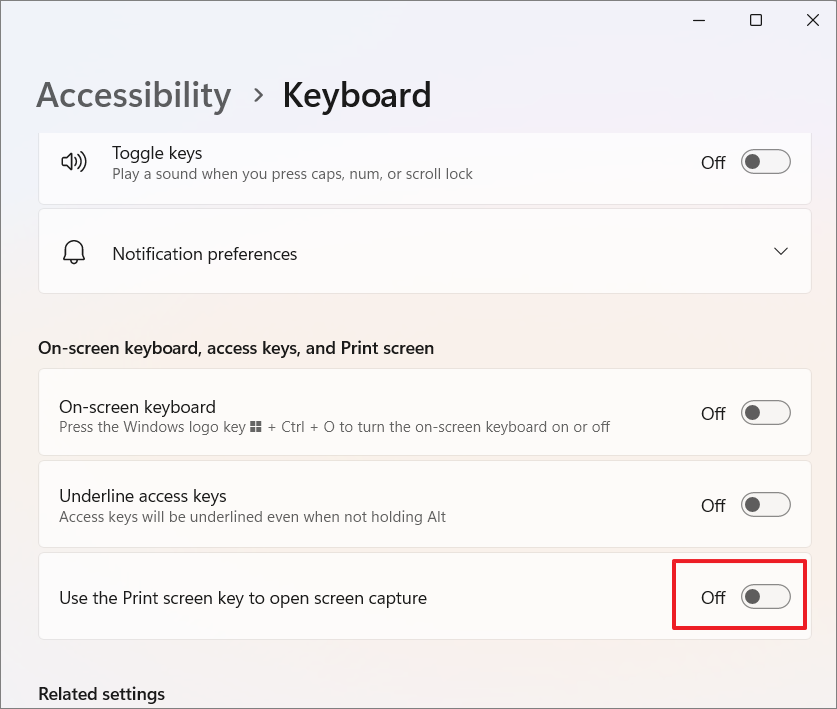
If you wish to use the advanced Snipping tool to take to screenshot, keep this option turned on.
2. Active Window Screenshot
- To capture only the currently active window, press Alt + PrtSc on your keyboard.
- This will also be saved to your clipboard, so you can paste it into an image editing program and save it.
Screenshots on Different Windows Laptops:
The Shortcut keys and steps for taking screenshots are the same on all Windows laptops, regardless of the brand. However, the location of the PrtSc key may vary depending on the laptop model.
For example, on Dell laptops, the Print Screen key is usually located in the top right corner of the keyboard, next to the F12 key. On HP laptops, the Print Screen key is usually located in the top row of the keyboard, between the F11 and F12 keys. On Chromebooks, the Print Screen key is usually located in the top row of the keyboard, between the F5 and F6 keys.
Other Ways to Take Screenshots:
The Print Screen key and shortcuts are handy, but Windows has more advanced screenshotting tools that offer more flexibility and features. Some of these options include:
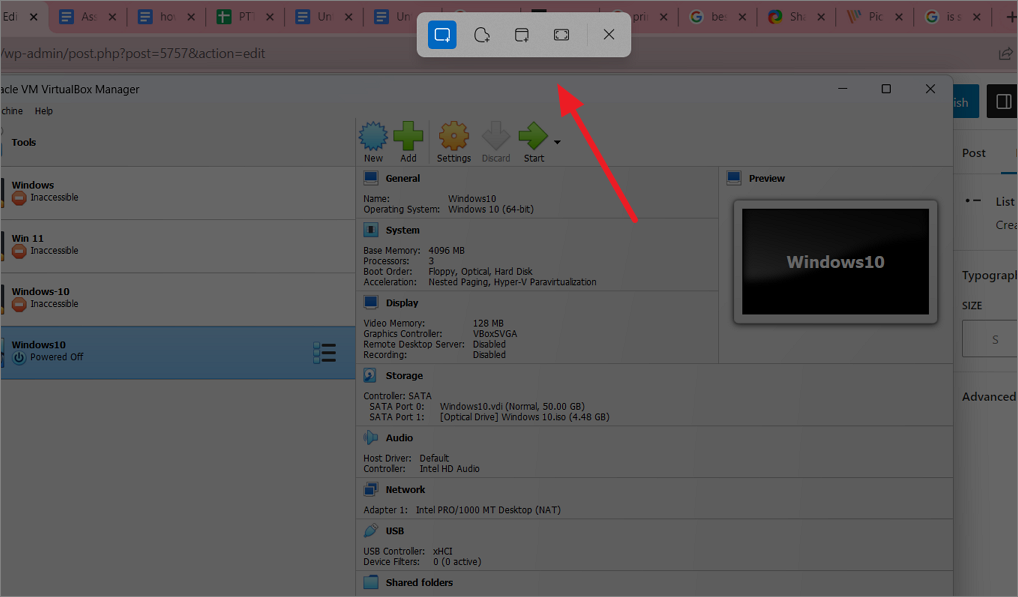
Snip & Sketch/Snipping Tool
The Snip & Sketch (Windows 10) and Snipping Tool (Windows 11) is a built-in Windows app that lets you capture and annotate screenshots.
- To open the Snipping Tool on Windows 11, press PrtSc on your keyboard. To open the Snip & Sketch tool on Windows 10, use the Windows + Shift + S. But make sure this function is turned on in the Settings.
- Once the Snip & Sketch/Snipping Tool toolbar appears at the top of your screen, you can select the type of screenshot you want to take (rectangular, freeform, window, or full-screen).
- Rectangular Snip: Captures a rectangular area of the screen.
- Freeform Snip: Captures any shape of the screen.
- Window Snip: Captures the active window.
- Full-screen Snip: Captures the entire screen.
- Then, click and drag on the screen to select the area you want to capture. Once you’ve selected the area, release the mouse button, and the screenshot will be saved and copied to the clipboard.
Game Bar
The Xbox Game Bar is another built-in Windows tool that comes preinstalled with Windows 10 and 11. It is designed to record gameplay and capture screenshots of your game. But it can also be used to take screenshots of your computer.
Open the Game Bar by pressing Windows + G on your keyboard and then select the Take screenshot button on the Capture widget to take screenshots.
To quickly snap a screenshot using Game Bar, press Windows + Alt + PrtSc. And you will see a Game Bar notification saying ‘Screenshot is saved’.
Third-party screenshot tools
There are a number of third-party screenshot tools available for taking screenshots on Windows, such as Snagit, ShareX, and PicPick. These tools offer more flexibility and features than the built-in Windows screenshot tools.
If your computer doesn’t have a Print Screen key, you can press Fn + Windows logo key + Spacebar to take a screenshot, which will be saved to the Pictures > Screenshots folder.
How to Save and Share a Screenshot:
Once you have taken a screenshot, you can edit, annotate, and save it to your computer or share it with others.
1. Clipboard:
If you used the PrtSc or Alt + PrtSc keys, your screenshot is copied to the clipboard. To save a screenshot, open an image editing program, such as Paint or Microsoft Paint 3D. Press Ctrl+V to paste the screenshot into the program. You can then annotate or edit the image if needed. Then, click File > Save and choose a location to save the screenshot.
2. Snipping Tools:
If you used the Snipping Tool, Snip & Sketch, or a similar tool, your screenshot is copied to the clipboard and saved. You can either click on the notification to annotate and edit the image in the Snipping Tool, or paste the image into another image editor and save it from there.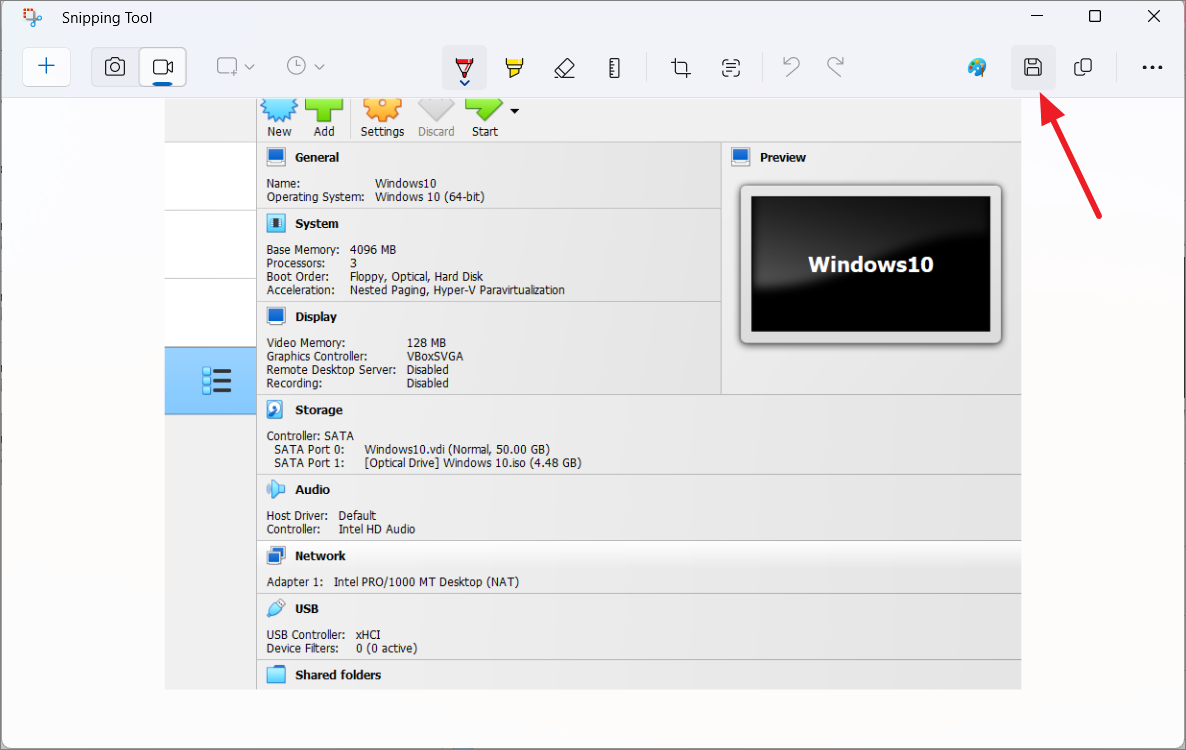
3. Screenshots Folder:
Windows automatically creates a Screenshots folder in your Pictures library, where it saves screenshots taken using Windows + PrtSc or Snip & Sketch. You can access and manage your screenshots from there. Screenshots captured with the Xbox Game Bar will be saved to Videos > Captures.
To share a screenshot, you can upload it to a cloud storage service, such as OneDrive or Google Drive. Once the screenshot is uploaded, you can share the link with others. You can also share a screenshot directly to social media platforms, such as Twitter and Facebook.
FAQs
How to Take Screenshots in Windows 7, 8 with the Snipping Tool?
To take a screenshot in Windows 7 or 8 using the Snipping Tool, follow these steps:
- Click on the Start button and search for Snipping Tool.
- Open the Snipping Tool application.
- Click New to capture a screenshot.
- Choose the snipping mode and select the area of the screen you want to capture.
- Use the File menu to save your screenshot.


