If you are trying to make an image or video fit into a specific shape, then you should consider checking out Canva’s frames. In this guide, we will help to add and use frames with a simple demonstration.
Use Frames in Canva
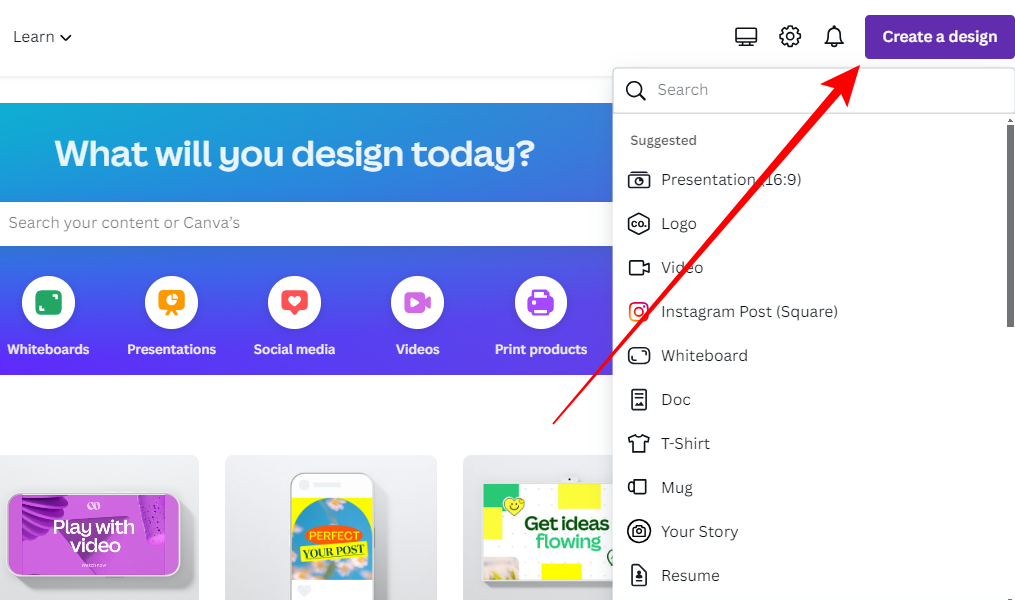
- Start by navigating to Canva and signing in with your credentials. Once you’re signed in, work on a new design by clicking on Create a new design button and selecting the design or open an existing design from Recent designs.
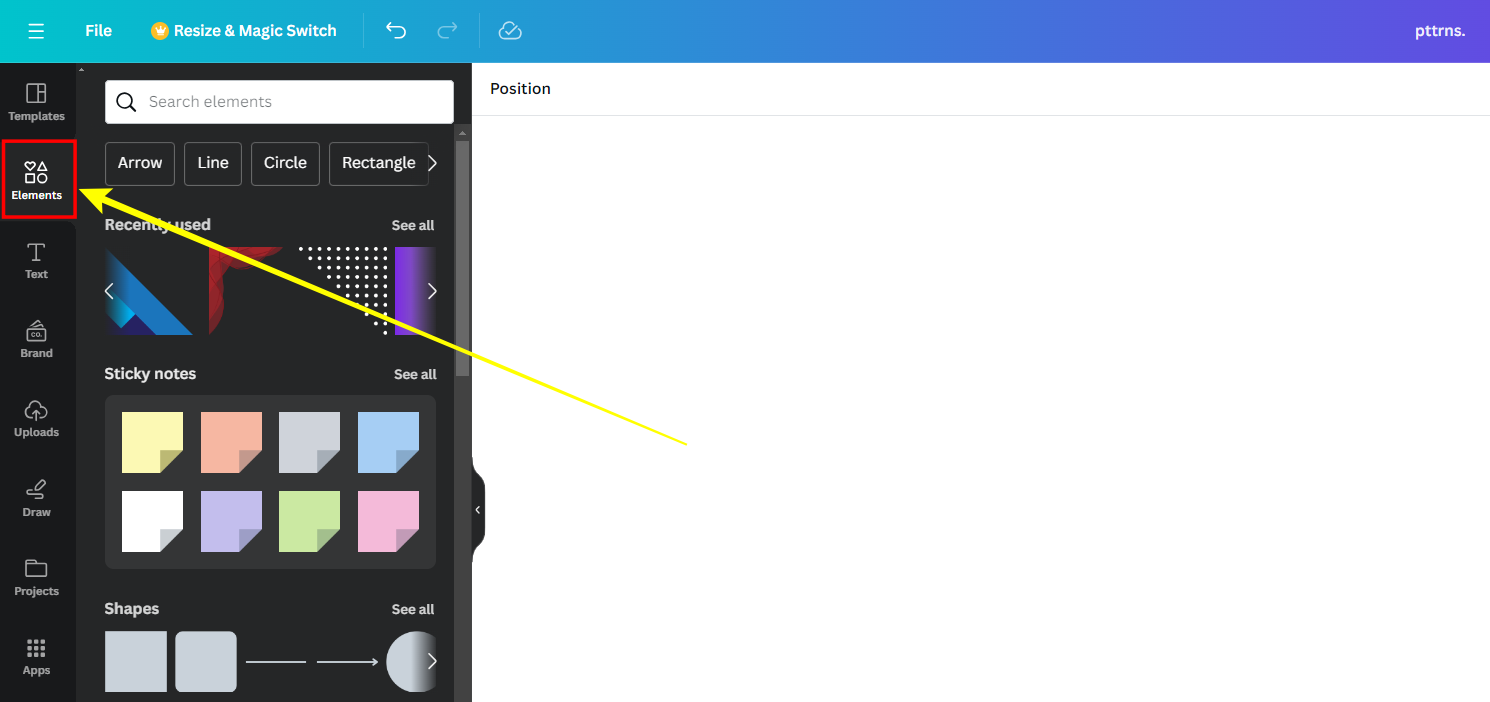
- With the new/existing design loaded, navigate to the Editor panel on the left and click on Elements.
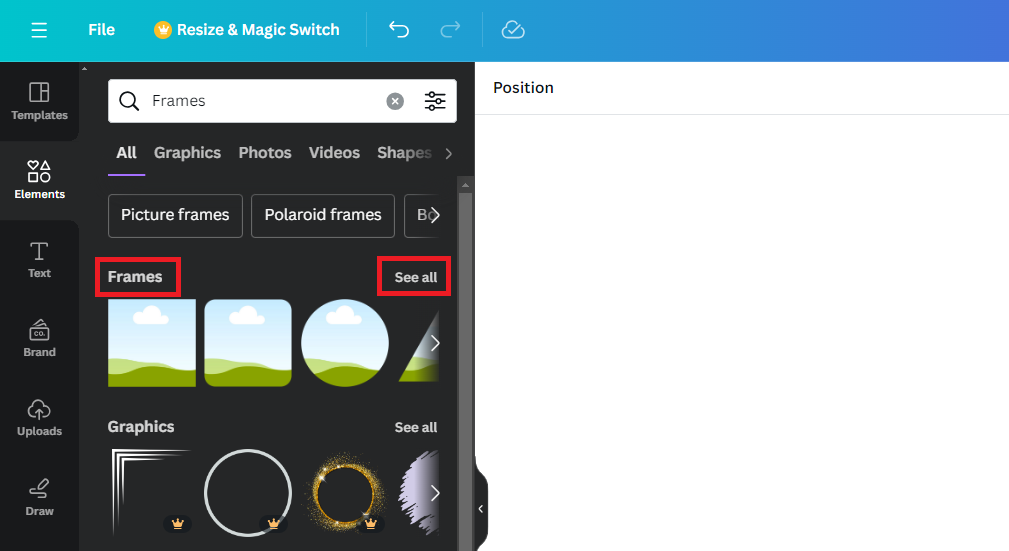
- With the elements tab displayed, navigate to the associated search box, search for Frames, and hit Enter.
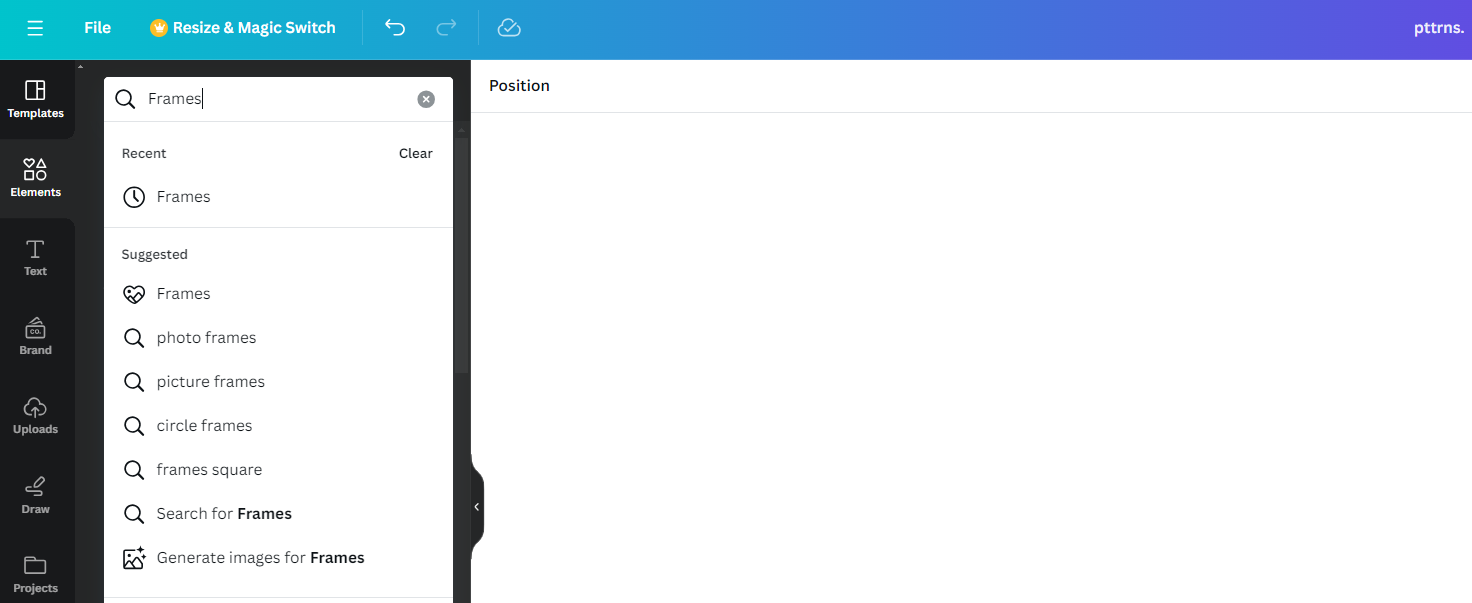
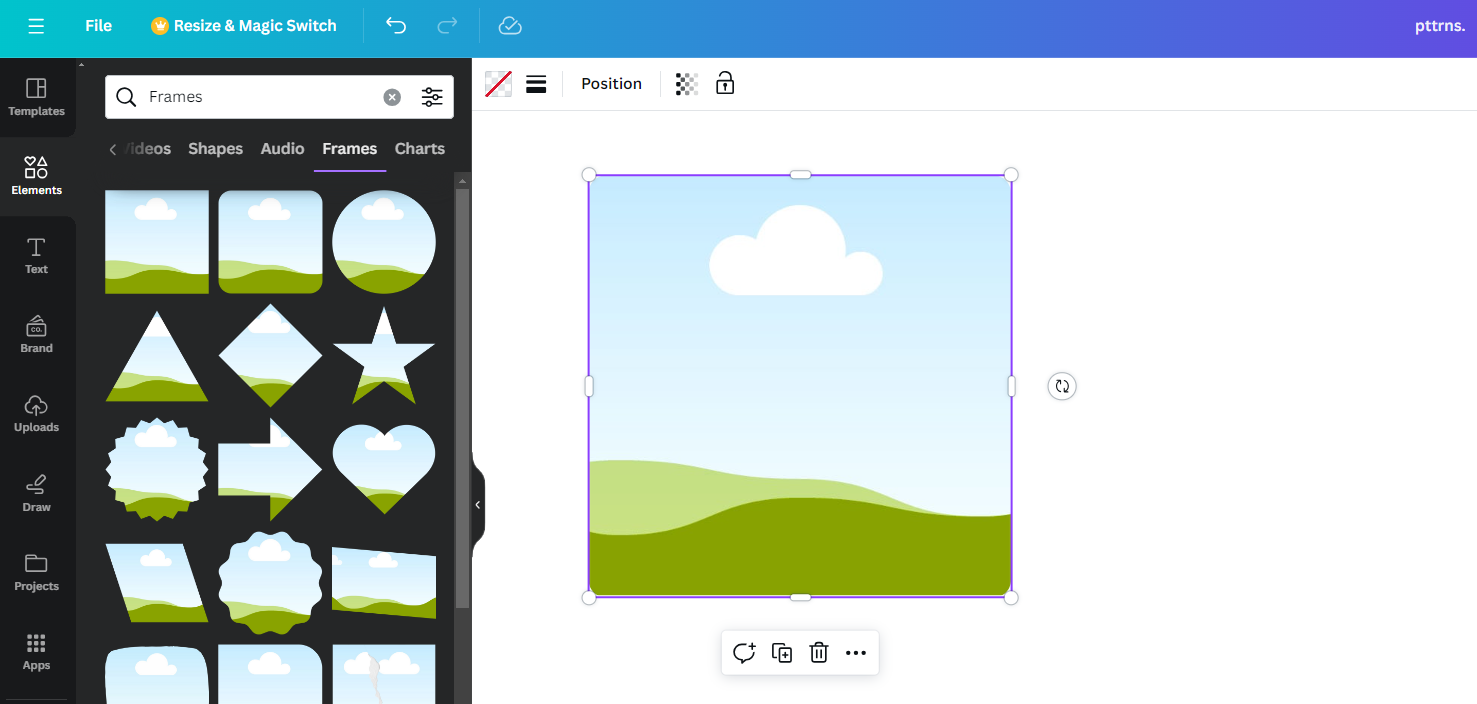
- By doing so, you’re displayed in Frames section in the results. Now, click on Frames or See all text next to it to access all available Canva frames.
- With all frames displayed, click on any to add it to the canvas. Alternatively, you can drag and drop it on the canvas.
- After you find the frame successfully added, you can add an image or video. For this, you can use the image/video from Uploads or free images/videos of Canva from the Elements tab and drag and drop it onto the frame.
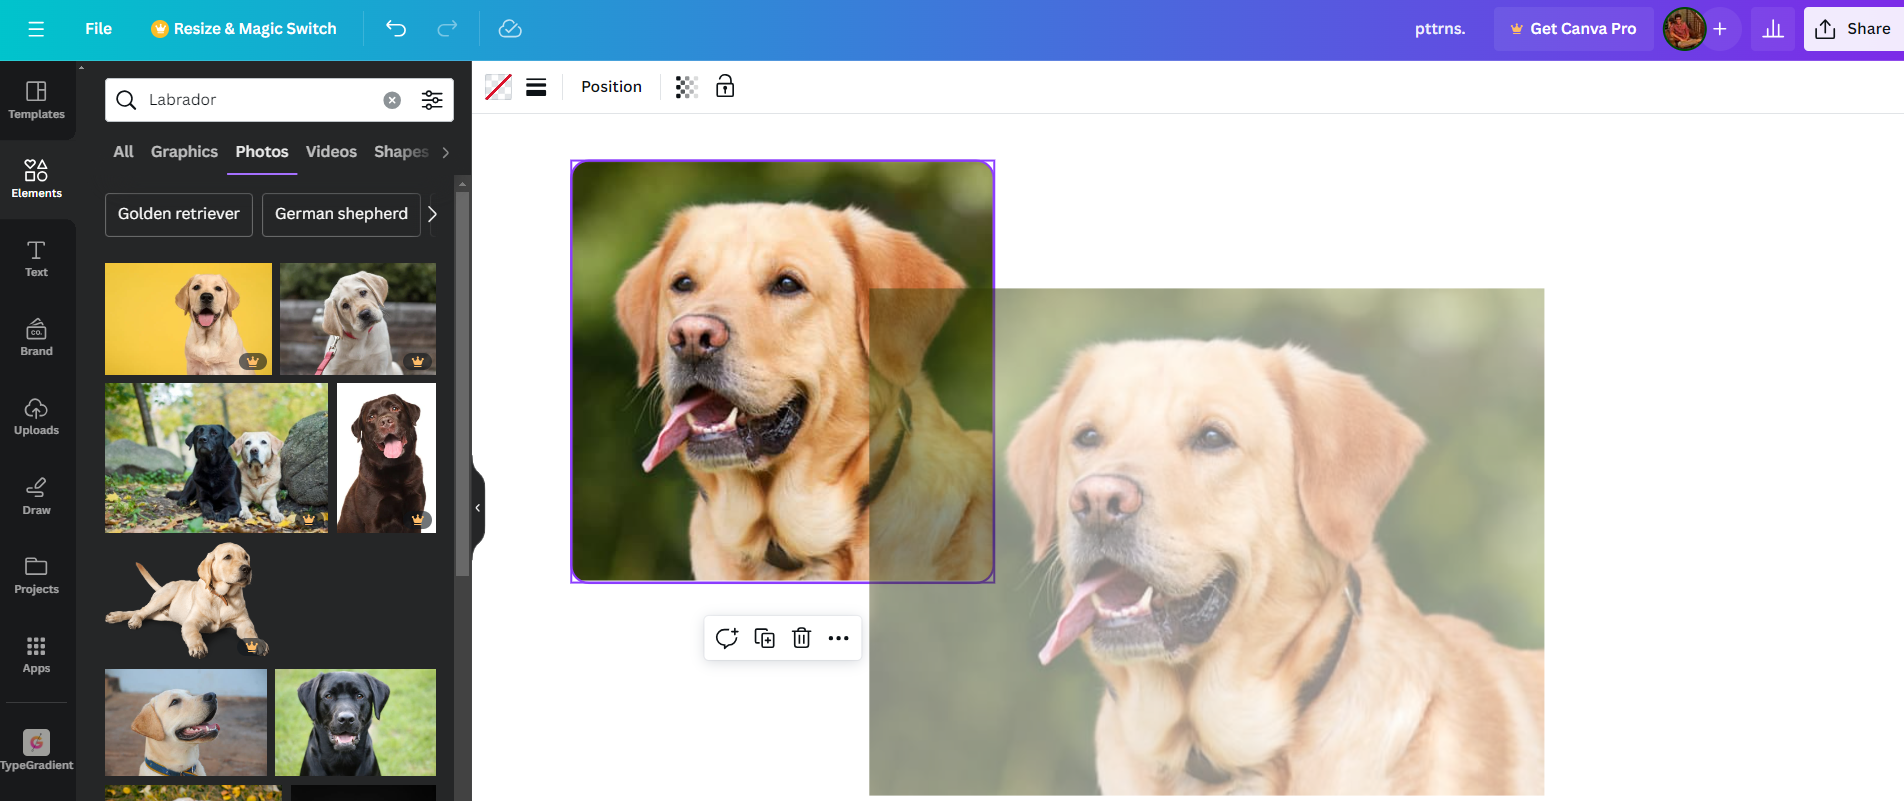
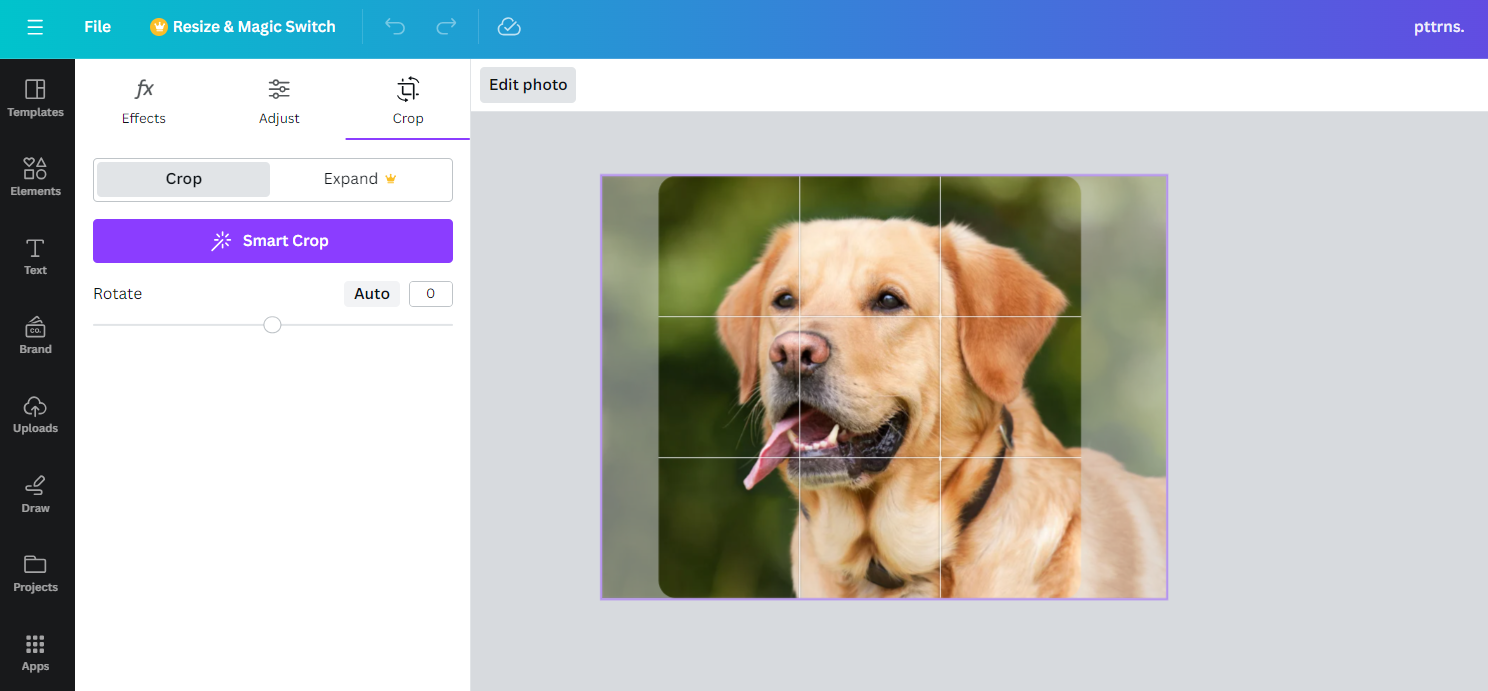
- If you do it right, you will notice that the image/video is added to the frame and cropped out accordingly. However, if it doesn’t fit right, double-click on it to adjust it inside the frame.
Wrapping Up
Congratulations on learning how to use frames in Canva!
While frames are reliable, ensure you adjust the size of it before adding an image. We suggest doing this to avoid modifying the image/video later, as it can turn difficult with the frame already added to the design.
Related Reading
How To Change Shape of Image in Canva


