Setting your desktop background image to an image of your liking is a simple and enjoyable way to personalize your desktop Mac experience. The way you change the Mac desktop wallpaper in MacOS has changed slightly, which has caused some long-time Mac users some difficulty.
The classic “Desktop and Screen Saver” control panel choices have been broken off and renamed “Wallpaper,” and it’s not immediately apparent when entering the text list of the System Settings. Let’s discuss how to change the background on Mac in this blog.
Step-wise Guide to Change the Background on Mac
Let’s go through where to find the relevant settings panel and how to customize the wallpaper picture on a Mac operating MacOS Ventura 13.
How to Change MacOS Ventura Desktop Picture Wallpaper
Changing your desktop backdrop image wallpaper is still simple with MacOS Ventura and later, although the process is slightly different:
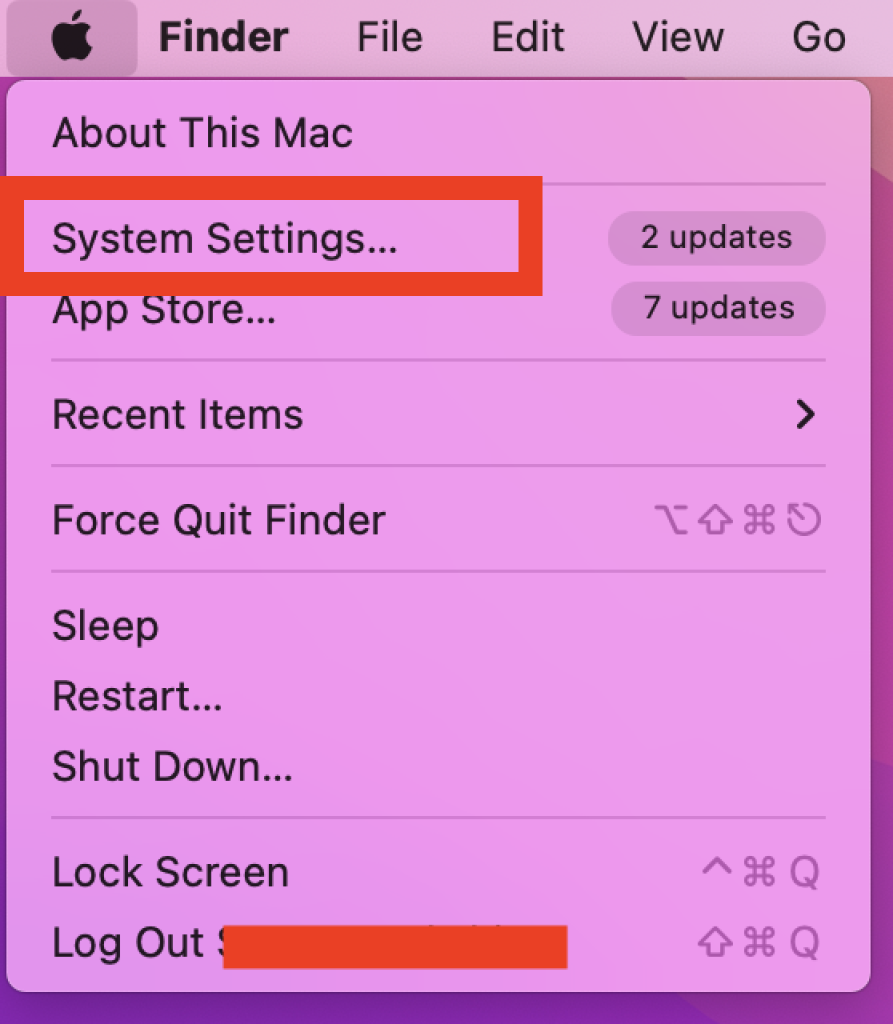
- Select “System Settings” from the Apple menu.
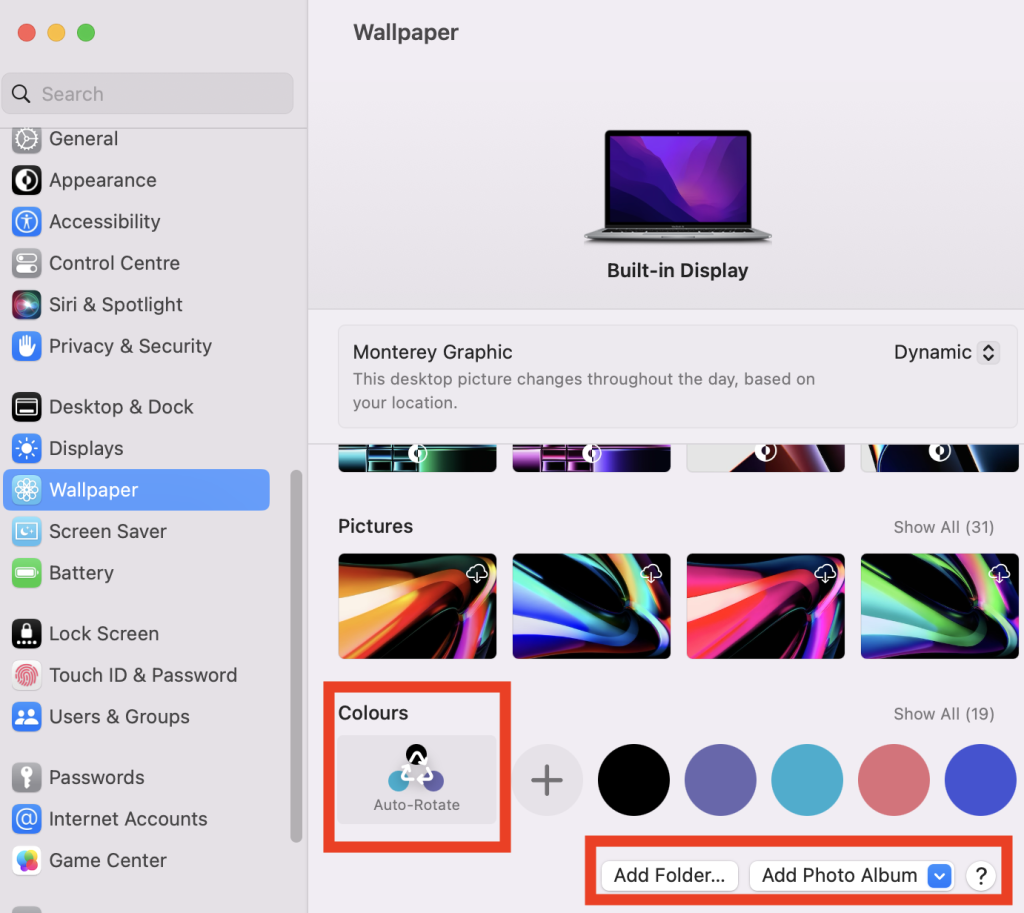
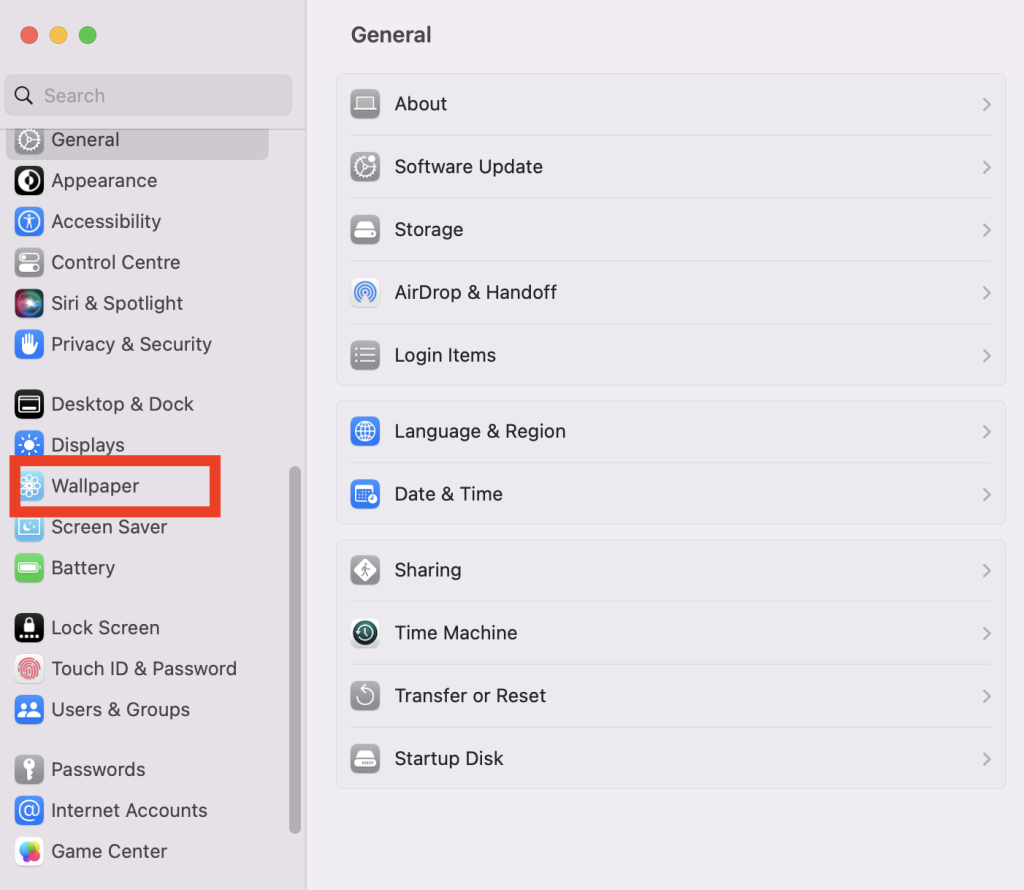
- Scroll down on the left side list, and yes, despite the lack of visible indication, this is a scrollable list, and click on “Wallpaper.”
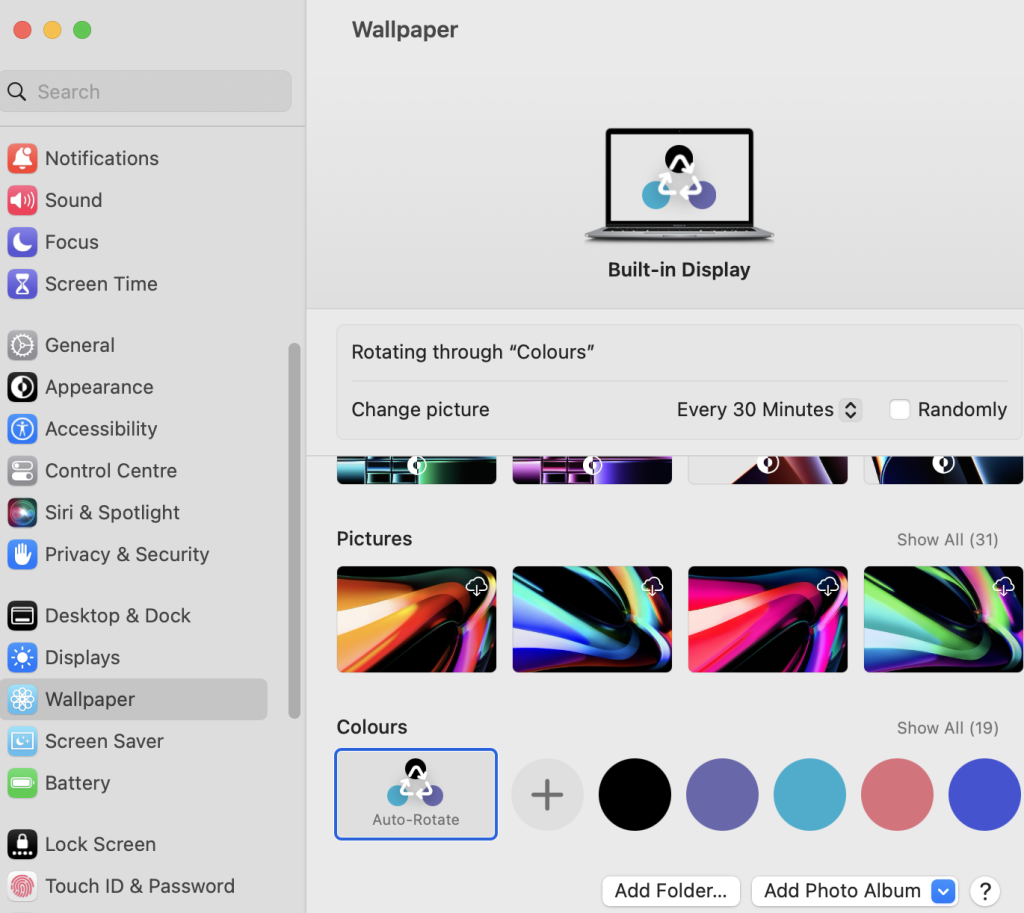
- Choose one of Apple’s desktop images or add your own by clicking and dropping an image upon the display.
- Alternatively, scroll all the way downwards in the Wallpaper settings to add a folder of photos, choose auto-rotate options, and more.
- When you are finished, exit System Settings.
That’s the way to change the wallpaper background image in MacOS Ventura, and likely in future versions as well.
If you have several displays or a Mac laptop open with an external display, you may configure wallpaper independently for each display by clicking on the display you want to alter at the very beginning of the Wallpaper settings, or by clicking and dragging a picture onto the display you want to modify.
Also Read: How to Rotate Screen on Mac
Additional Background Change Options
#1 Dynamic Wallpapers
These images vary progressively throughout the day depending on your current location. If Location Services is off (in Privacy & Security settings), the image changes depending on the time zone chosen in Date & Time. Change your privacy and security settings.
If you choose Dark Mode in the Appearance options (or during macOS installation), the desktop picture will be a dark still image. To discontinue utilizing a dark still image, select Dynamic or Light from the pop-up menu.
Also Read: How to Change Font Size on iPhone
#2 Light and dark Wallpapers
Depending on your current location, these images change from light to dark at sunset. However, if you choose Dark Mode in the Appearance preferences or during macOS setup, the desktop image will be a dark still image.
To disable the use of a dark still image, open the pop-up menu and select Auto or Light.
Use Auto-changing Wallpapers on MacOS 13
Before you start, save the wallpapers you wish to use in a folder on your Mac or an album in the Photos app. With everything out of the way, let’s get started on the steps.
- To begin, open System Settings by selecting the Apple Menu in the upper-left corner.
- In the System Settings App, scroll down to the Wallpapers option and select it.
- Scroll down in the right pane and click the Auto-Rotate button next to Colors.
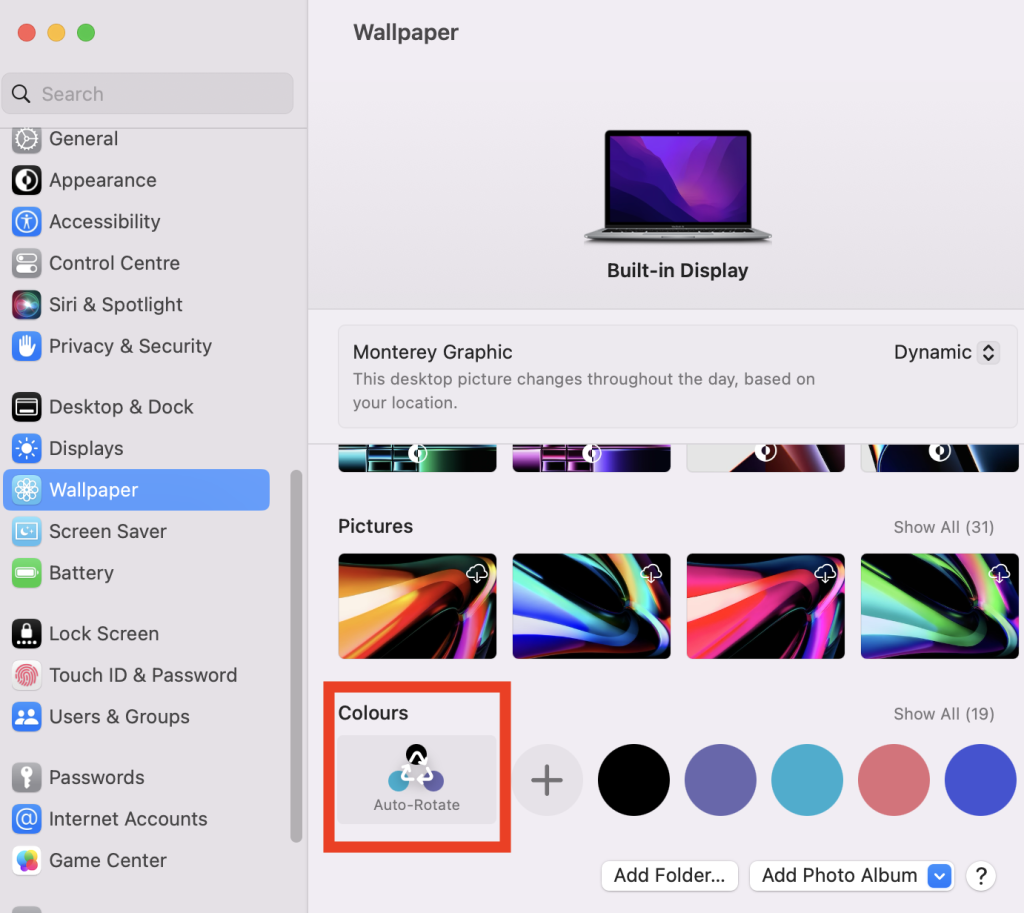
- MacOS 13 Ventura will now automatically rotate these solid-colored wallpapers.
- To utilize your stored Mac wallpapers, click the Add Folder option.
- Next, go to the folder storing your wallpapers and click the Choose option.
- You should now be able to view the folder in the Wallpaper Settings section. To use auto-changing wallpapers, click on the Auto-Rotate button.
- If your wallpapers are in a folder within the Photos app, click the Add Photo Album option and choose your album from the drop-down box. To use auto-changing wallpaper, click on the Auto-rotate option again.