It is important to learn how to overlay an image in Canva because it allows you to enhance the visual appeal of your content, creating engaging and professional-looking designs.
In this guide, we will help you with overlaying images. However, it is your turn to experiment with it while using other tools and features Canva offers to get used to it and bring out the best in you.
What we cover
Overlay Images in Canva: Getting Started
- Start by navigating to Canva and sign in with your credentials. Once you’re signed in and are on Canva Home, navigate to Recent designs and click on the project you’re already working on.

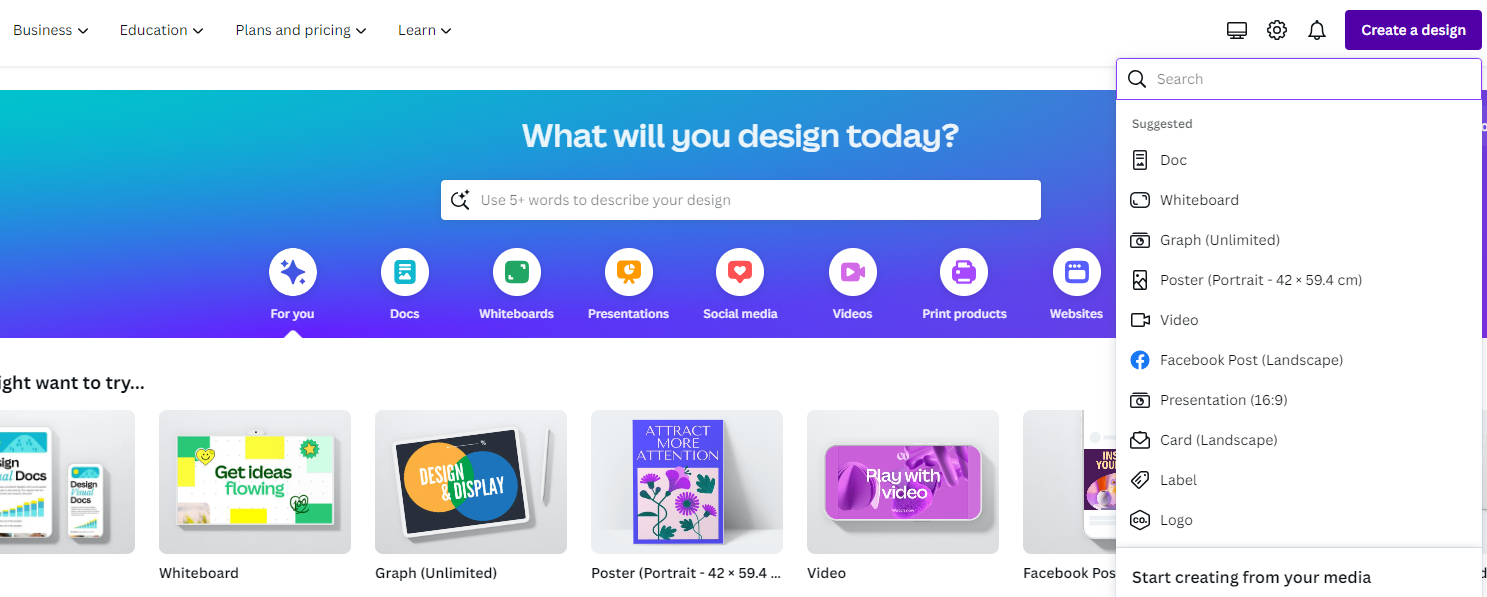
- However, if you haven’t started yet, click on the Create a design button from the home and select a design to get started.
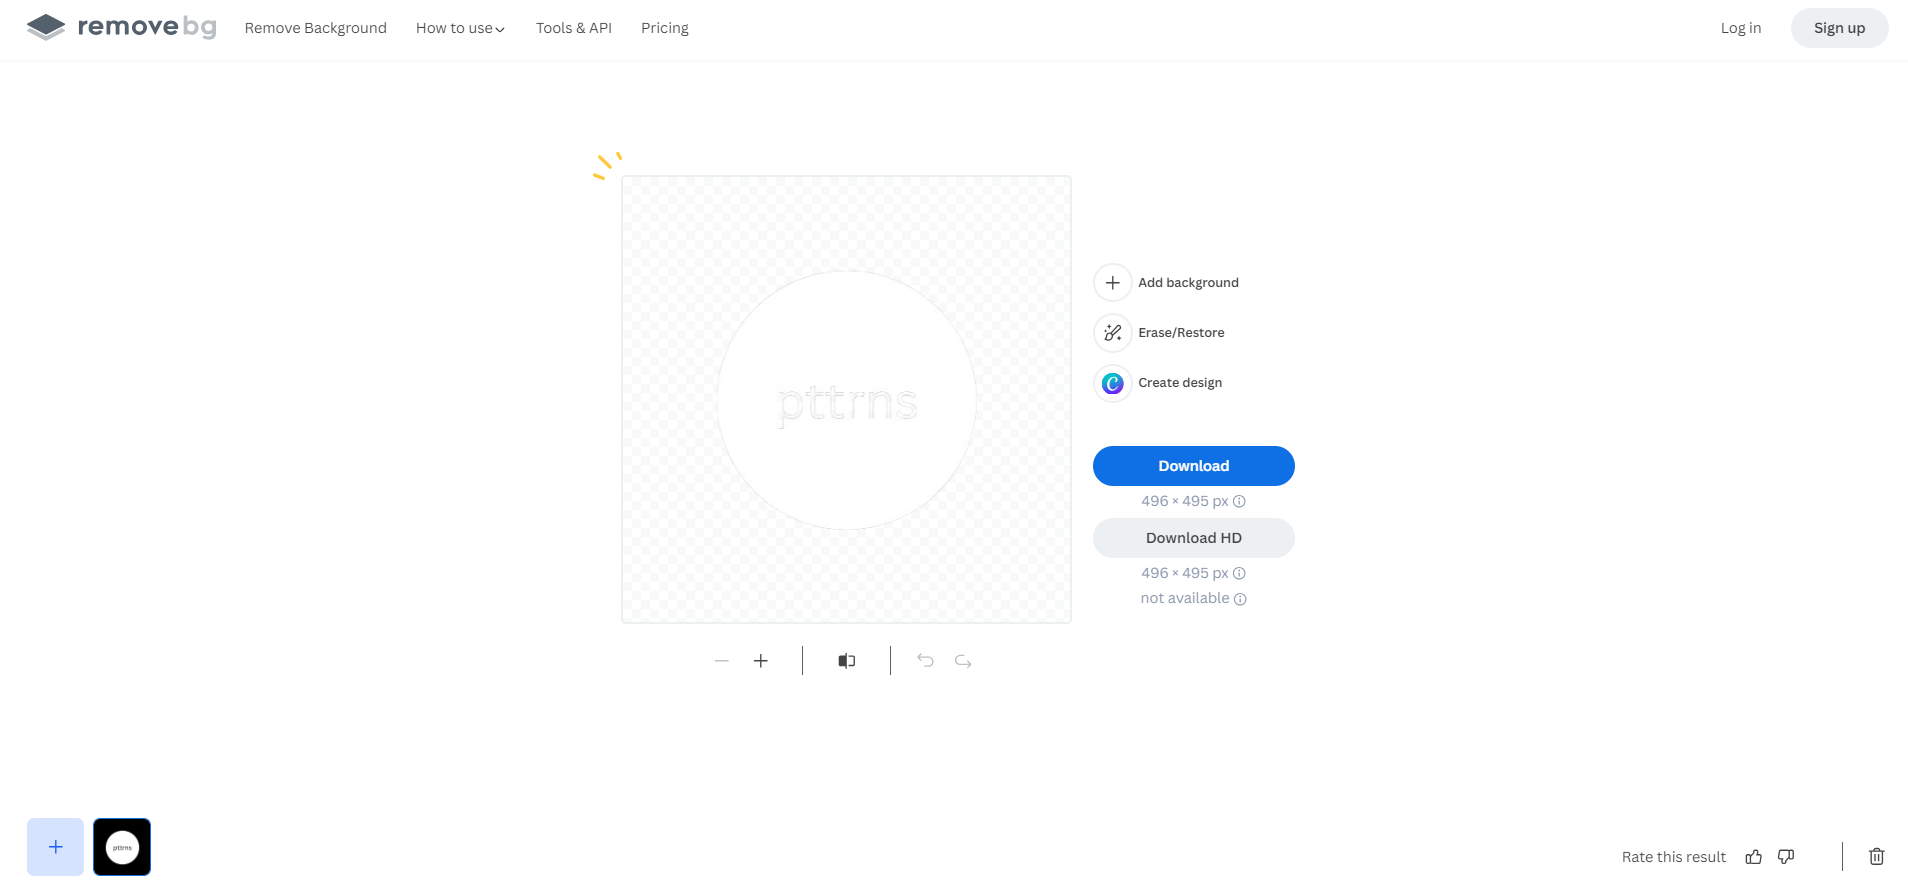
- With the new/existing design loaded, navigate to the Editor panel on the left and click on Uploads. If you haven’t uploaded any, click on the Upload Files button, and while doing so, ensure it doesn’t feature a background.
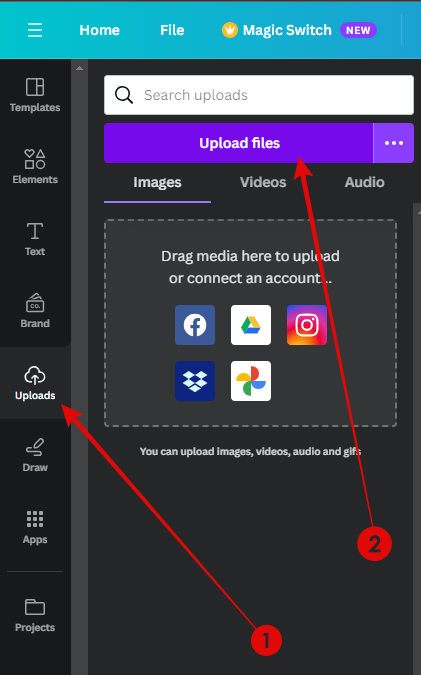
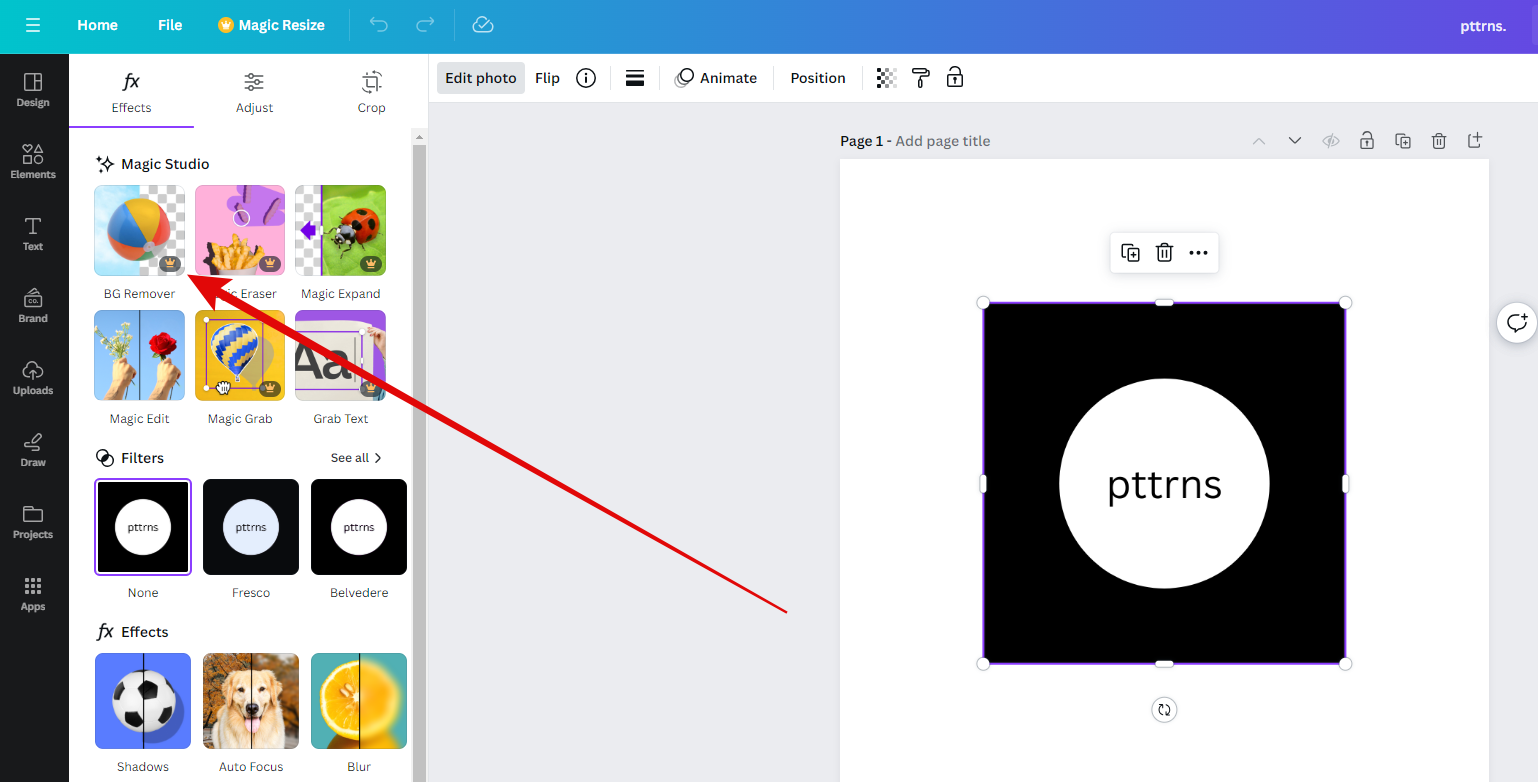
- To remove the background, start by clicking on the image and then Edit the image from the options displayed above. By doing so, you’re displayed with the Effects panel on the left and then click on the BG remover tool.
- If you don’t have access to Canva Pro, use free online background removal tools like remove.bg for a way around.
Overlay Images in Canva: Demonstration
With everything ready, you can proceed with overlaying the image. As the outcomes vary and can be used to create endless designs, we have come up with a simple demonstration that features steps which is the basis for all.
- Start by adding a background to the blank canvas. It can be text, image, graphic, or a frame.
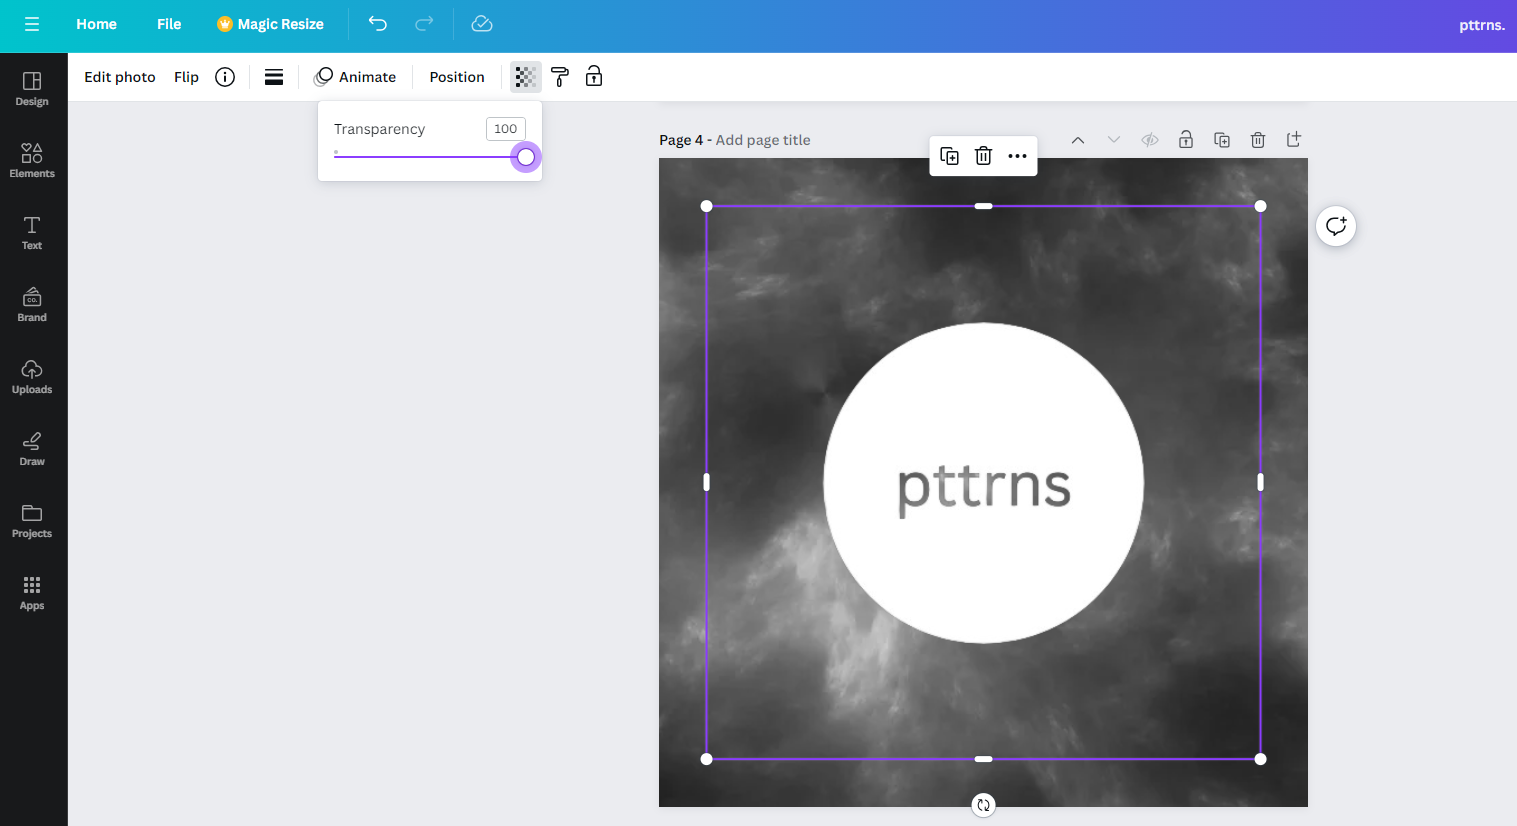
- Now, navigate to the Editor panel and click on Uploads. Once the Uploads panel is open, click on the background-removed image to add it to the canvas.
- After adding the image, if it goes behind the background or if you have placed the background element over the image, right-click on the element at the top to reveal multiple options. Now, click on Layer and click on Send to forward/backward according to your requirements.

- Next, adjust the transparency levels of the elements through the Transparency tool above the editor and use the slider to adjust the transparency of each photo.
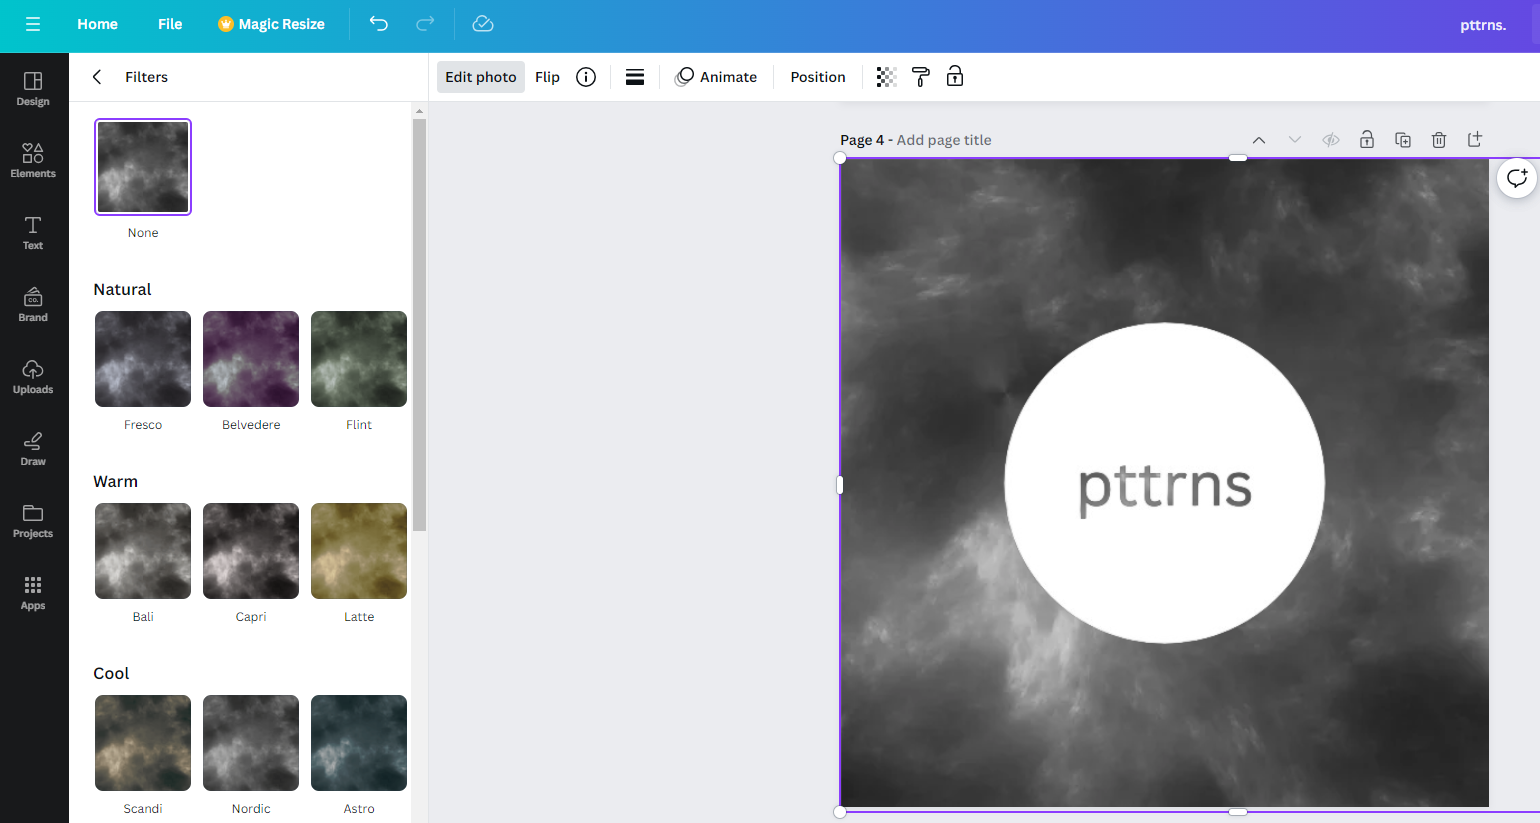
- Also, enhance your design further with photo effects and stylish fonts for text. If you want to go beyond, choose elements from a vast library of icons, vectors, and illustrations to complement your creative vision.
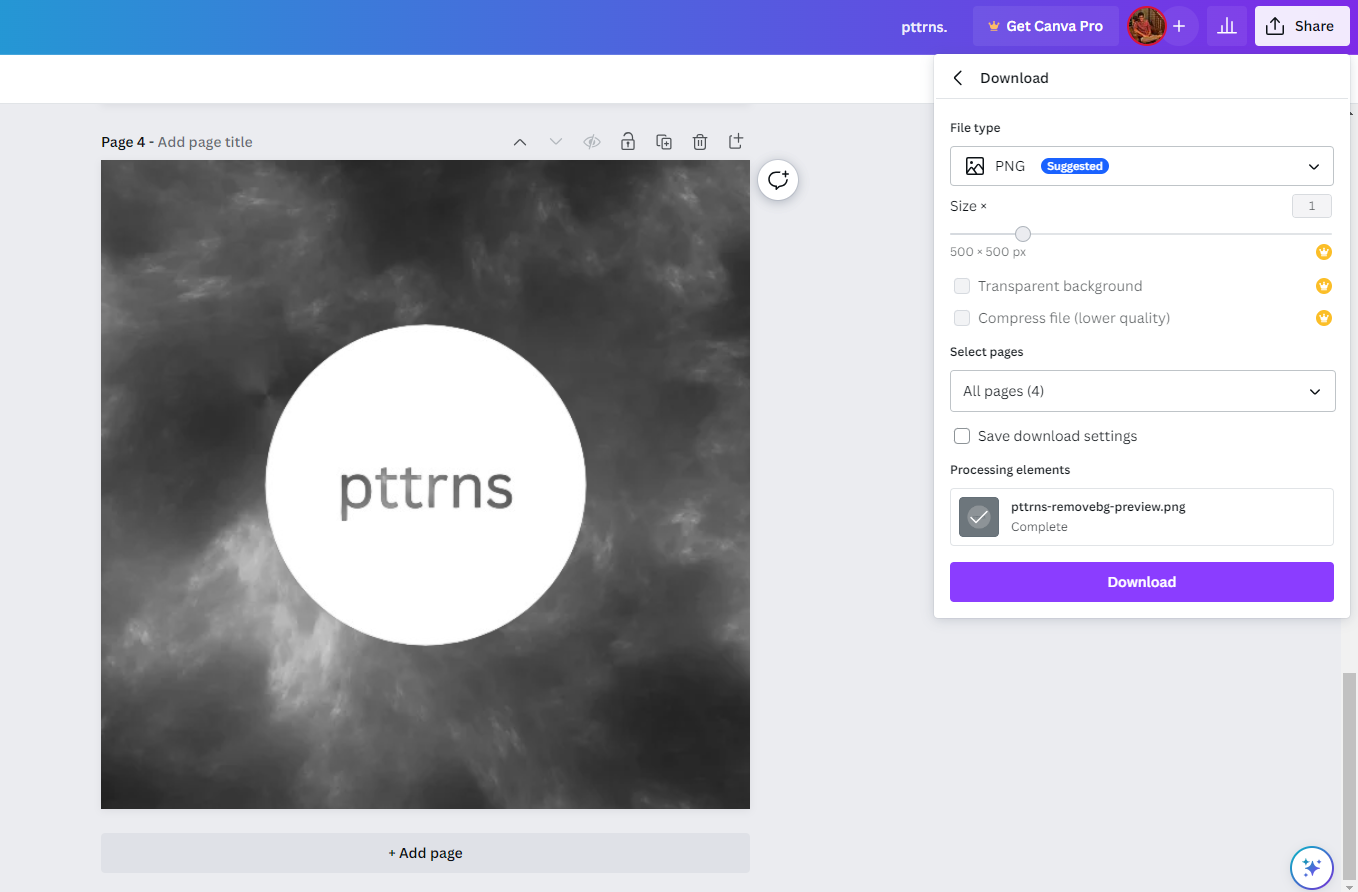
- With all changes made and you’re happy with the result, navigate to the top right corner and click on Share. Now, from the options displayed, click on the Download option, set the File type as per your requirement, and click on the Download button.
Wrapping Up
Congratulations on overlaying images in Canva!
With Canva, overlaying images or any elements is an easy task, considering the easy-to-use features and tools it offers. However, if you find it limiting while working with extensive designs, use conventional photo editors like Adobe Photoshop for better results.


