
Canva allows you to record audio, but it is limited to presentations. For other designs, Canva offers the flexibility to upload audio files and allows the use without restrictions.
In this guide, we will help you with both without the need to leave Canva and here is how to do it.
What we cover
Record Audio on Canva
NOTE: If you’re from India, you might not have access to the feature [Present and record] listed in this approach. However, using a VPN gets you access right away.
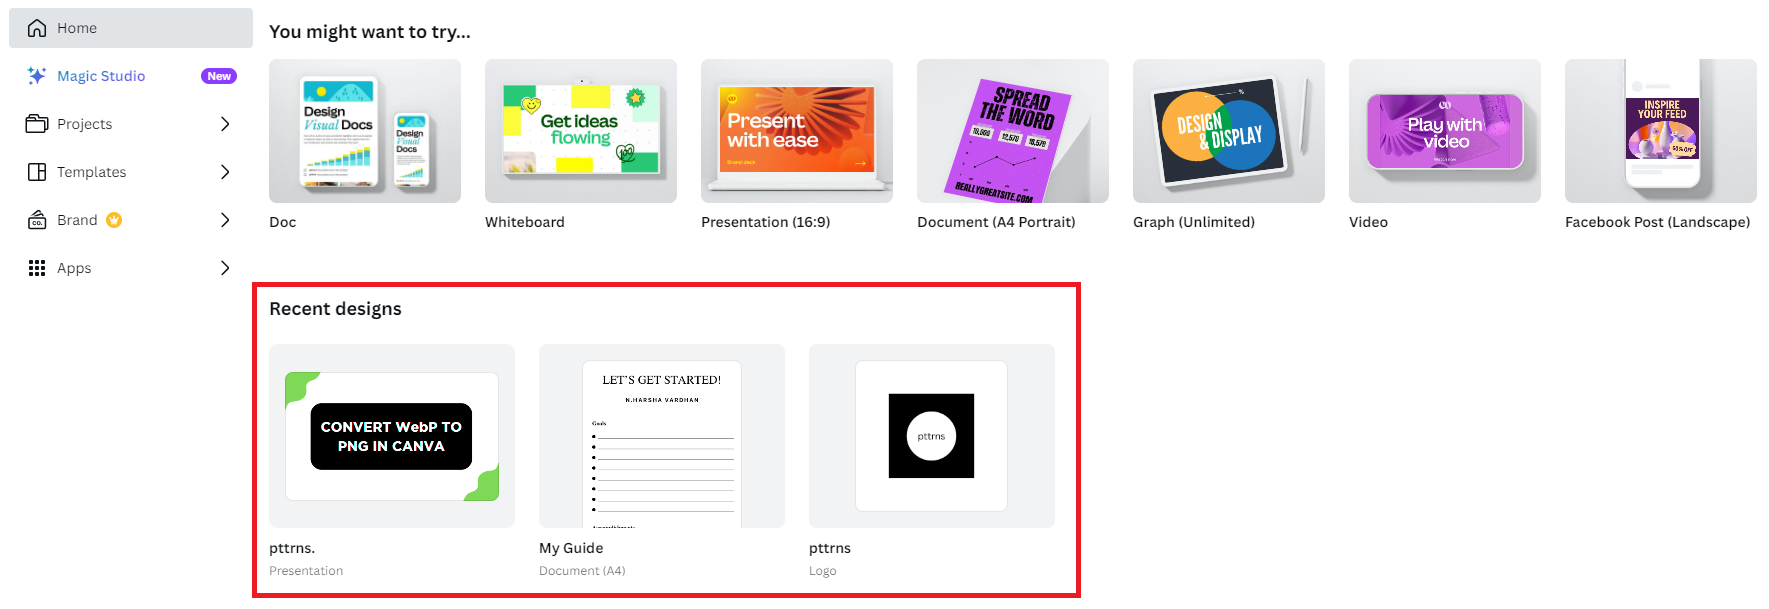
- Start by opening Canva on your browser and sign in with your credentials. Now open the presentation that you’re working on from the Recent designs. If you haven’t started with any, click on the Create a design button and choose Presentation.
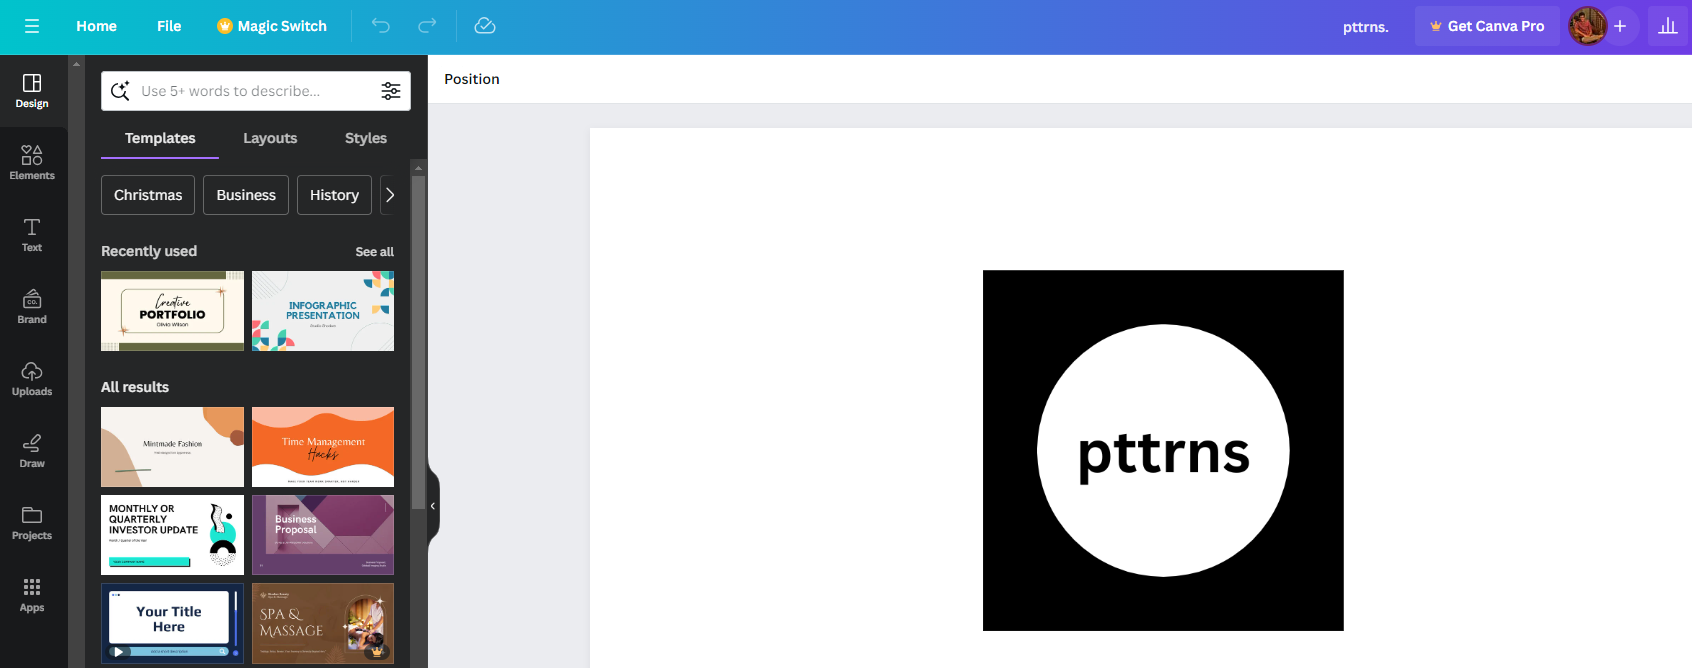
- Now wait for the presentation to load, and if you are creating a new presentation, use free presentation templates available in the Design on the left for ease.
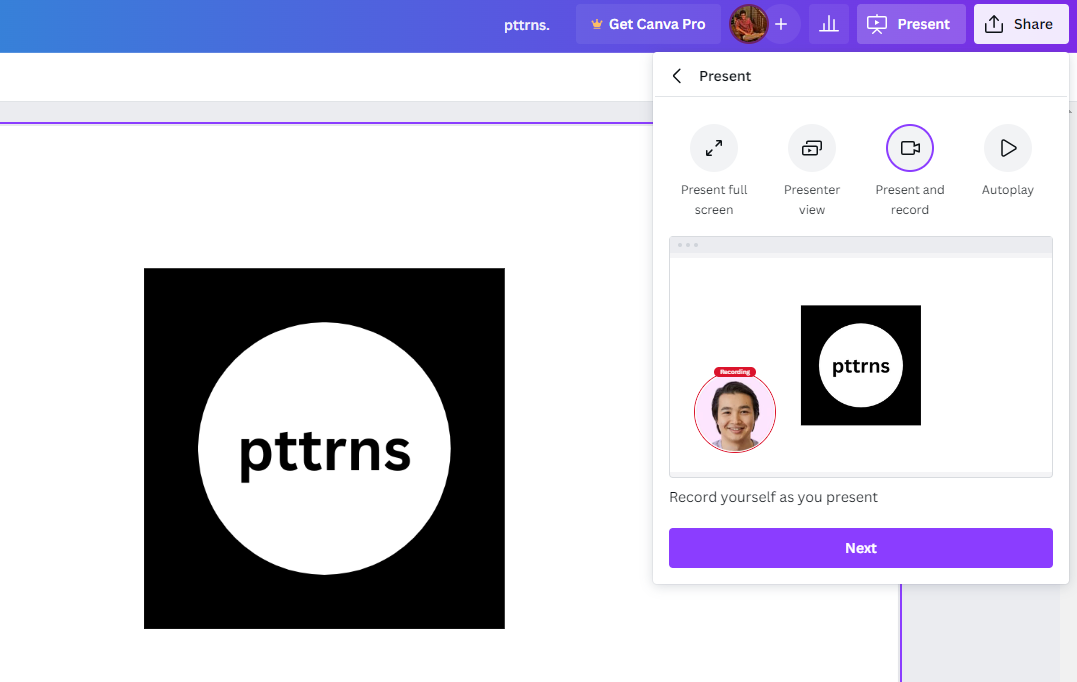
- Once you’re done creating your presentation, navigate to the top right corner and click on Present. Doing so, you’re displayed with multiple options, from which click on Present and record and then Next.
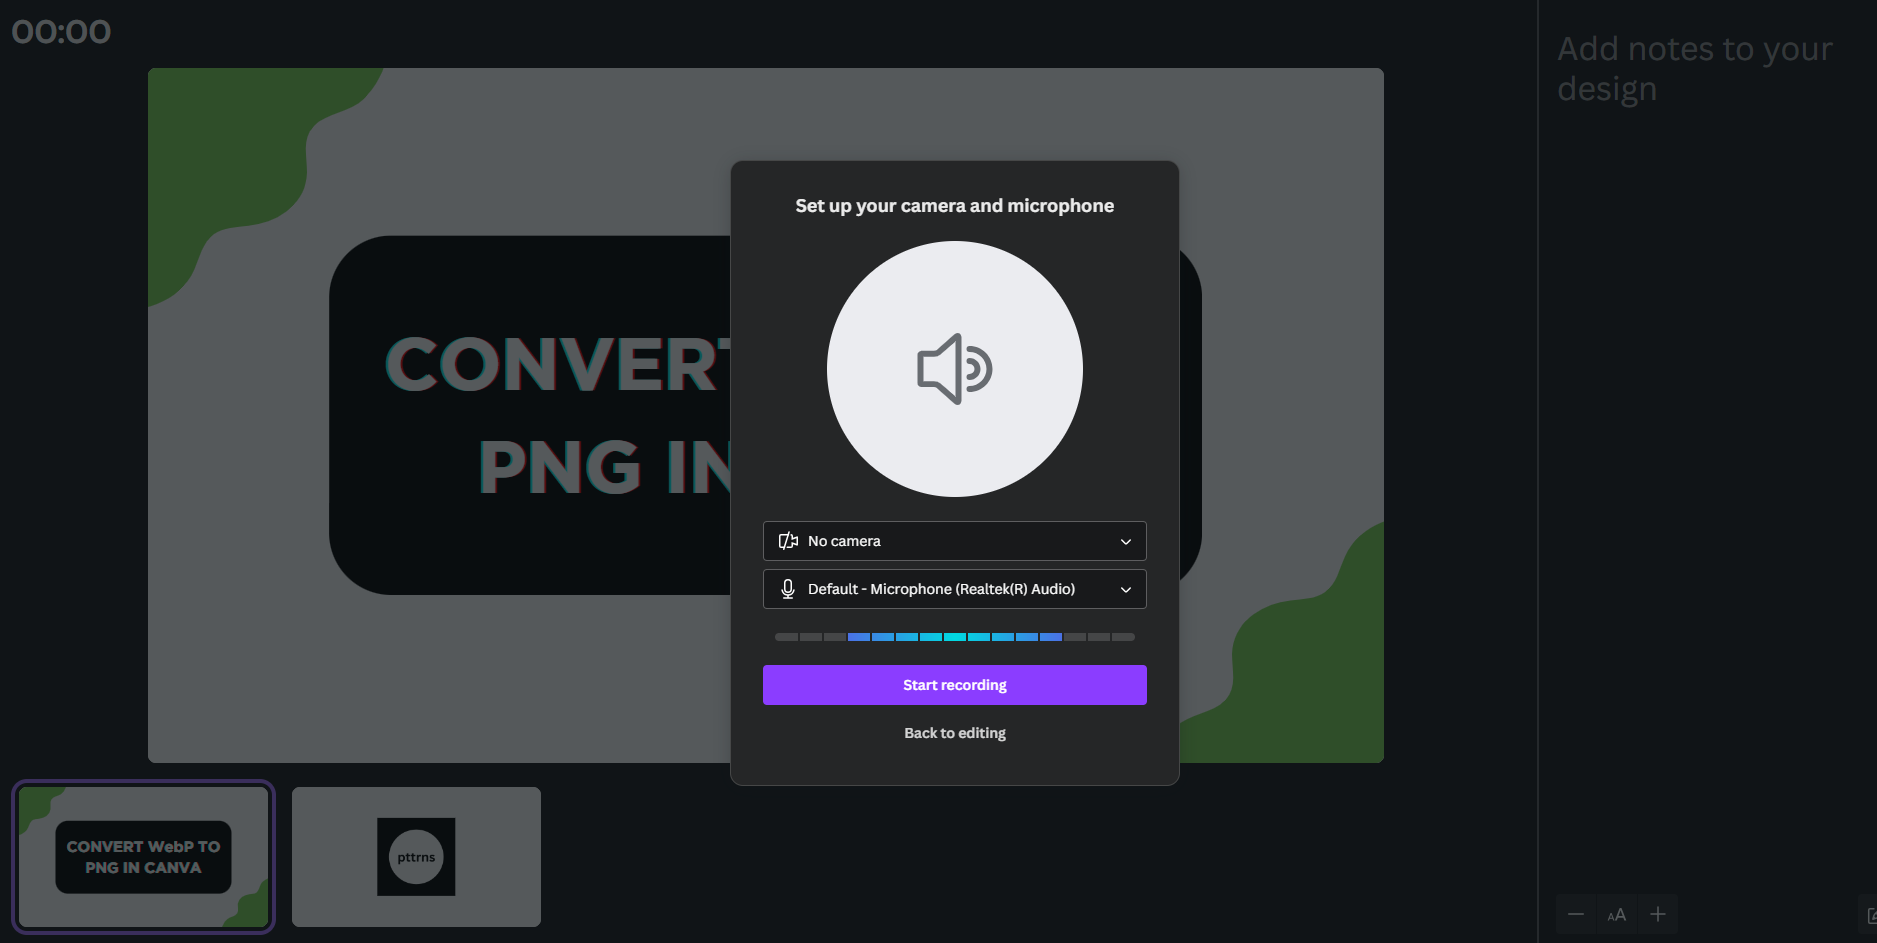
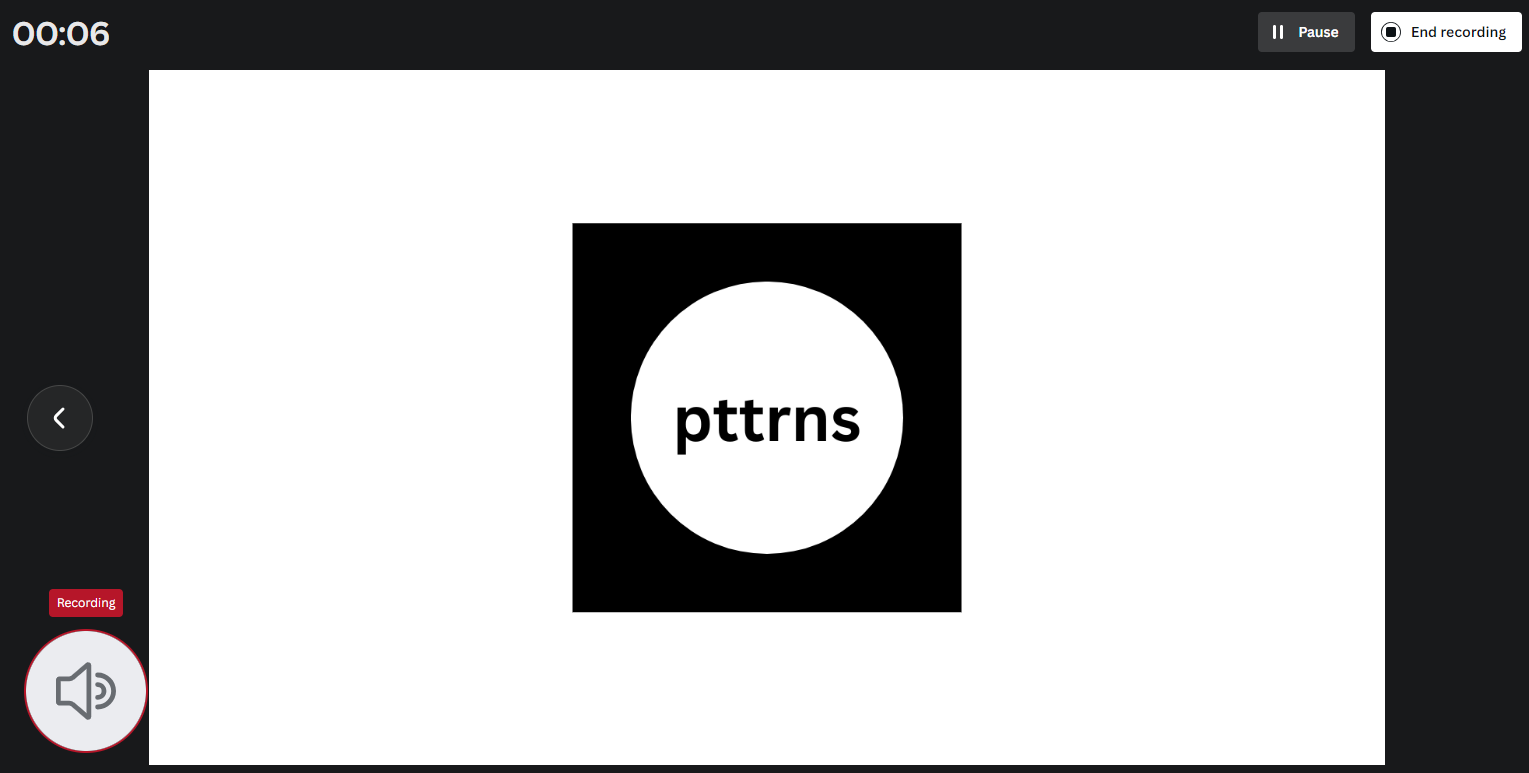
- On proceeding further, you are displayed with a window dedicated to presenting the presentation. Next, you’re asked to set up a camera and microphone. Once you’re happy with the preview displayed, click on Start recording.
- Now speak aloud and stay in a quiet environment to record the audio, and once you’re done presenting and recording, click on the End recording button at the top right corner.
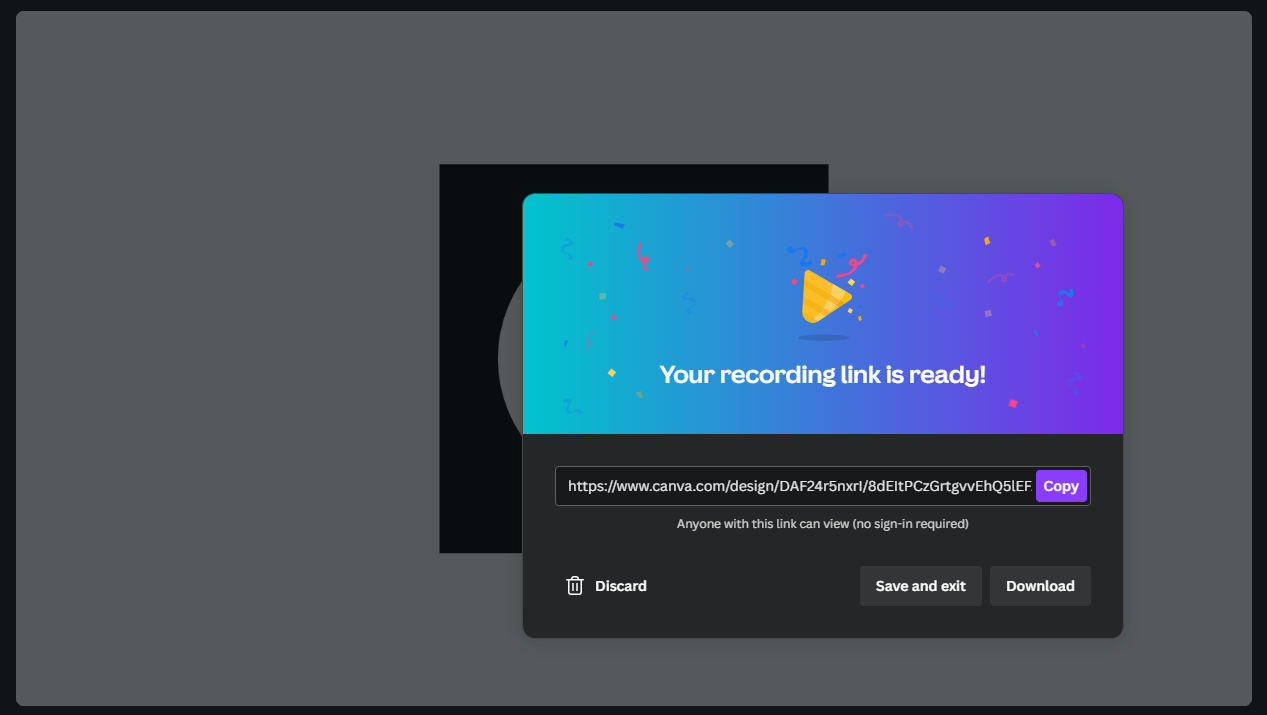
- Wait for a few seconds for Canva to process the result, and once it is done, you can Share, Save, or Download the recording.
Manually Add Audio Clips on Canva
While there are no complaints with the Present and record feature of Canva, if you make any mistake, you cannot go back and edit the audio. Also, the audio is applied for the entire presentation and cannot be applied separately to each page.
To address this, we have come up with an easy and reliable way around and here are steps for it:
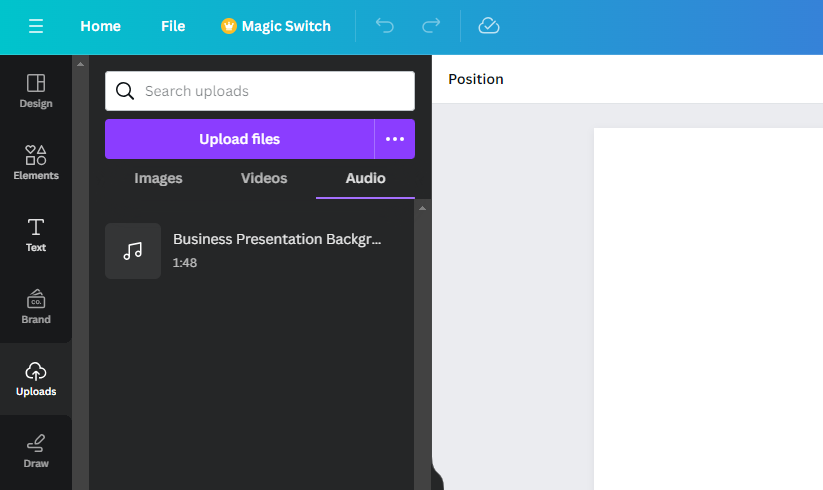
- Follow Steps 1 & 2 from the above approach, and once you’re ready with the presentation, navigate to the options on the left and click on Uploads. Next, navigate to the Audio section and upload the audio files to Canva.
Pro Tip: Record audio from your smartphone or PC on an app/software that supports pausing and editing audio so a perfect voice-over can be developed for the presentation.
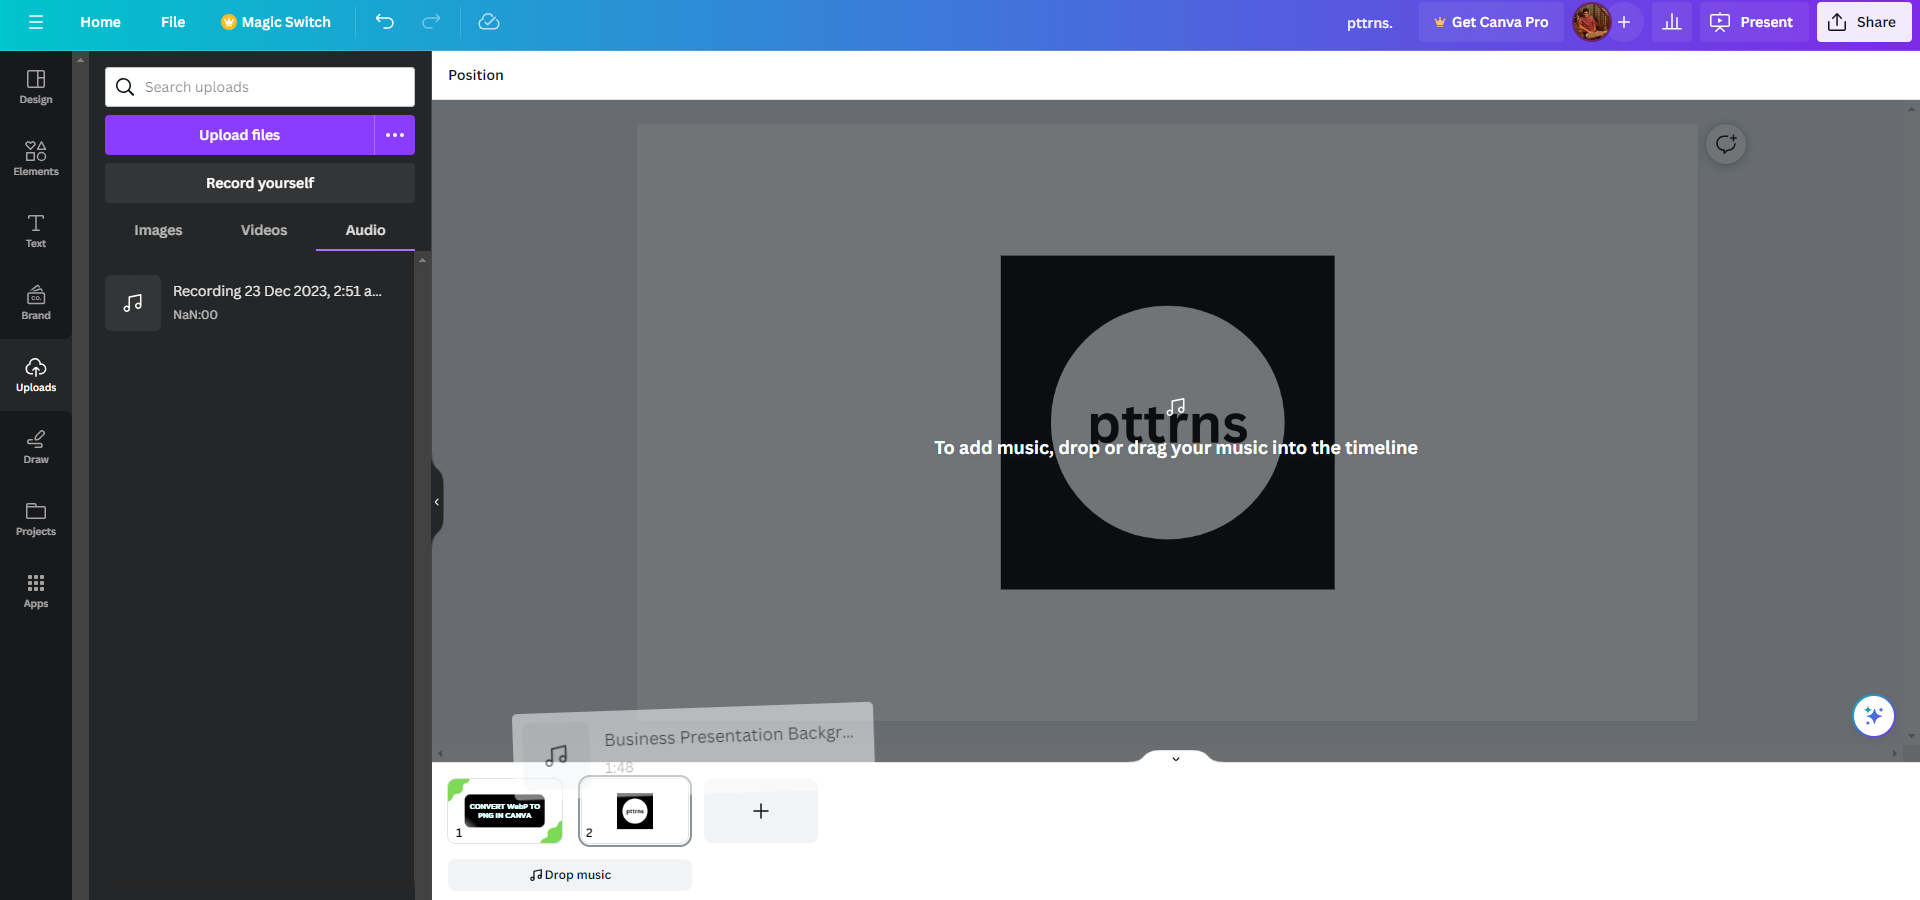
- With the audio file ready, drag and drop the audio file onto the page, and you now have a presentation with clear and error-free audio files added separately to each page.
Wrapping Up
Congratulations on recording audio on Canva!
While there are limitations for both approaches, it isn’t a worrying factor as they are minute, and the solution lies within Canva. However, if you aren’t happy with the recording done on Canva, use conventional tools like Microsoft PowerPoint for presentations.
Likewise, if you’re working on a video, any studio/video editing tool can help you record audio with ease while having additional customization and flexibility.
Related Reading
How To Convert Canva to Google Slides


