Midjourney offers the flexibility to work with previously generated images through the Job ID. With Job ID, you can make upscale, variations, and modify the old job to your liking. In this guide, we will present you with multiple approaches to finding a Job ID and then teach you how to use it.
What we cover
Find a Job ID
The Job ID is a unique identifier assigned by Midjourney for each generated image. Let’s figure out multiple approaches to finding it.
Find a Job ID from the Midjourney feed
While most check their previous jobs on Midjoruney through Discord, it can be confusing. For this, you can use Midjourney Feed, and here are the steps for it:
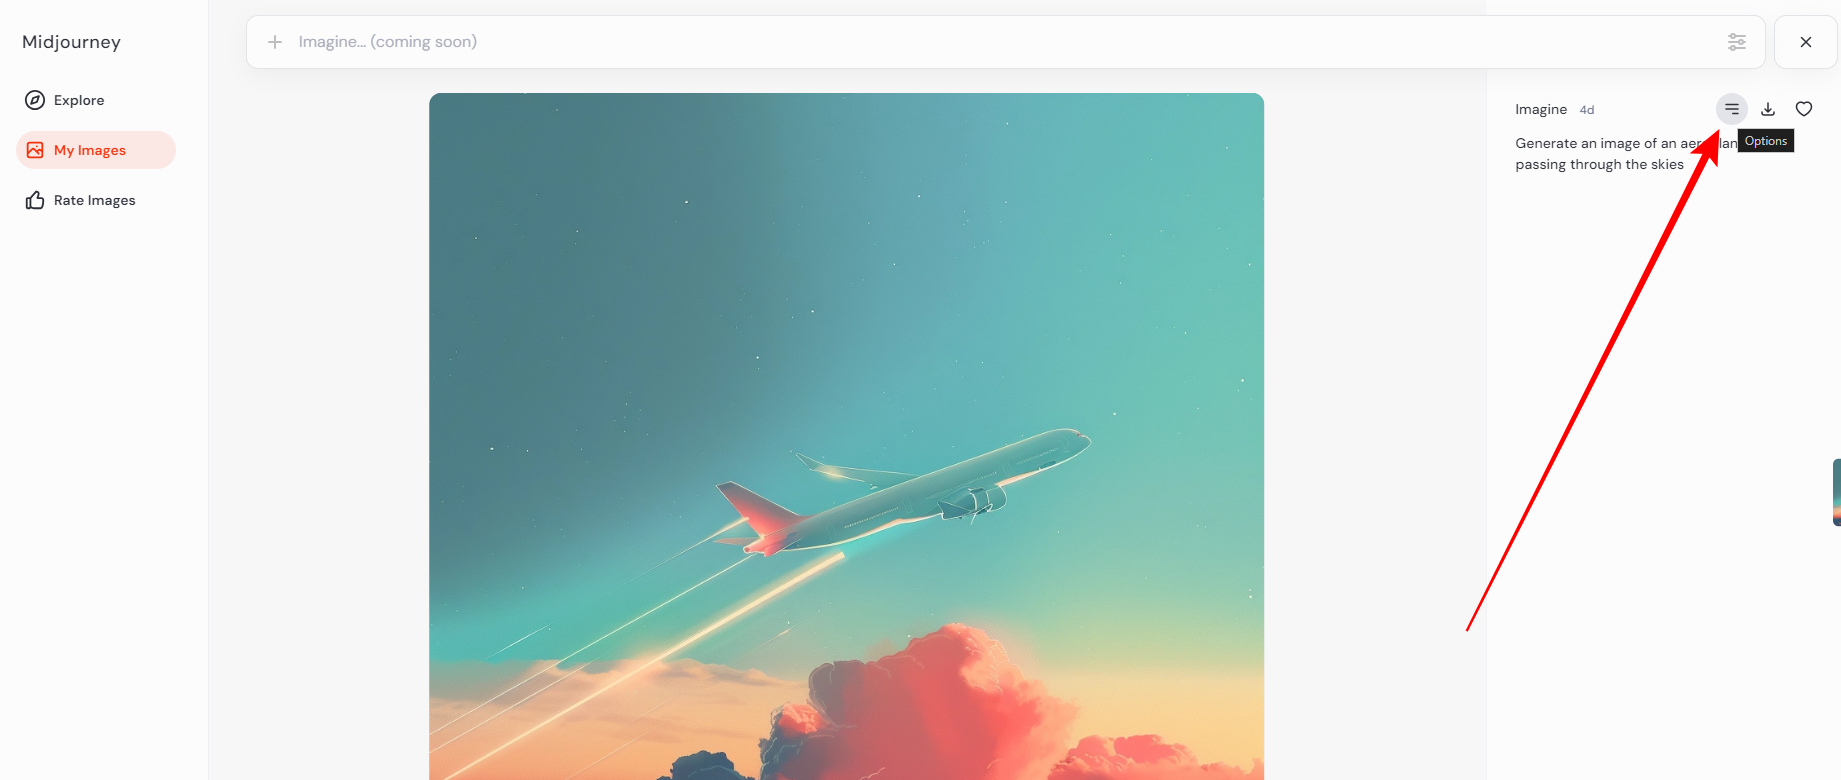
- Start by opening your browser and navigate to Midjourney Feed. Next, look for the My Images section on the left and click on it to access your previous jobs.

- After you find your images, look for the one for which you want to find a Job ID. To do this, navigate to the image and click on it. Next, look for the options to the right and click on Options.
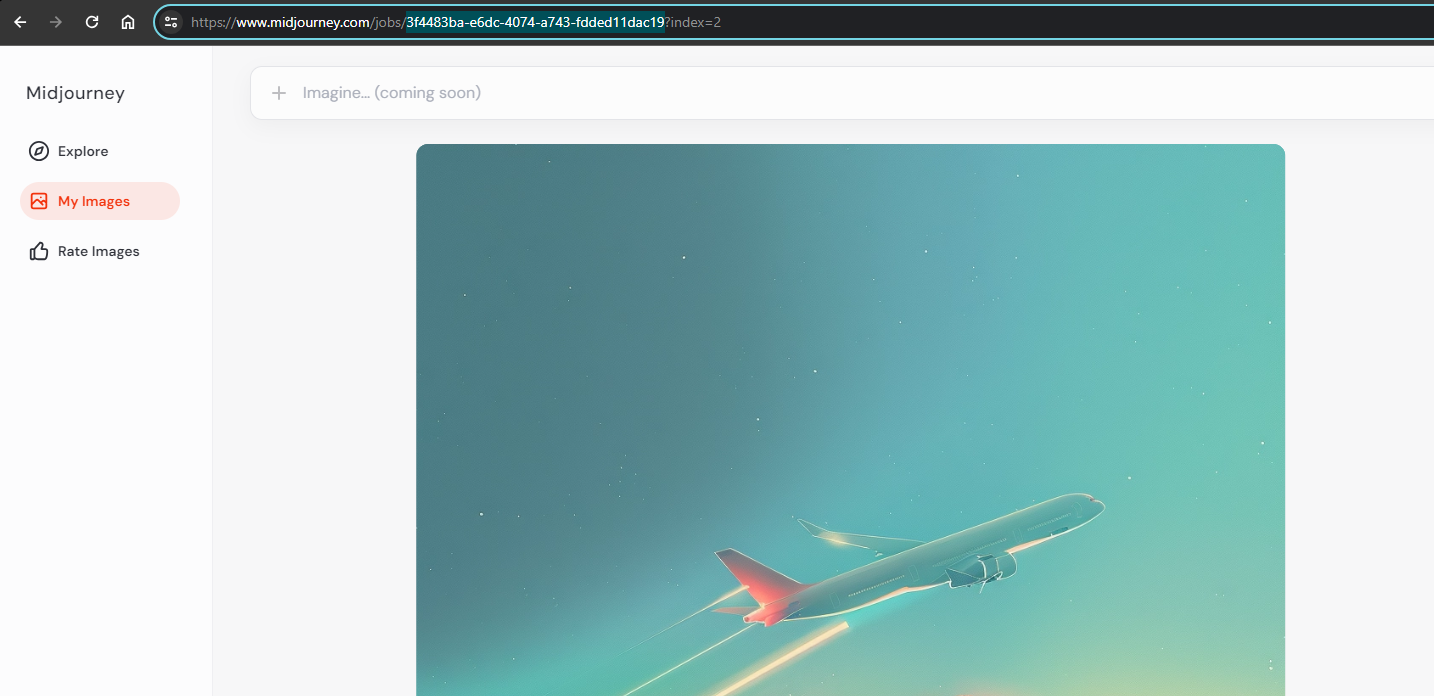
Pro Tip: You can skip Step 3 by copying the Job ID straight from the URL.
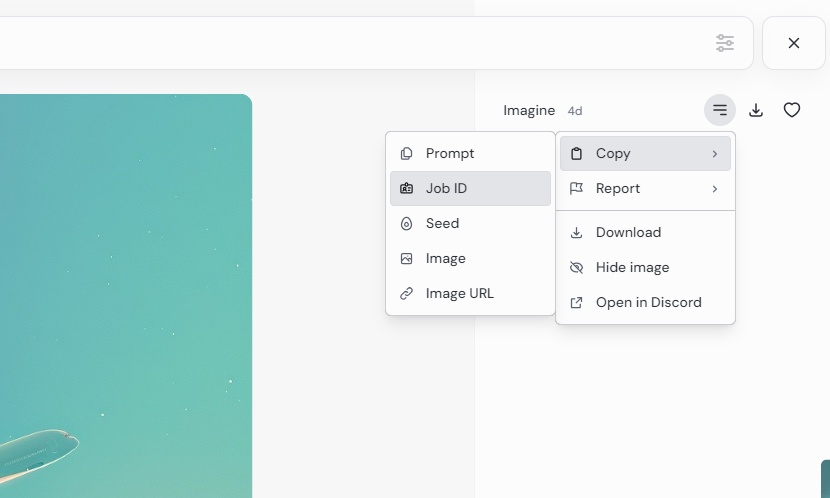
- Now, you will find multiple options from which click on Copy and then Job ID. Doing so will have your Job ID copied and ready to be pasted on Midjourney.
Find a Job ID from the Midjourney feed
While the above approach is easier if you want to get the Job ID without leaving Discord, this is the right approach for you, and here are steps for it:
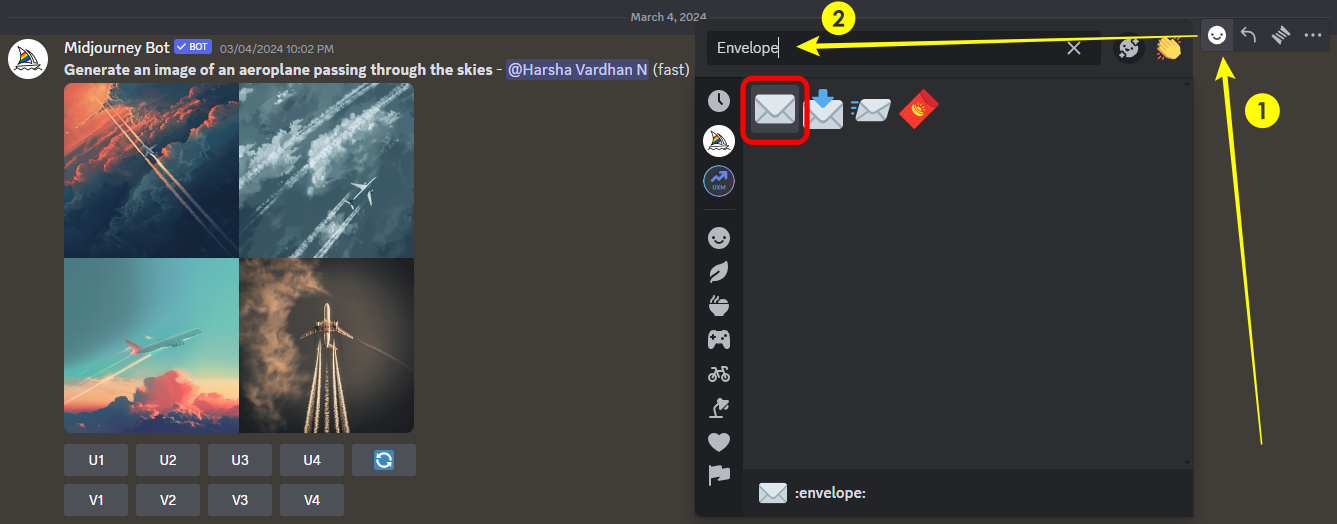
- Start by navigating to your old jobs and find the one for which you want to see the Job ID. Once you find the job, click on the associated Emoji icon and look for the Envelope emoji, then click on it [Refer to the image for better understanding].
- On clicking the Emoji icon, you’re displayed with Job and Seed ID as a new message inside the Midjourney Bot. Now, copy the job ID by selecting it and using Ctrl + C/Command + C.

Use Job ID
With the Job ID copied, you can use it with the /show command, and here are the steps for it:
- Begin by navigating to the message box on the Midjourney Bot, channels, or custom private server. Next, click on it and type the /show command. Now, in the slot provided for Job ID, paste the Job ID copied earlier and hit Enter.

- Now, wait for the /show command to display the job, and after your job is fetched, start working on the job as intended.
Wrapping Up
Congratulations on learning how to find and use Job ID in Midjourney!
While both approaches involve finding the Job ID, we suggest using Midjourney Feed/Showcase for better flexibility and ease. This is because you don’t have to worry about navigating multiple previous jobs and the prompts and avoid confusion.