Everyone knows Midjourney’s /imagine command for its ease of generating images through prompts. However, it isn’t always the same, and most of the time, the images aren’t generated as expected.
In this guide, we will use the /describe command to refer an image to Midjourney and generate variations. With this approach, you don’t have to go through the hassle of creating prompts and rely on Midjourney to ease the process.
Use Describe in Midjourney
- Begin by accessing Midjourney through a bot, channels, or custom private server. Once you gain access, navigate to the message box, click on it, and enter the /describe command.

- Now, upload the images in the provided slot by clicking on them and selecting the image or dragging and dropping them onto it. Alternatively, you can paste the link by selecting the link option if the image isn’t saved on your local storage.
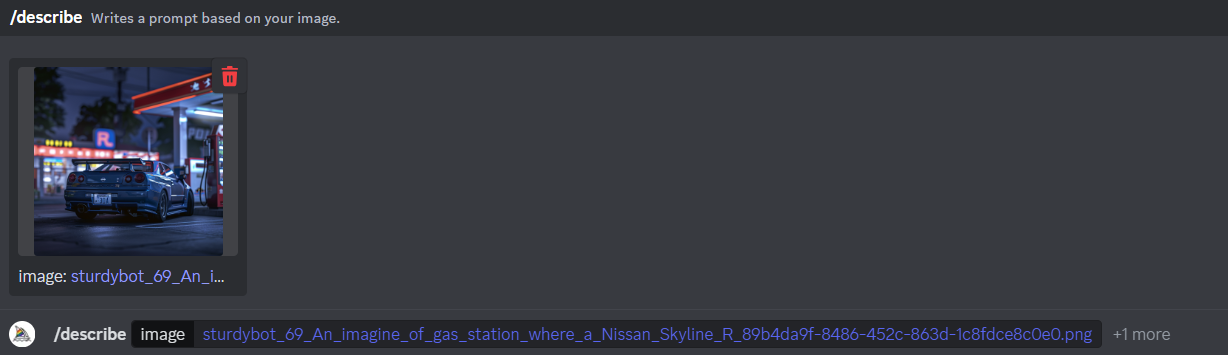
- After the image is uploaded to the slot, you will find the image preview. Now, you can proceed further by hitting Enter, and the /describe command will start describing the image in the form of prompts.
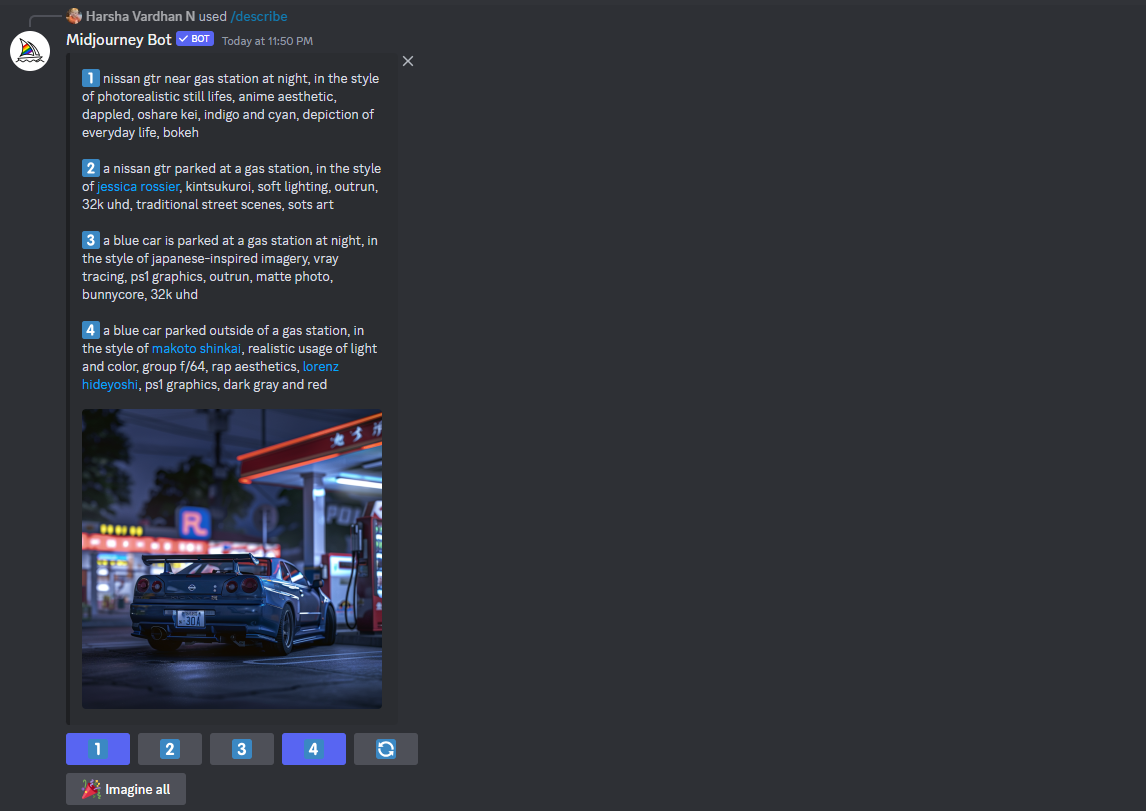
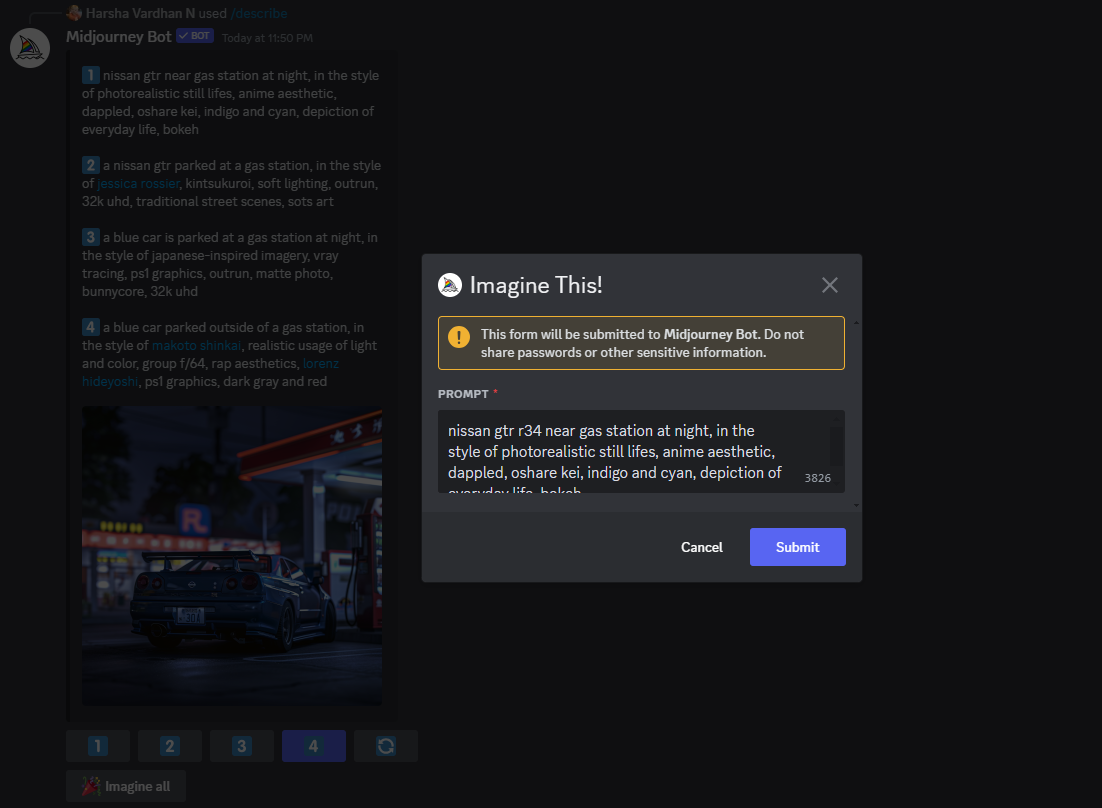
- From the descriptions in the form of a prompt, find the one that fits your requirement and click the respective button below to open the Imagine This dialog box. Now, edit the prompt if needed or proceed with the same and click on Submit to generate the image.
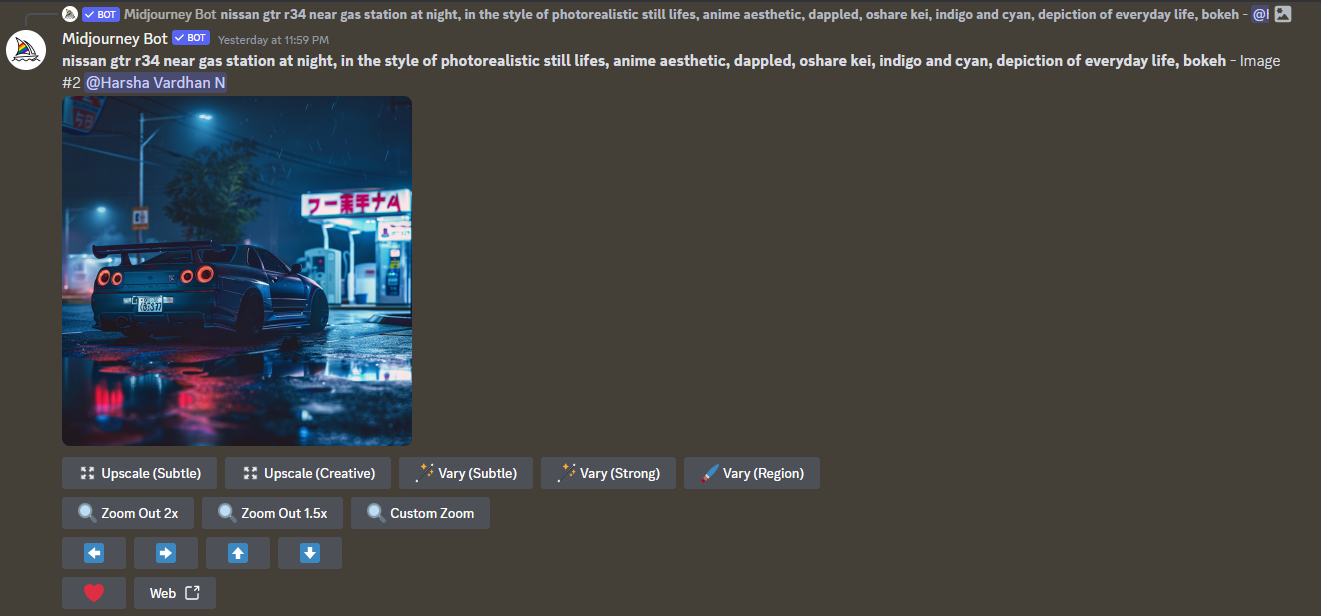
- With the images generated, find the one that fits your liking and separate the image from the grid. Next, make changes to it if necessary and download the final result.
Wrapping Up
Congratulations on learning how to use Describe in Midjourney!’
While there aren’t any issues with using the /describe command, if you aren’t happy with the results, be creative and remove unnecessary information in the prompt displayed in the Imagine this dialog box.
Related Reading
How To Use Weights in Midjourney