GIMP offers multiple tools to work with and while there isn’t a tool dedicated to making circles, you can use the Ellipse to make one. In this guide, we will help you make a circle using the Ellipse tool and also suggest another approach to create a circle with one click using the Paintbrush Tool.
What we cover
Make Circles using the Ellipse Tool
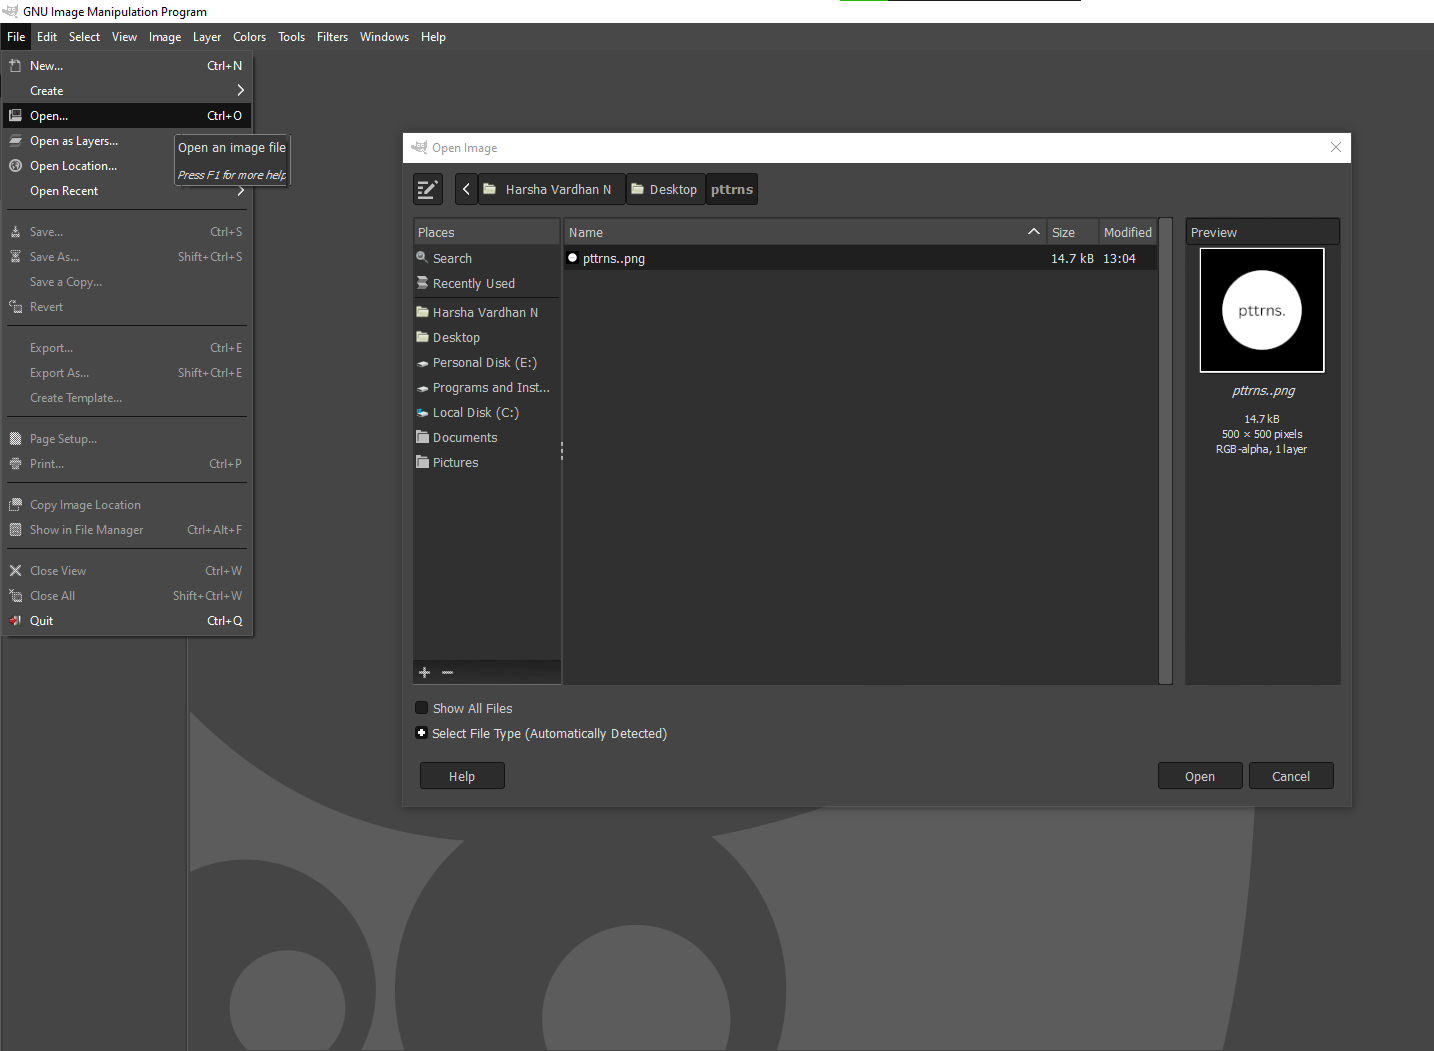
- Start by opening GIMP and wait for it to load. Once done, navigate to the Menu Bar and click on File. Now, from the available options click on New to create a new image to work with.

- However, if you’re already working on an image, add it to the canvas by clicking Open instead of New from the above step to load the existing work onto the canvas.
- Once the new/existing design is loaded onto the canvas, press E to open the Ellipse Select Tool. Alternatively, you can navigate to the Tools box present at the top left corner and click on the Ellipse Select Tool icon [Refer to the below image to identify the icon].
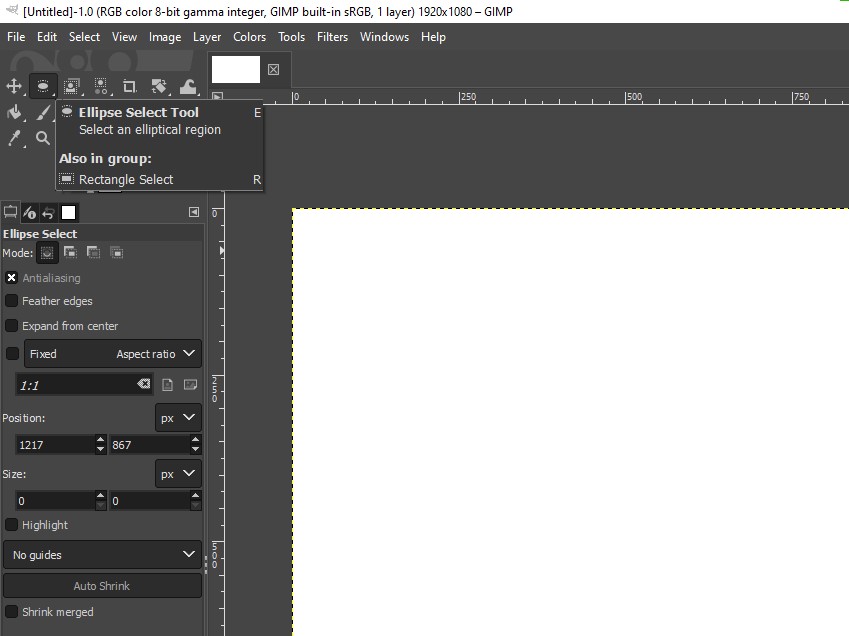
- With the Ellipse Selection tool selected, navigate to the canvas, left-click on the mouse, and drag it while holding the Shift key to draw a perfect circle.

- While you can see the circle, it is the outline created by the Ellipse Selection tool and isn’t ready yet. To make it appear on the image, you need to ensure that it has a stroke color or is filled with background color.
Fill Stoke Color
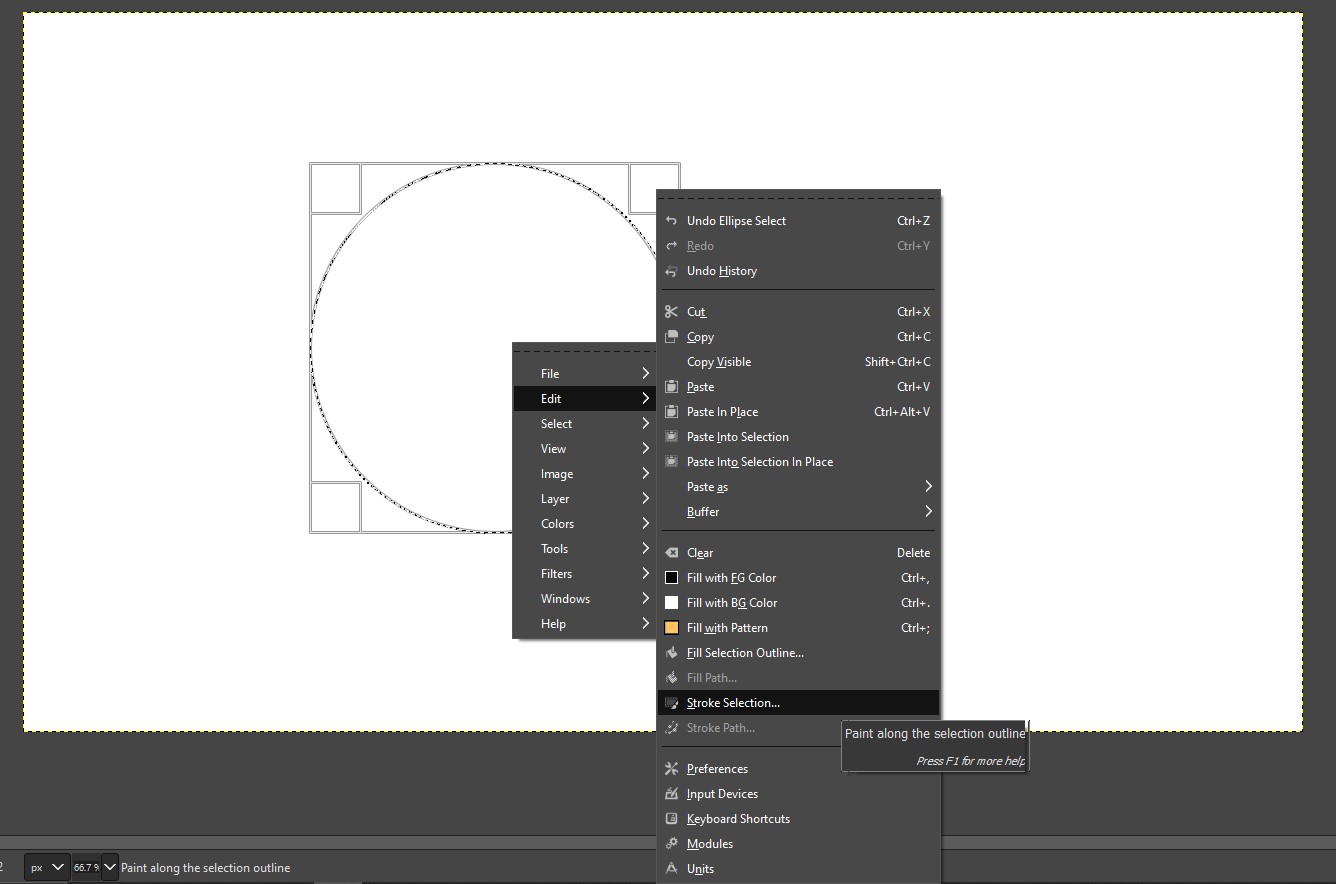
- Start by right-clicking on the circle and from the option that appears, click on Edit and then Stroke Selection.
- By doing so, you’re displayed in the Stroke Selection dialog box. Now adjust the settings like depicted in the image and click on Stroke to add color to the selection.
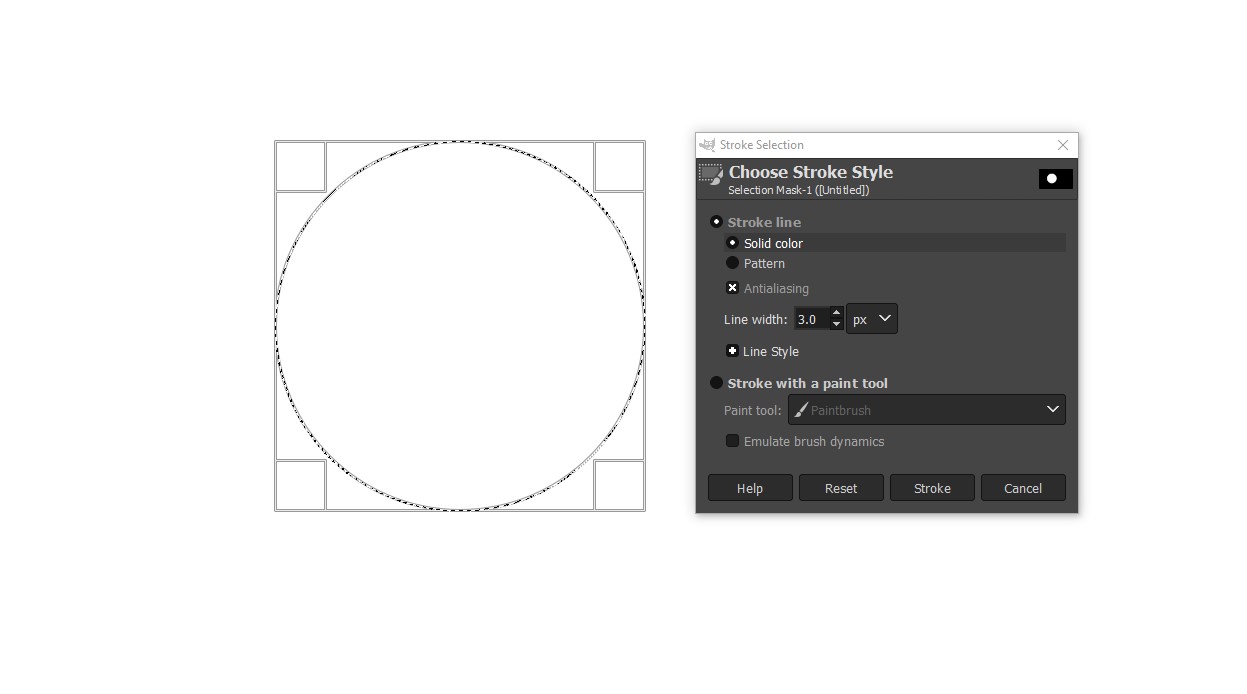
- After the color is added to the circle, click on an empty area to remove the selection and make a circle.

Fill Background Color
- Start by right-clicking on the circle and from the option that appears, click on Edit and then navigate to the Fill with options and select the one that matches your requirements.
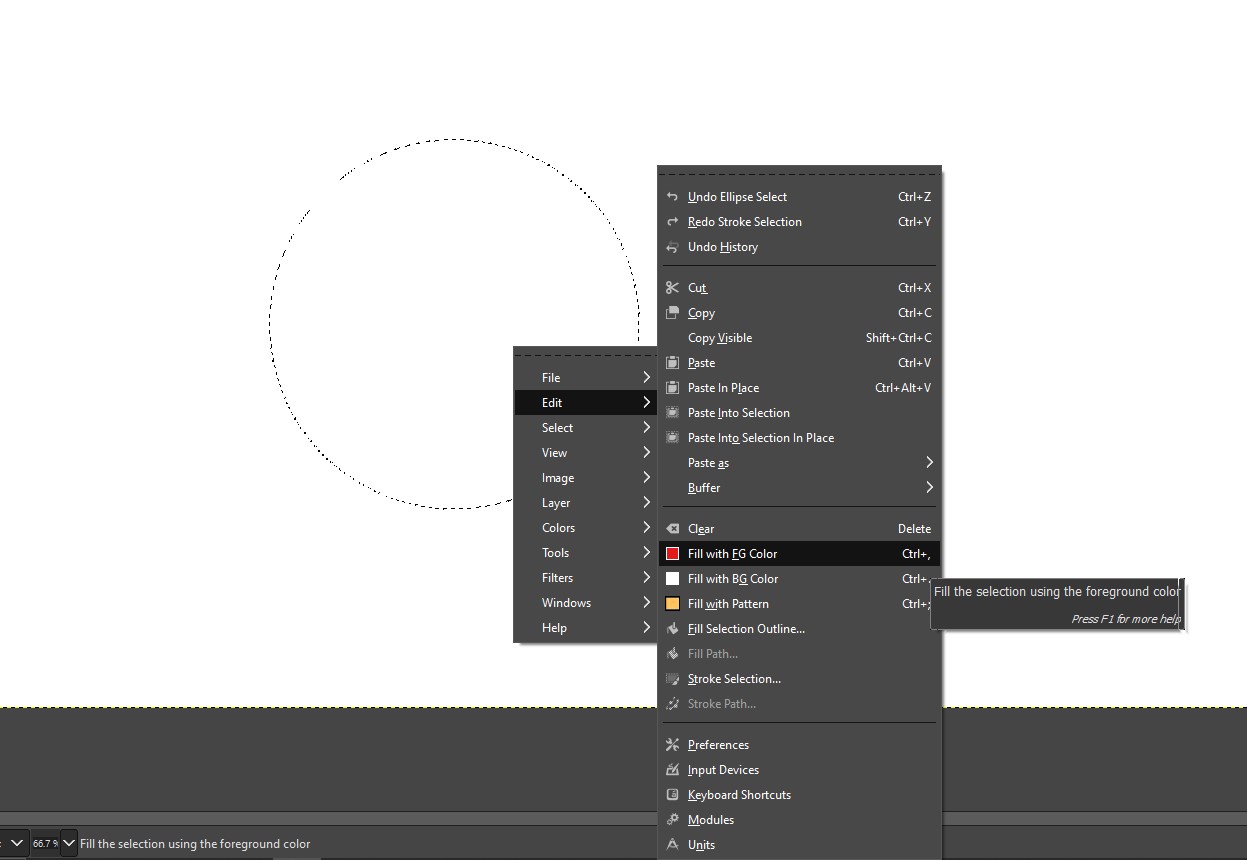
- For demonstration, we have selected with Fill with FG color and once the color is added to the circle, click on an empty area to remove the selection and make a circle.

Make Circles using the Paintbrush Tool
If you find the above approach difficult and want a simple approach to making a circle, use the Paintbrush tool. Here are the steps for it:
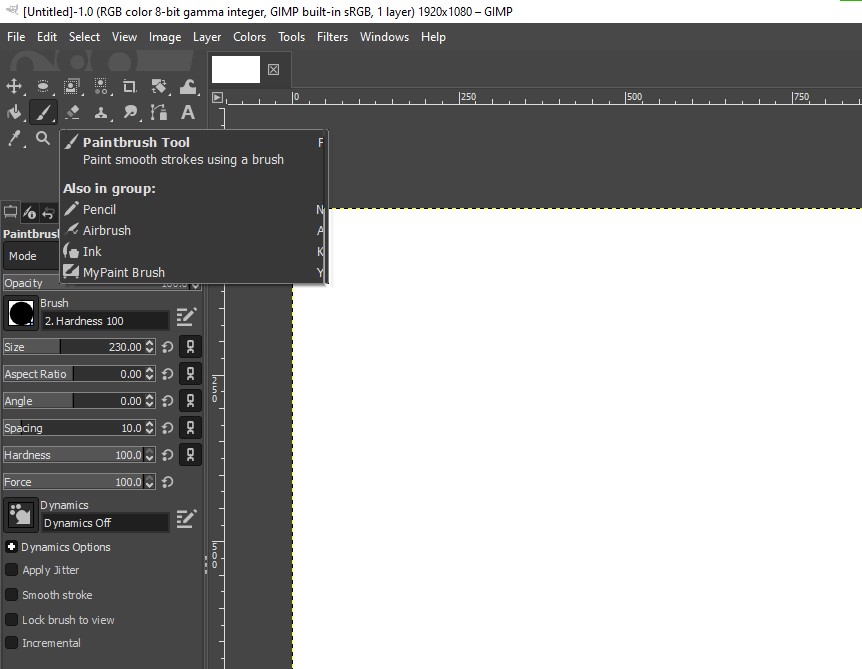
- Once the new/existing design is loaded onto the canvas, press F to open the Paintbrush Tool. Alternatively, you can navigate to the Tools box present at the top left corner and click on the Paintbrush Tool icon [Refer to the below image to identify the icon].
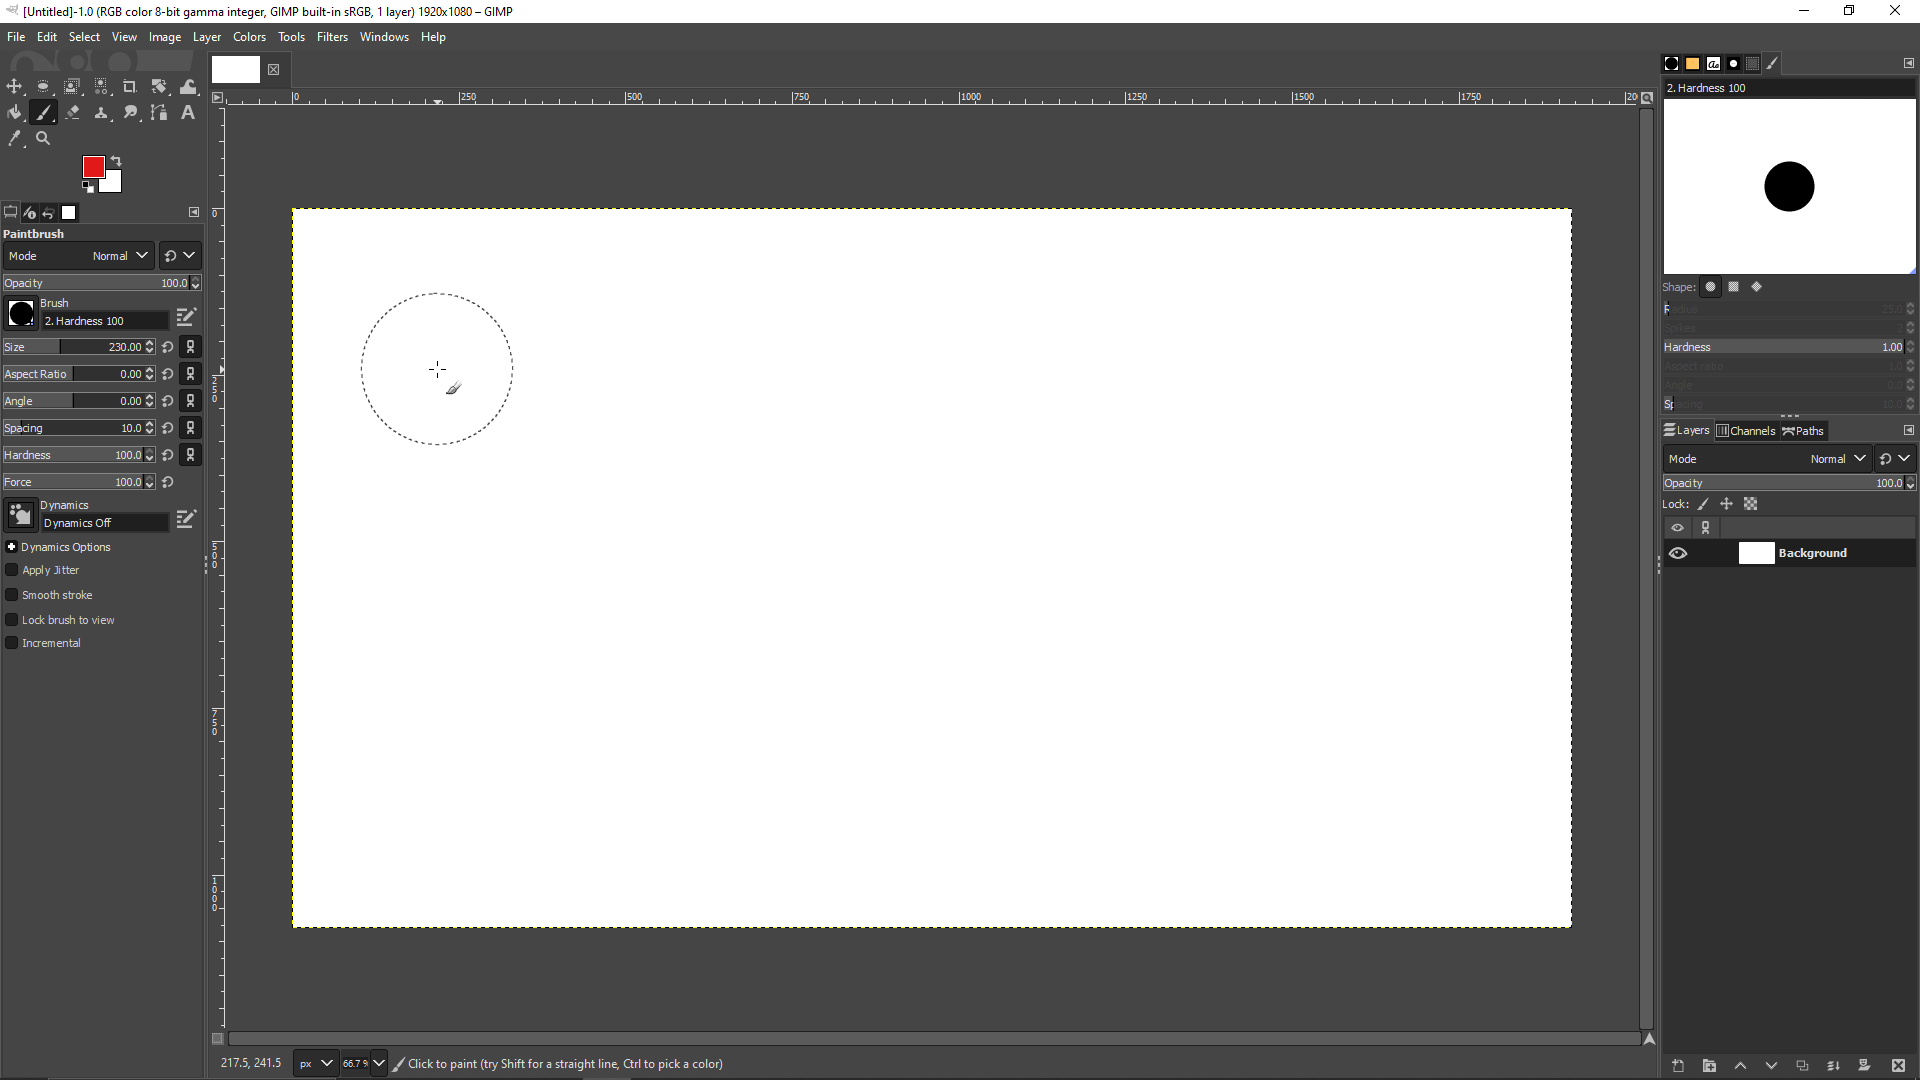
- With the paintbrush tool loaded, navigate to it associated options on the left and select the Circle brush.

- After the circle brush is applied to the cursor, adjust the sliders [Size, Hardness, Force, etc] to ensure you get the circle according to your requirements.
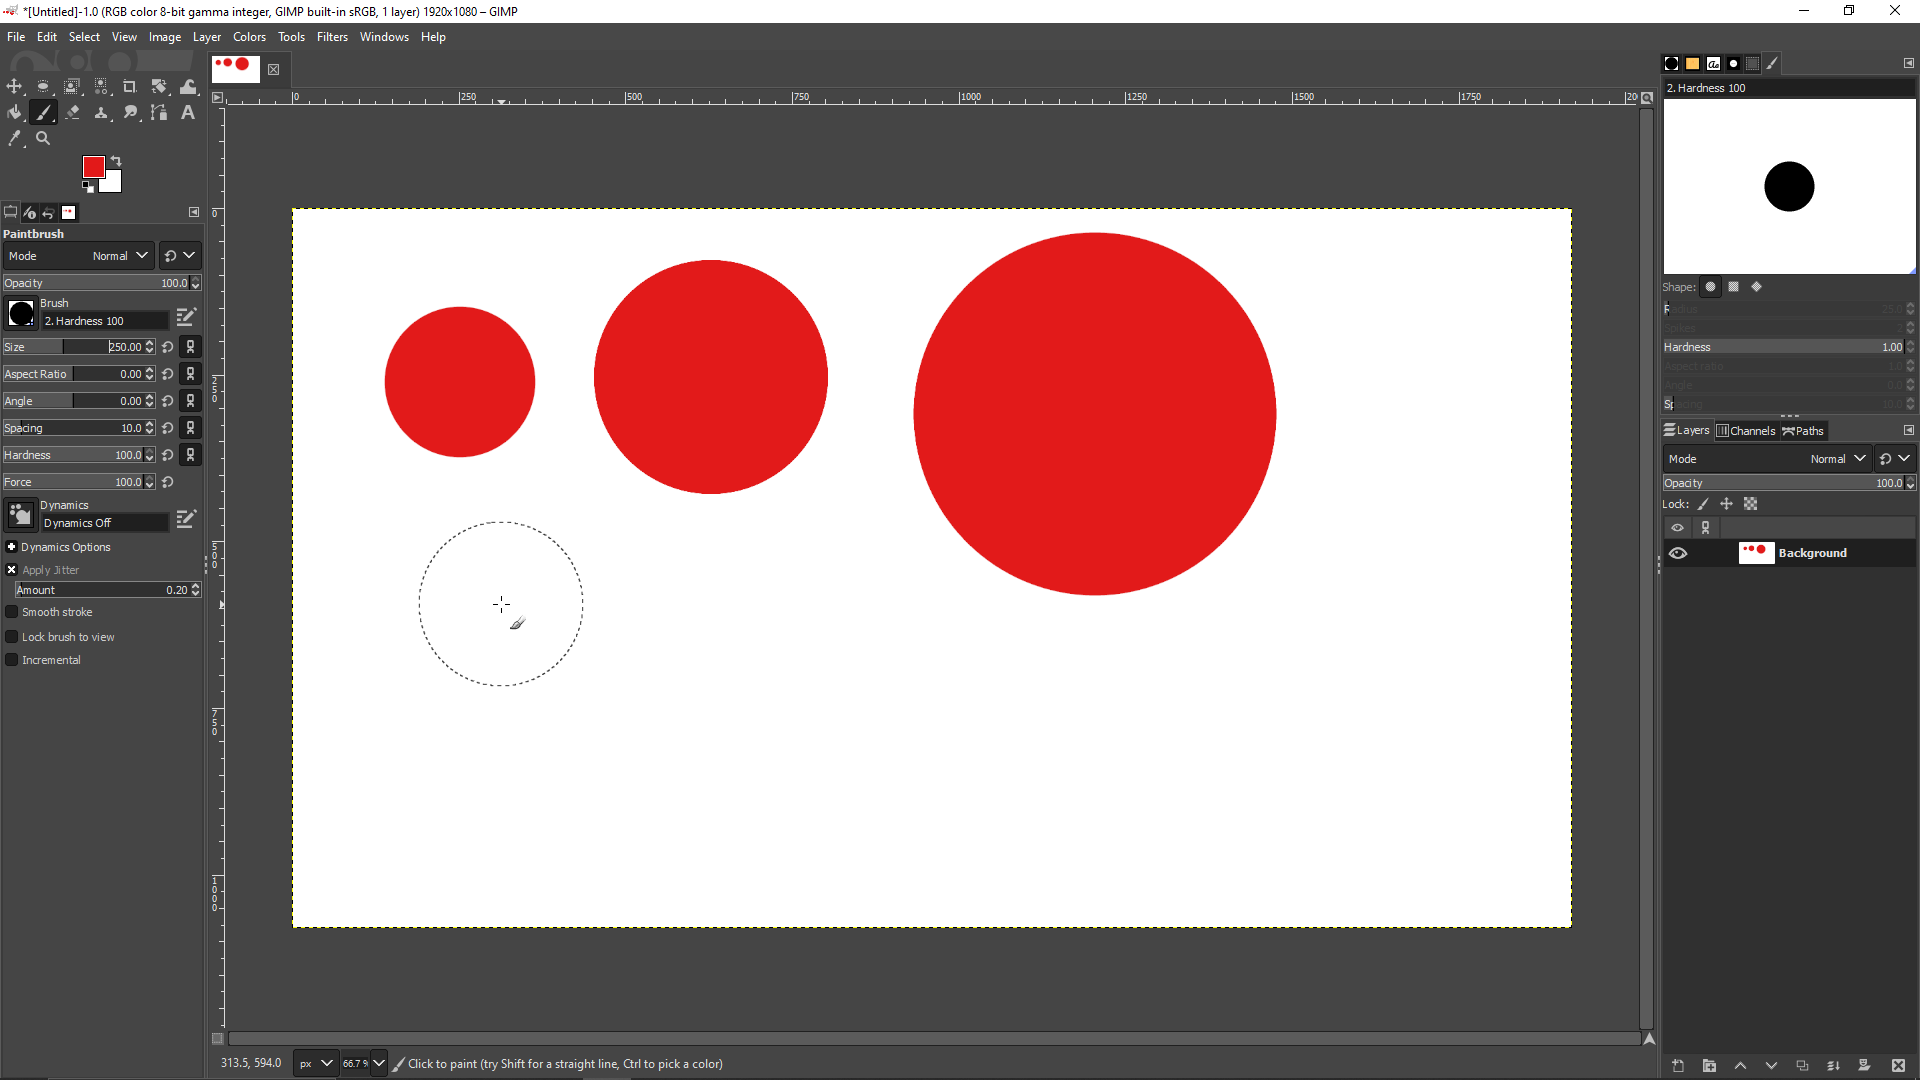
- Once you set the sliders according to your requirements, navigate to the canvas and left-click on the mouse to make circles.
Wrapping Up
Congratulations on making circles on GIMP!
While GIMP is arguably one of the best ways to make circles, if you find the above approaches difficult, try using the online design tools like Canva. Alternatively, you can use MS Paint or Paint 3D to make circles with ease.
Related Reading
Shapes Guide for Canva: Elevate Your Design Skills