Canva offers various elements to work with, making it reliable for different creative needs. This guide will help you use Canva to create grids through a simple demonstration to get you all covered.
Make a Grid on Canva
- Open Canva on your browser and sign in with your credentials. Next, start by clicking the Create a design button and choosing a design from the home screen. However, if you’re already working on a design, open it from Recent designs.

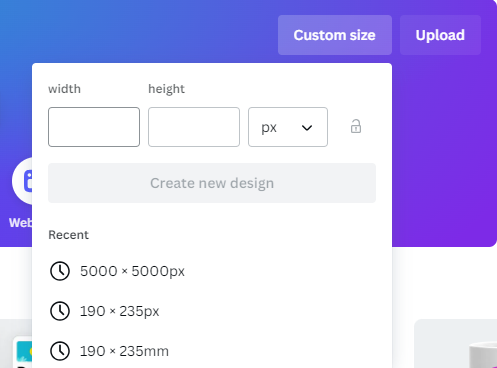
- Alternatively, you can achieve flexibility with the design using the Custom size button to set a measurement unit and provide the width and height accordingly.
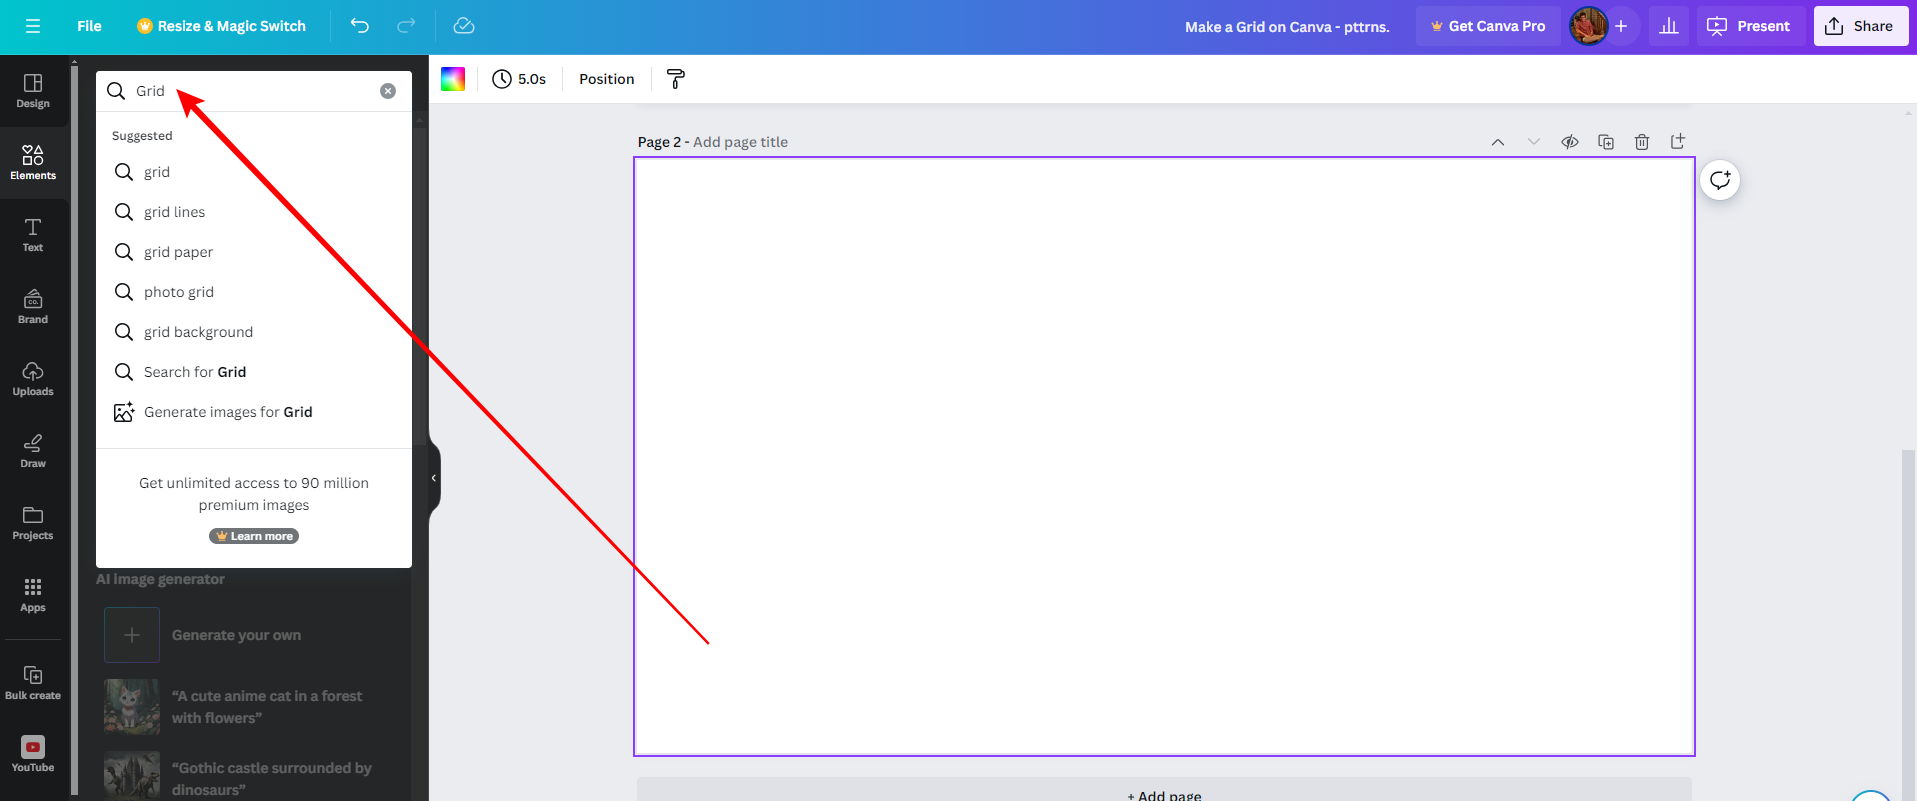
- After creating your custom/new design, navigate to the Editor panel on the left and search for Grid in the Elements search box.
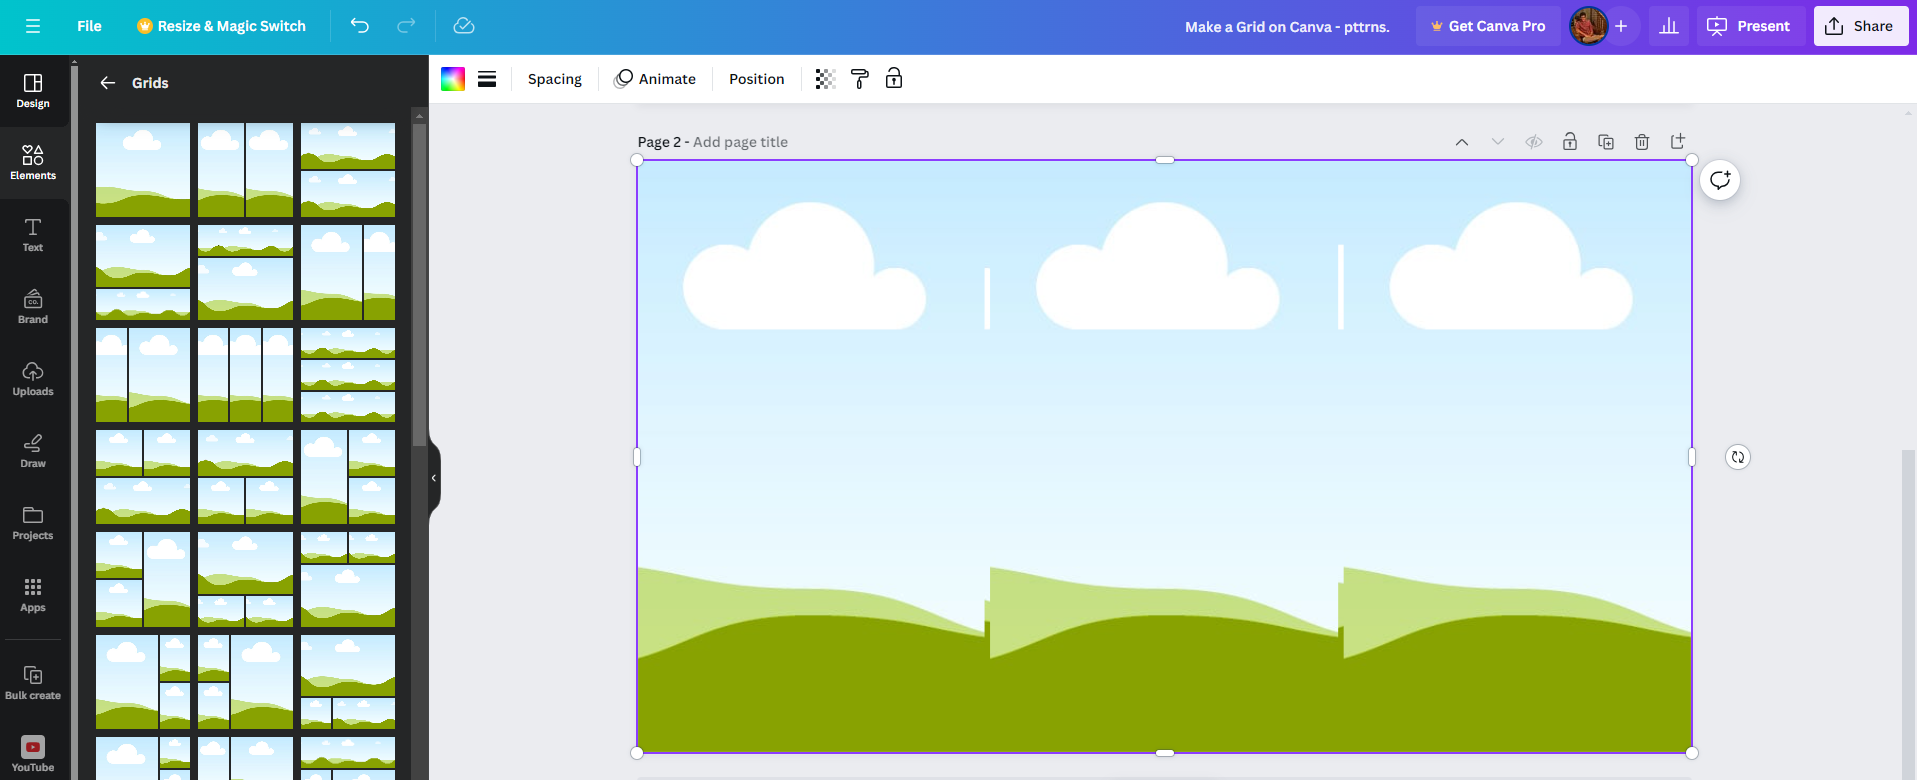
- Now, from the results, click on Grids or the See all text next to it to access Canva’s grids.
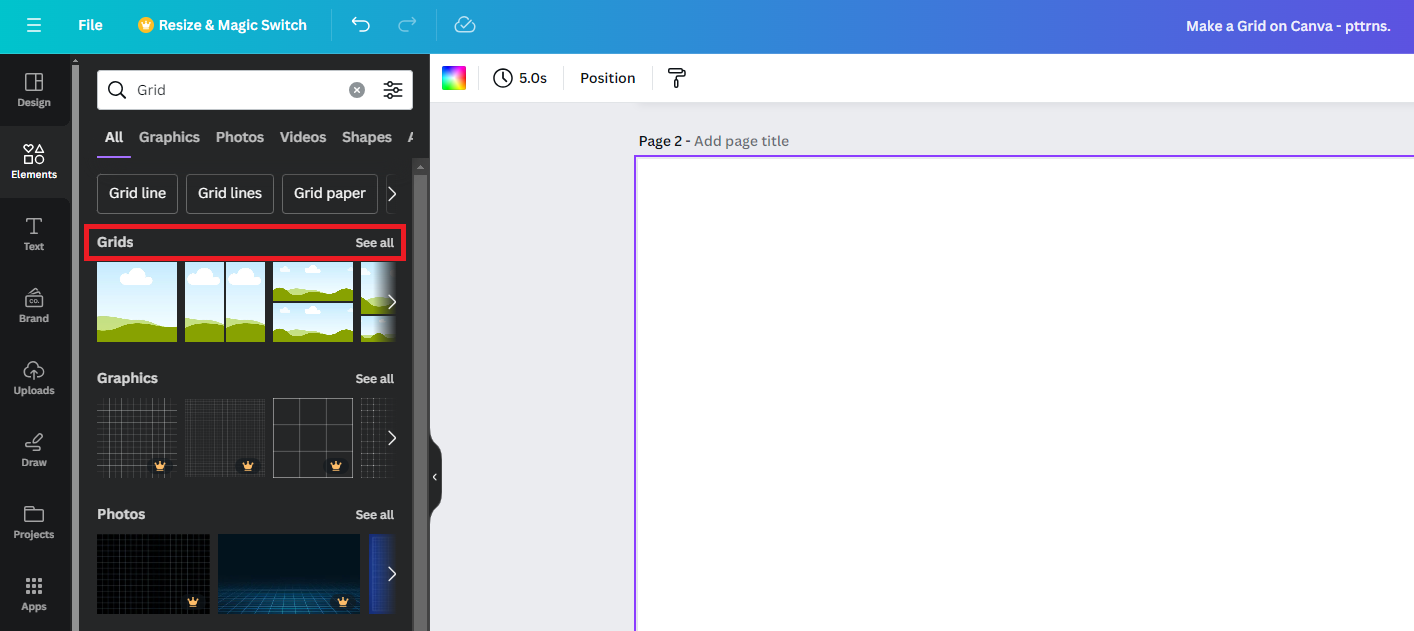
- Doing so, you can find all available Canva’s grids. Now click on any or drag and drop it to canvas to add the grid to the design.
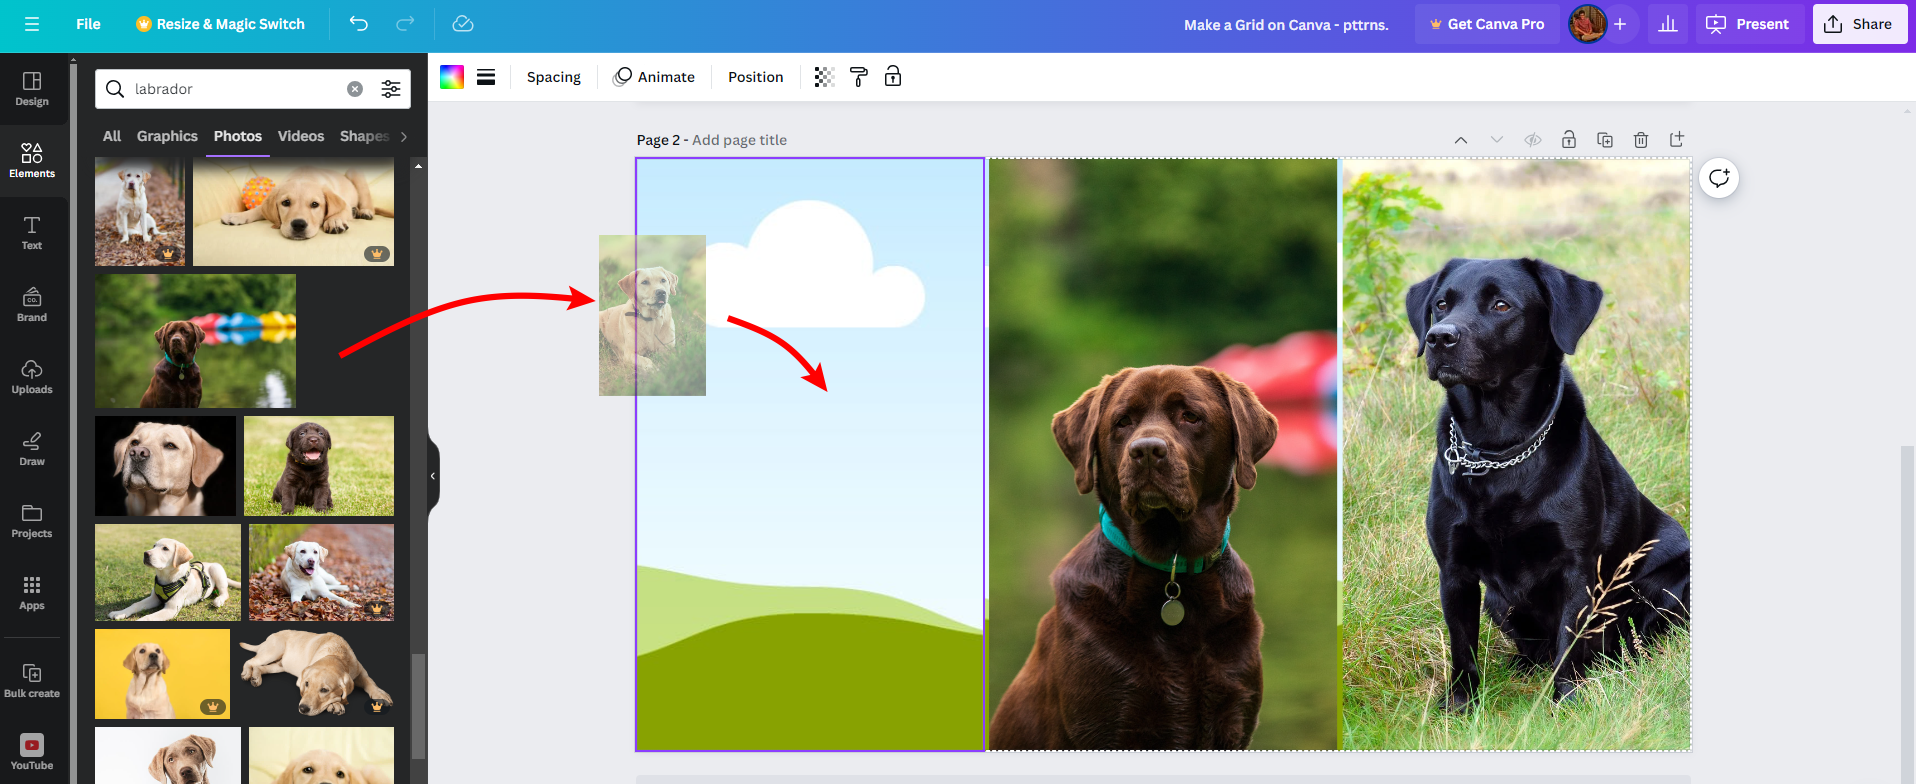
- Add images to the grid in the empty grids by dragging and dropping them on the respective slot from the Uploads, or use the free images from the Elements (Refer to the image below for better understanding).
Wrapping Up
Congratulations on learning how to make a grid on Canva!
While Canva makes it easy to use grids and create exclusive collages, you can search for collage templates for more engaging collages. If you aren’t happy with Canva, use online collage creators or conventional photo editors like Adobe Photoshop, GIMP, etc.
Related Reading
How To Make a Collage on Canva
How To Replace an Image in Canva


