GIMP offers the flexibility to deal with different file types. Hence, you can work with or export the file to the desired output without any restrictions. In this guide, we will walk you through the process of creating a GIF on GIMP and exporting it through a simple demonstration.
Note: The demonstration below is to understand the process of creating a GIF on GIMP. Hence, we suggest you consider it as a reference and get started with GIF making on GIMP by experimenting with the provided steps.
Make GIF in GIMP
Tip: Before getting started with the GIF creation, the first thing to do is get the images/layers added. It is important to do so as each image/layer acts as a frame and missing any can create an imperfect GIF.
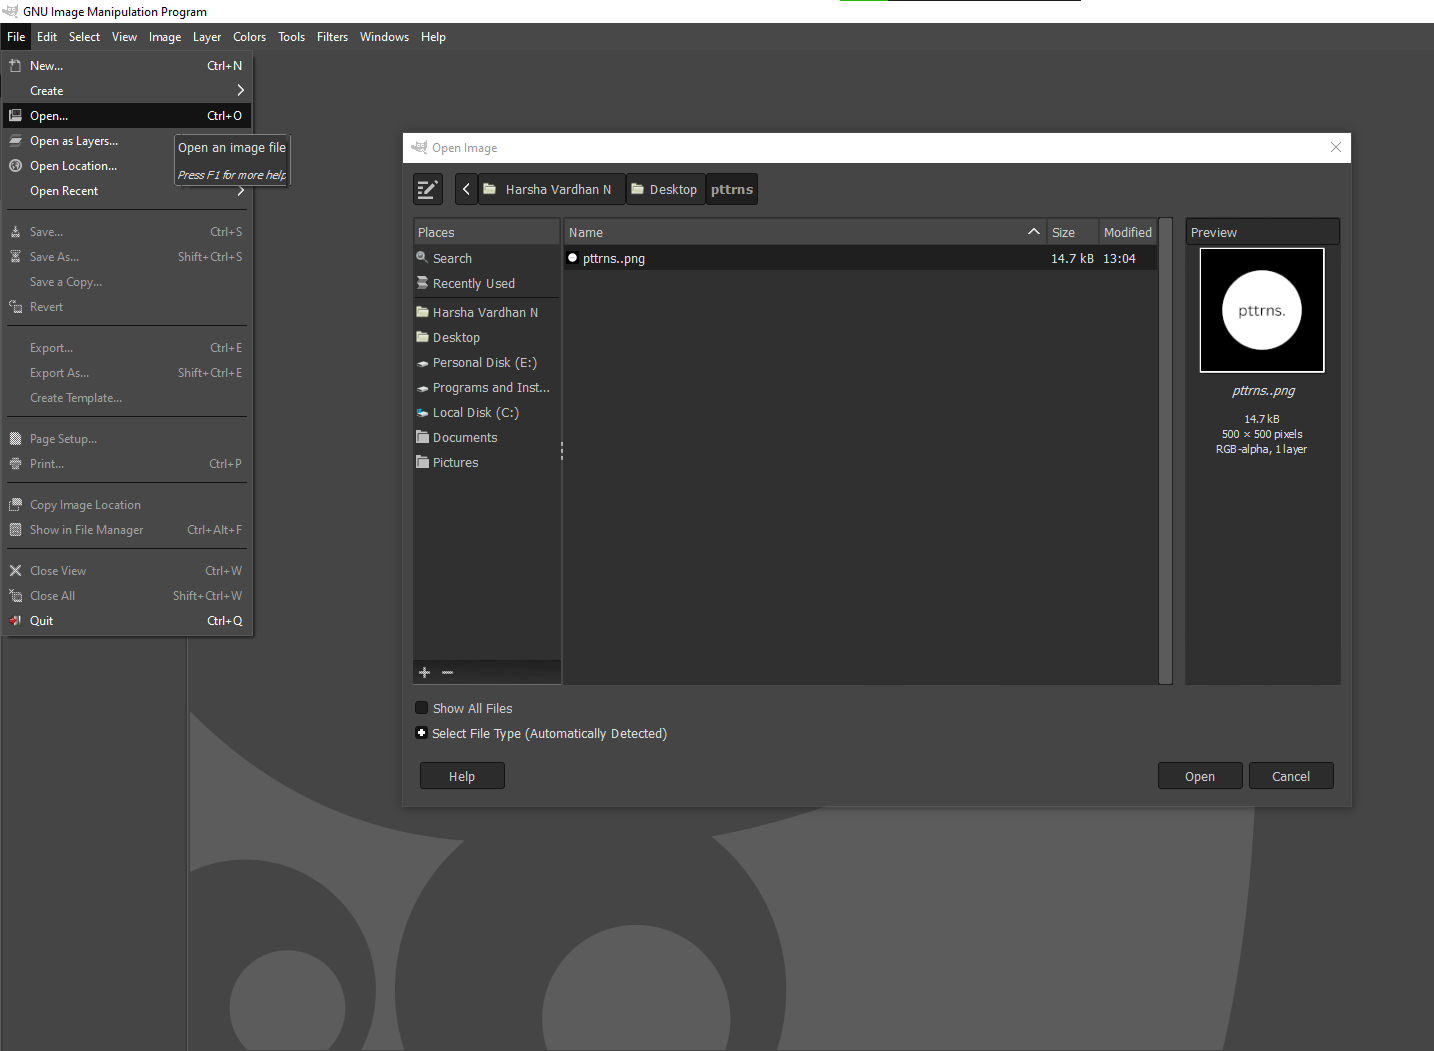
- Start by navigating to the Menu Bar and click on File. Next, from the available options, click on Open/Open as Layers. Now select the image/layer and add it to the canvas.
- Once the images/layers are added you can notice that they are added separately to the canvas. To make a GIF, they must be placed as layers next to each other.
- To do this, select any image/layer by clicking on it from the top preview and dragging it onto the first image/layer. By doing so, the images/layers are integrated into one, and once done, place them in the Layers block present at the bottom right [Refer to the below image for better understanding.]
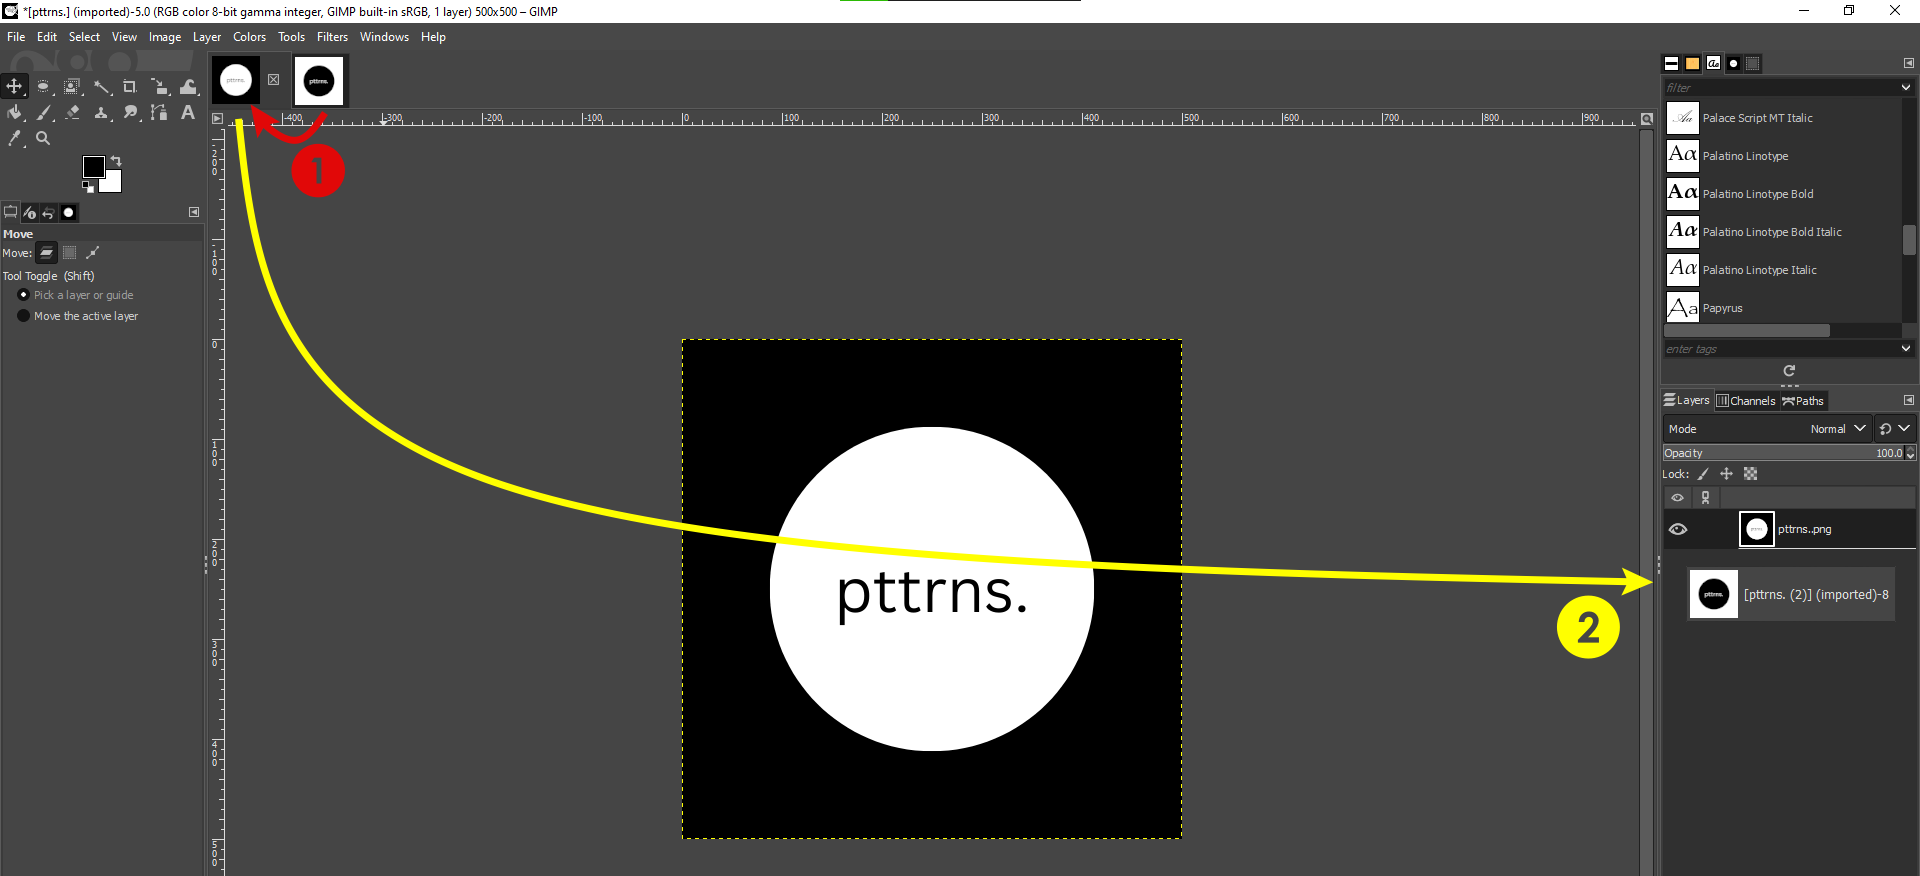
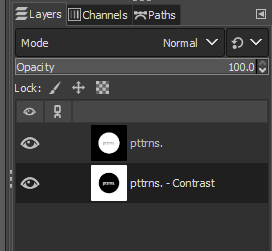
- If you have done it right, you will find the images/layers placed next to each other in the Layers block. Now adjust the order by selecting and dragging them [The first layer is where the GIF layer starts and the last layer is where it ends].
What should I do if I have multiple images/layers?
If you have multiple images or layers, the process remains the same. You need to drag all images/layers onto the first layer and place them in the Layers block. Next, adjust the order according to the GIF.
- After the order of the images/layers is set, make necessary edits like Position, Enhancement, etc, as they cannot be edited later.
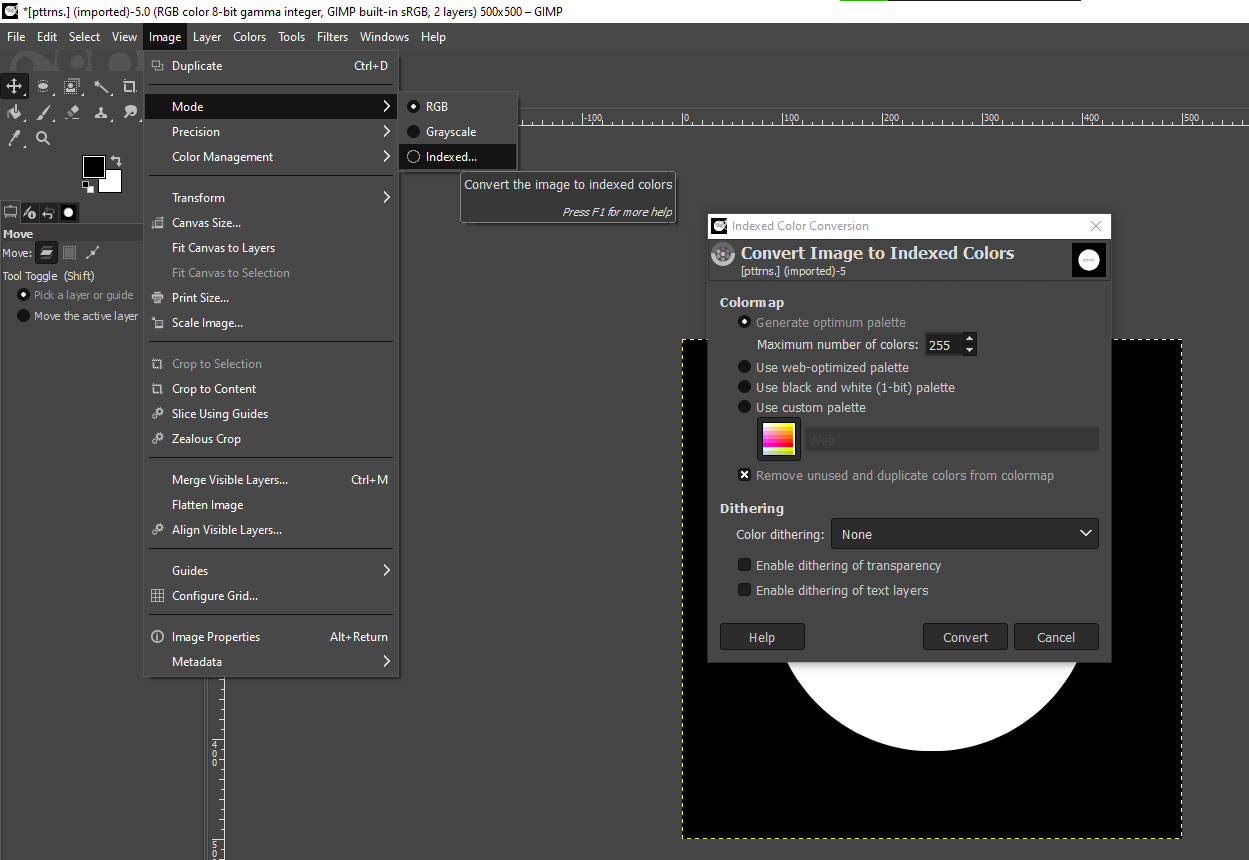
Pro Tip: With every looking good, you can proceed with exporting the GIF. However, if you have multiple layers/images it is important to change the colors to Indexed to reduce the size and to form a proper GIF.
- To do this, navigate to the Menu Bar and click on Image. Next, select Mode and click on Indexed. By doing so, you’re displayed with the Indexed Color Conversion dialog box, where click on the Convert button to change to indexed colors.
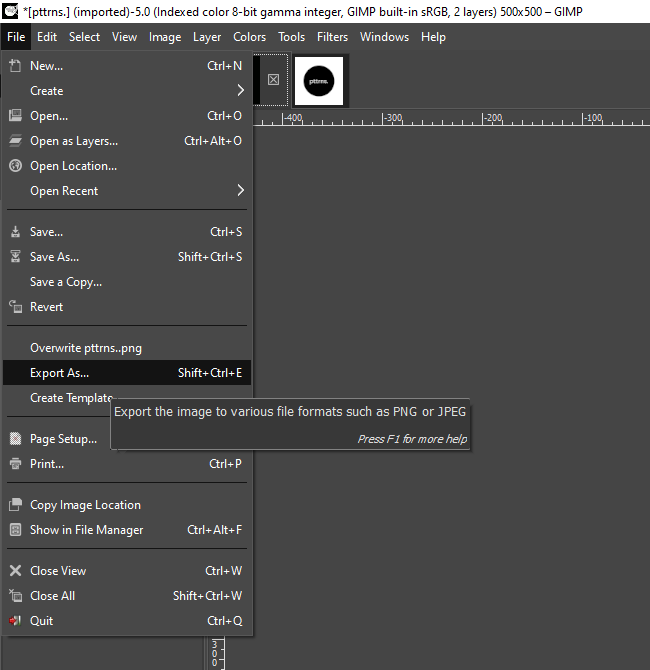
- With the colors converted to indexed, navigate to the Menu Bar and click on File. Next, from the available options, click on Export As.
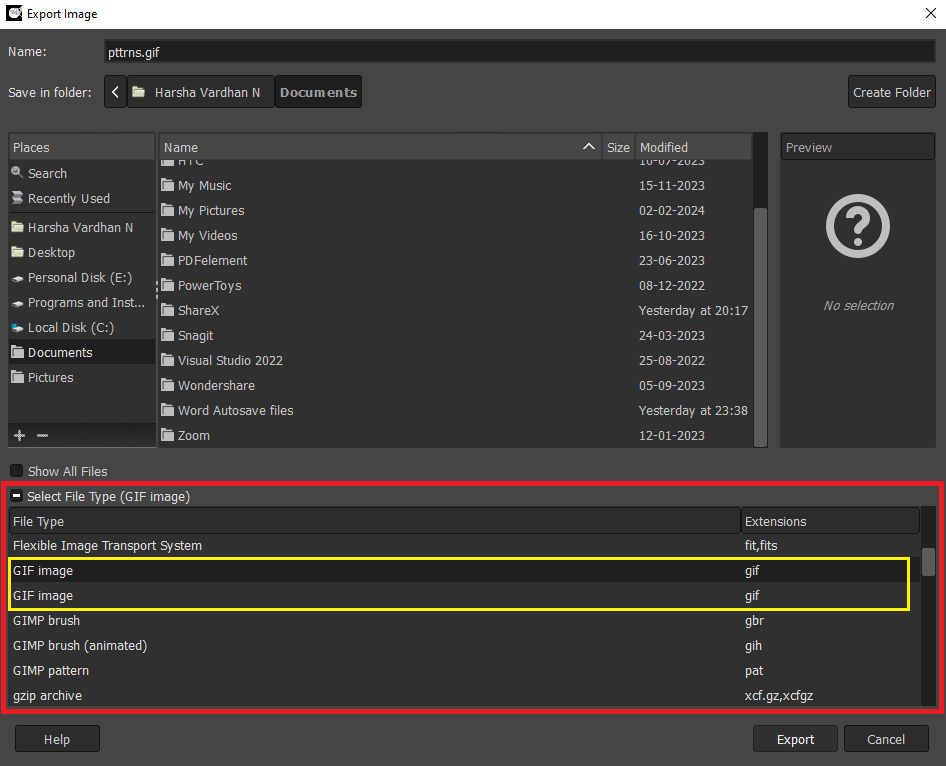
- Once the Export As dialog box appears, click on Select File Type at the bottom, and then select GIF from the list and click on Export.
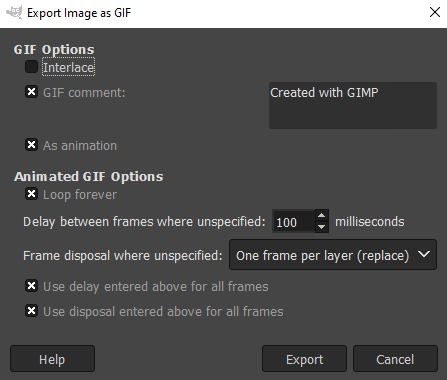
- On clicking the Export button, you’re displayed with GIF export settings. Before proceeding further, we suggest changing options like depicted in the image below and then clicking on the Export button.
- If you have done everything right, you will have the GIF created and saved in the set folder. Here is the GIF we have created using GIMP.

Wrapping Up
Congratulations on creating a GIF in GIMP!
While GIMP allows you to create GIFs, it can turn difficult due to multiple steps and the complexity associated with each. Hence, as an alternative, we suggest using free GIFs from GIPHY or creating a GIF from online graphic design tools like Canva to ease the process.