Are you trying to achieve specific quality images in Midjourney? Learn how to do it with ease through the below steps.
Midjourney offers different parameters to work with, each having a unique offering. Considering you’re using q2, you might have specific image quality requirements. In this guide, we will help you use --q or --quality parameters through a simple demonstration to get you all covered.
How to use --q / --quality parameter
Before proceeding with the guide, it is essential to realize that with the Midjourney V6 and 5.2, the max value for the –q parameter is restricted to 1. Hence, irrespective of the value you enter above 1, it is considered 1.
Here is a breakdown of each value for better understanding:
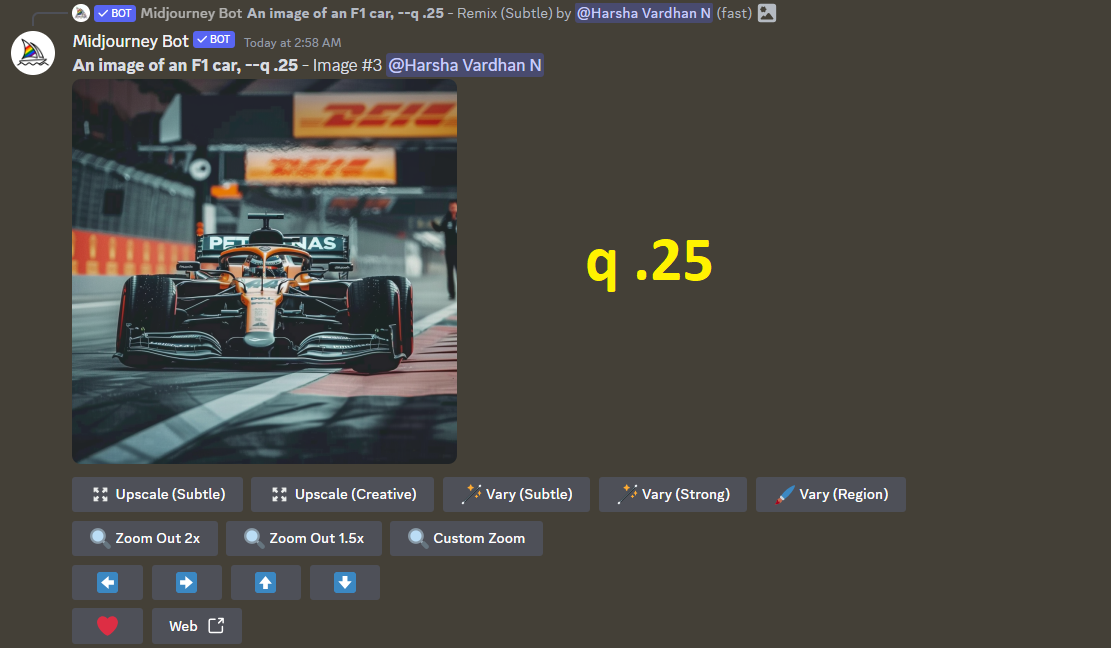
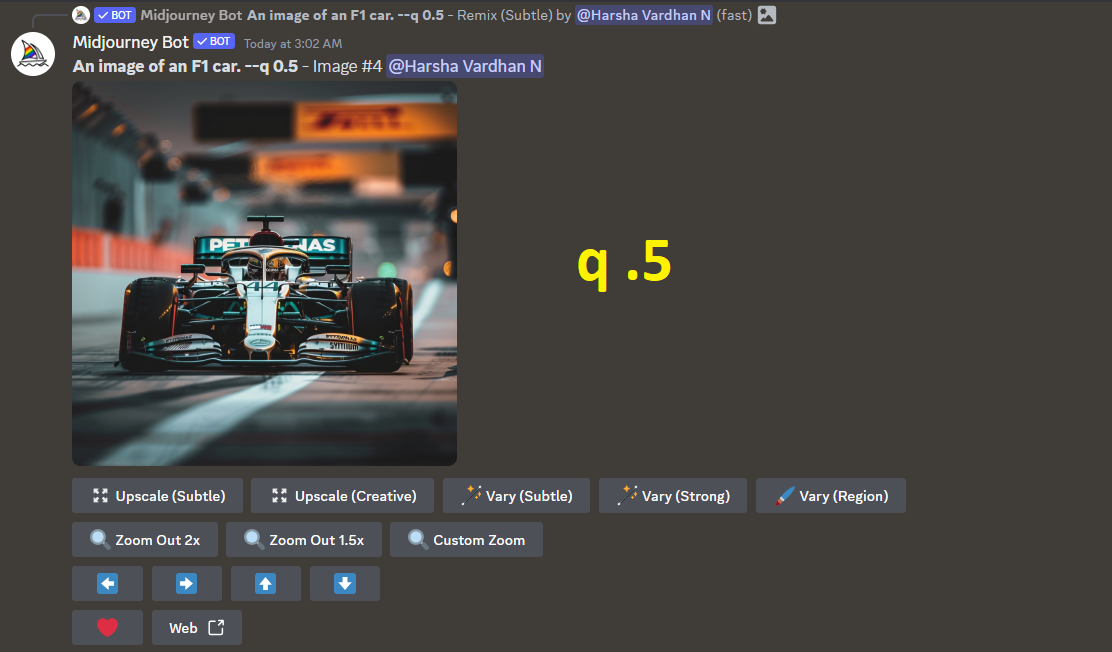
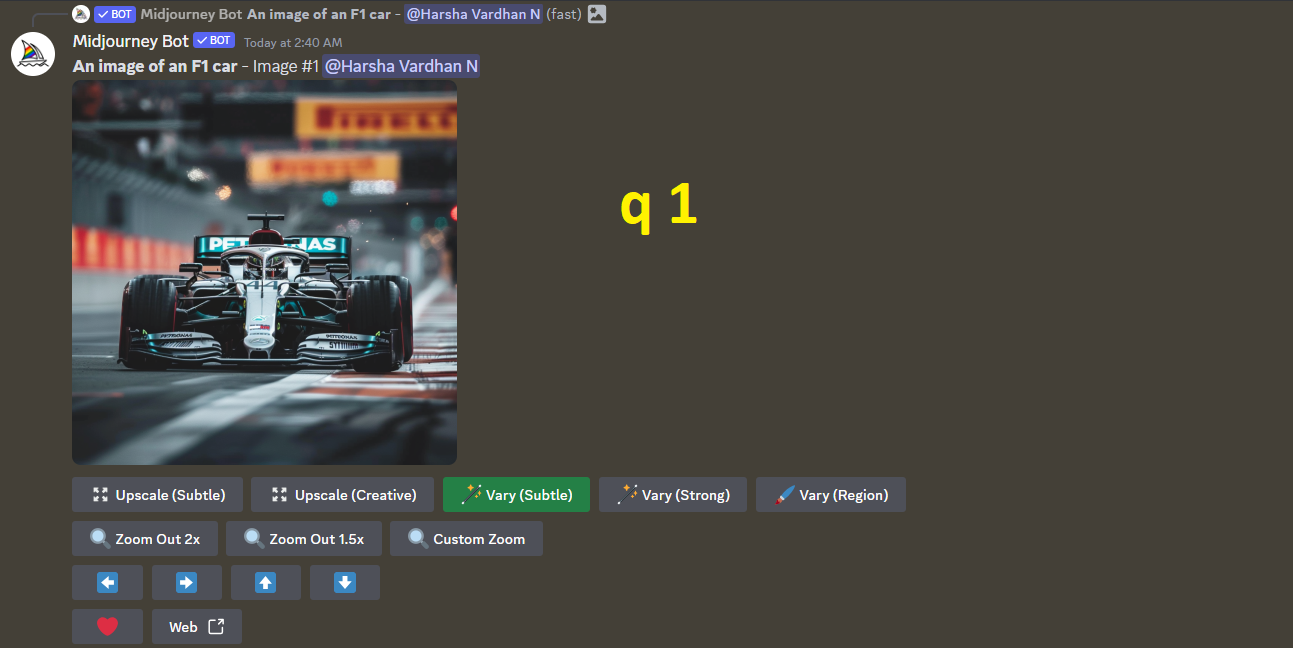
--q .25(4x faster, rough results).--q .5(2x faster, less detailed).--q 1(default value).--q 2(2x slower, more detailed).--q 5(experiemental).
Note: We have changed the different models from V6 to V4 to demonstrate different quality values. However, Midjourney seems to have made changes and could use only .25, .5, and 1.
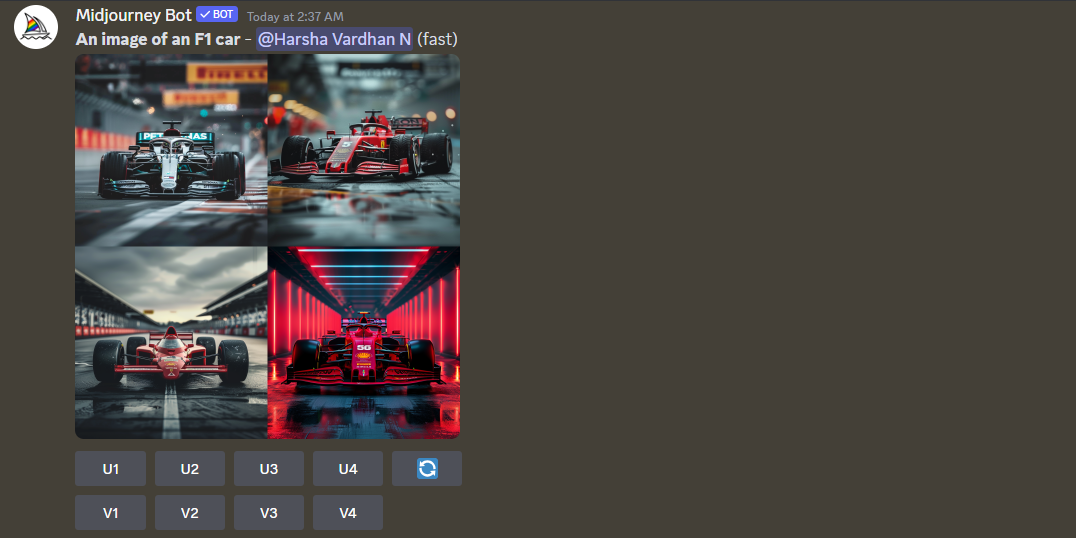
- Navigate to the message box in the Midjourney Bot, channels or the private servers and click on it. Next, use the /image command to generate an image.
- Now, separate the image from the grid to work on it. Once done, turn on the Remix mode and click the Vary (Subtle) option.
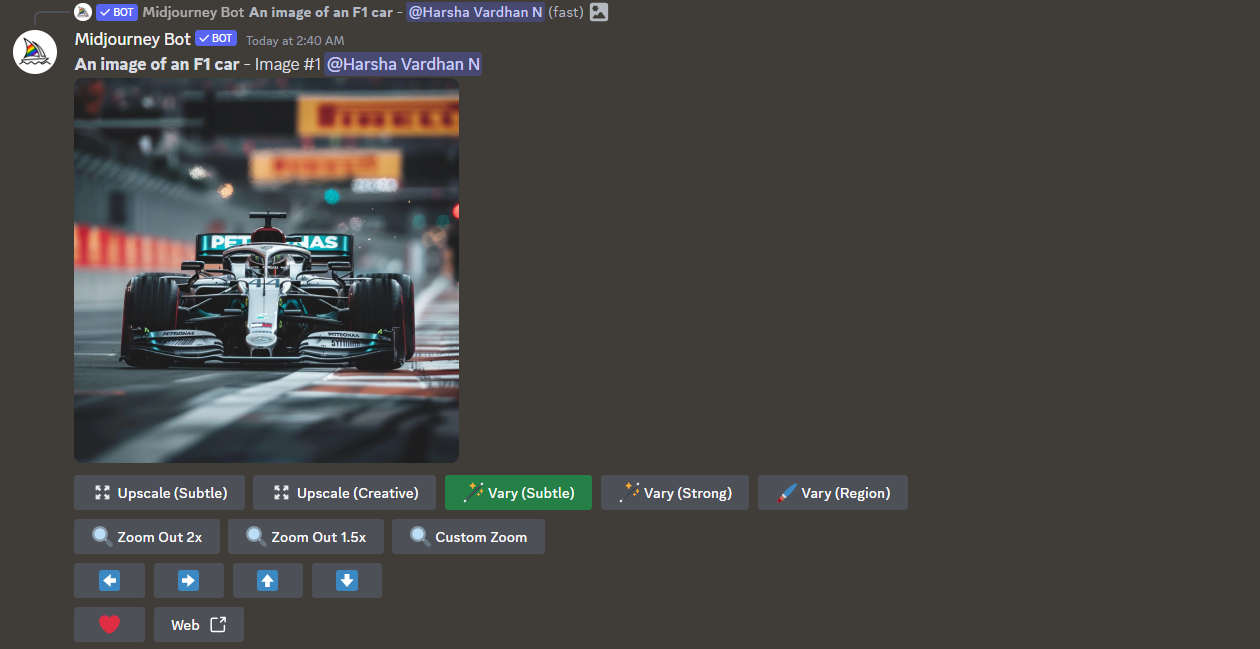
- Next, type in the prompt followed by the
--qparameter and the value (Refer to the prompts in the screenshots below for better understanding and compare the results).
Wrapping Up
Congratulations on learning how to use the quality parameter!
On comparing the results featuring different quality values, we noticed that better details, colour quality, and reflections are added gradually with the increase in quality values. About q 2, we believe it is deprecated as we have used it with V6 and older models, only to notice a similarity with q 1.
Related Reading
How To Make Variations in Midjourney