Inpainting refers to the restoration process done to images to address the damaged, deteriorated, or missing parts. To offer inpainting capabilities, Midjourney has come up with Vary (Region), and in this guide, we will explain the inpainting feature of Midjourney and how it works through a simple demonstration.
How to use Midjourney Inpainting
Note: The steps below are for the demonstration to explain Midjourney Impainting capabilities. Hence, consider the below reference and make changes according to your requirements.
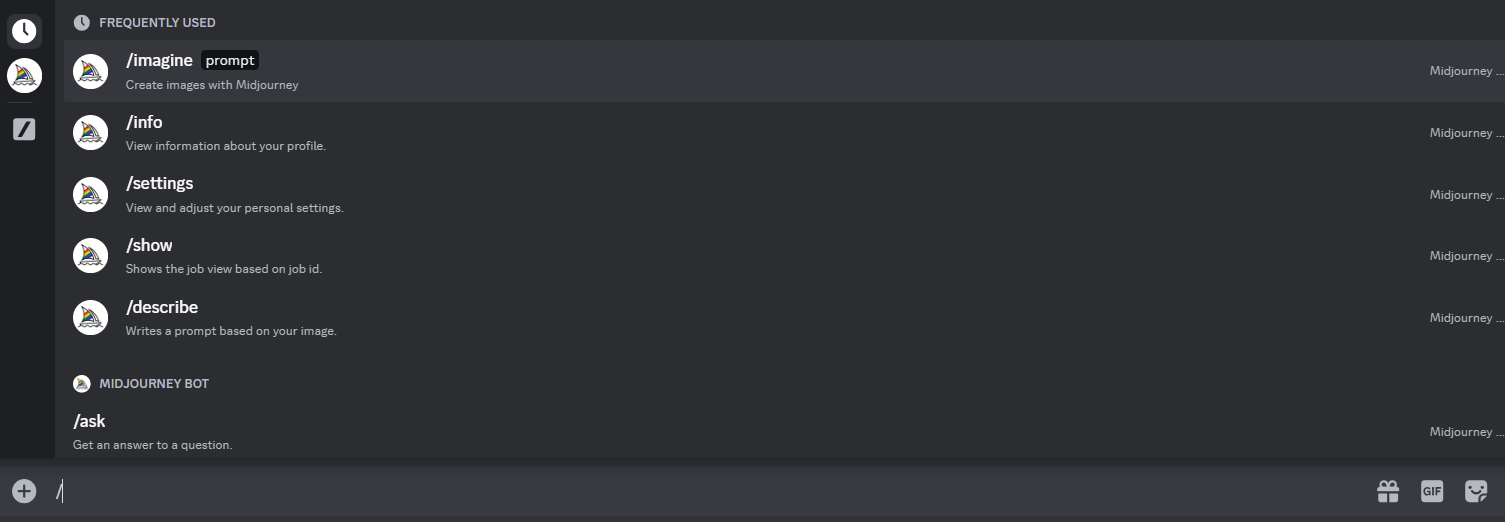
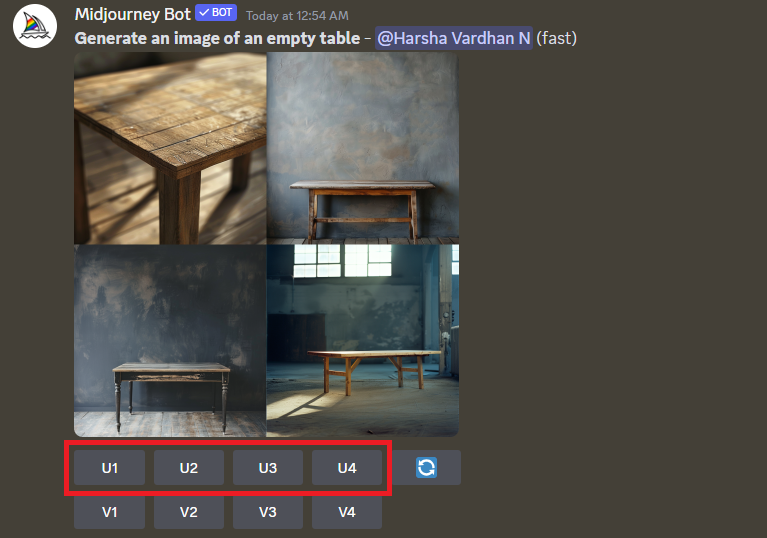
- Open Discord and access the message associated with the Midjourney bot, channels, or a private server to generate an image through the /imagine command.
- With the image grid generated for the given prompt, separate the image that fits your requirements by clicking on the respective U option.
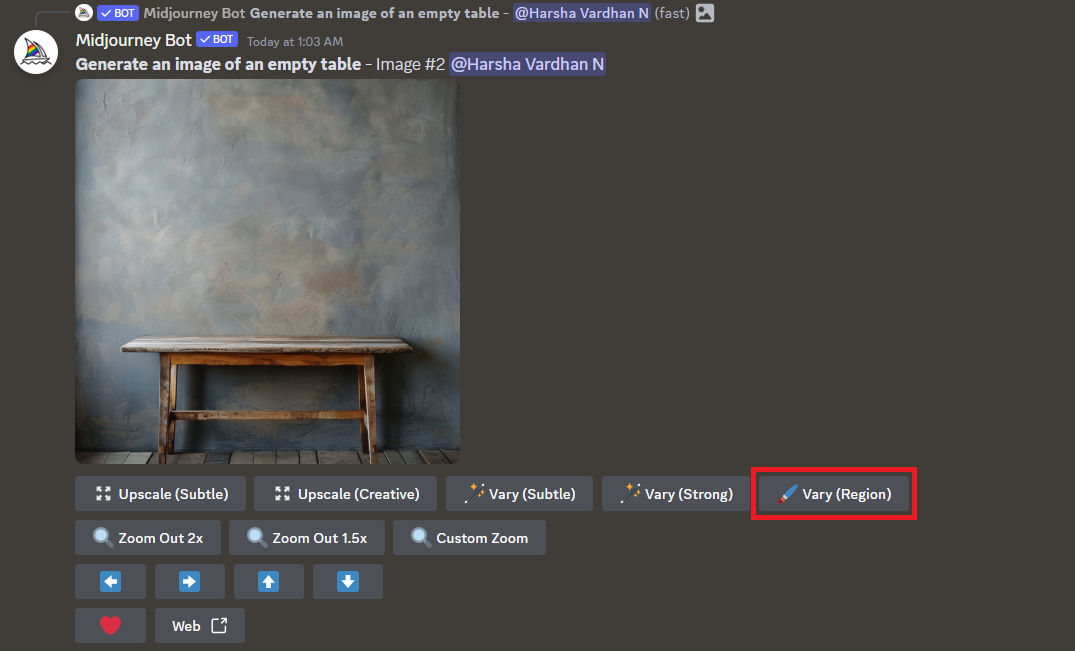
- Once the image is separated, you can notice several options being displayed. Now, navigate to Vary (Region) and click on it.
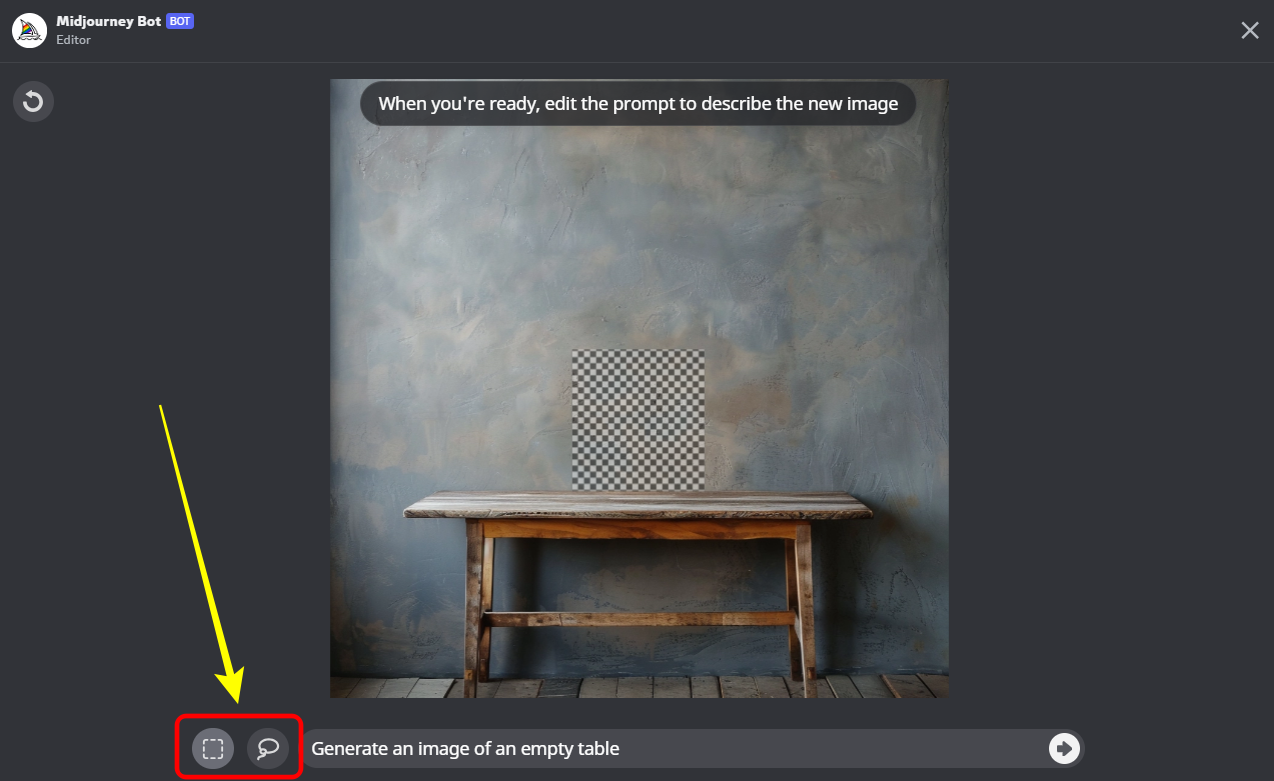
- Doing so opens the Editor featuring the image. Now, use the Lasso or Rectangle tool to select the region.
- After selecting the area, update the prompt and click on the arrow to finish the inpainting process.
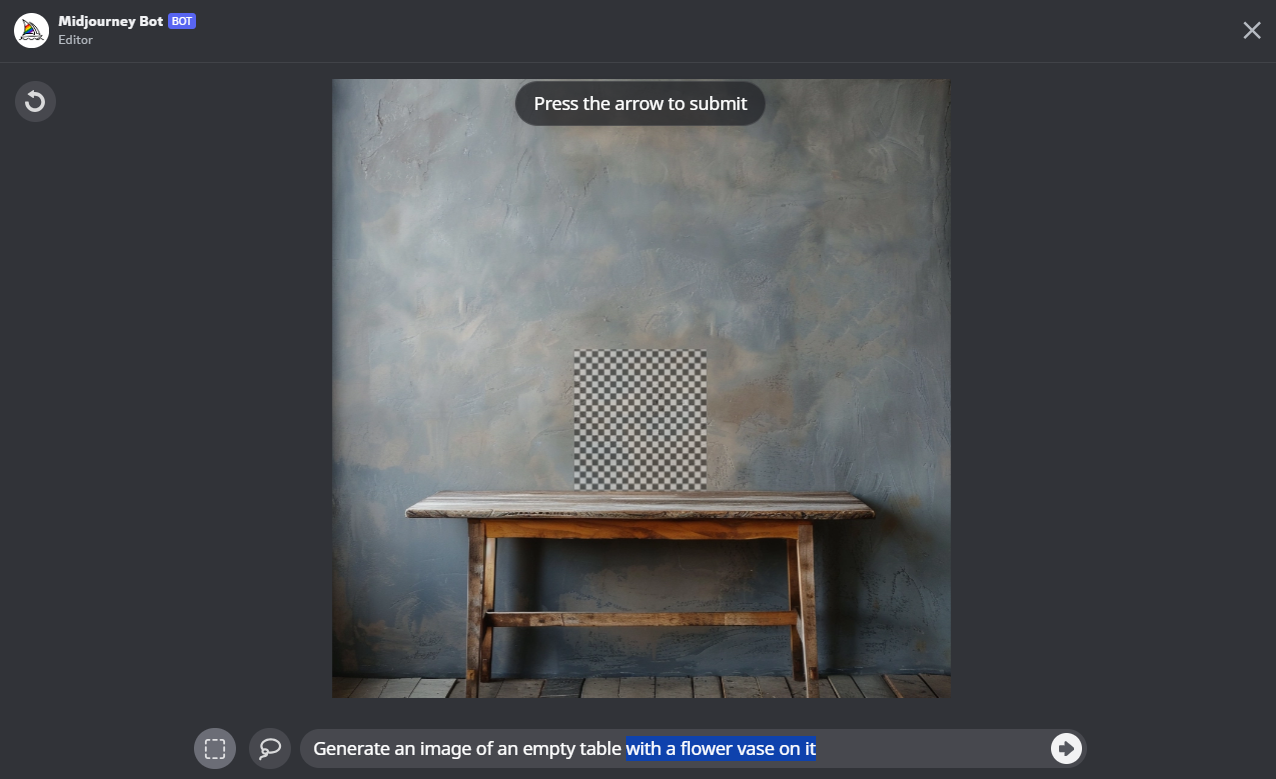
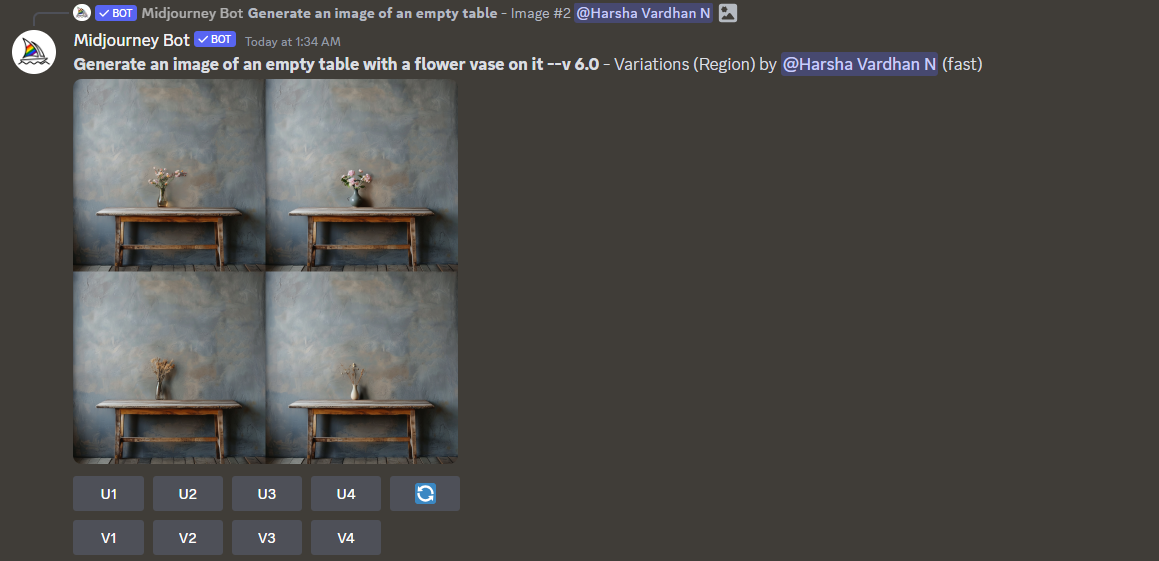
- The new image grid is now carefully inpainted without losing its original properties.
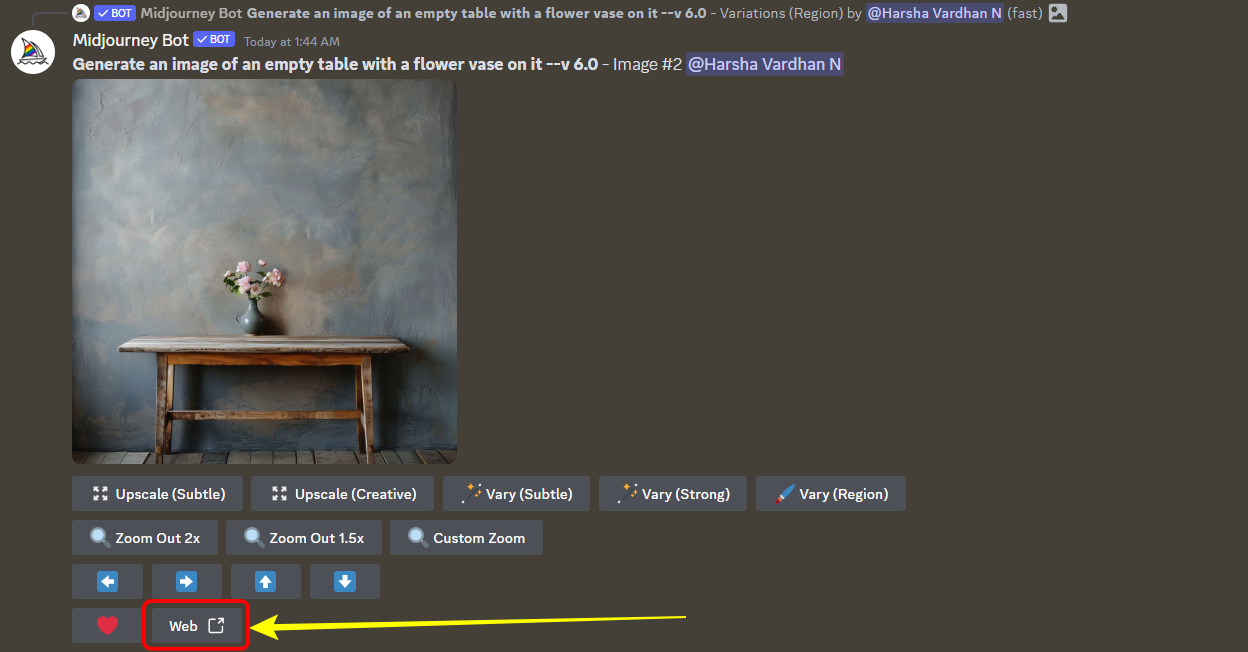
- Now, refer to Step 2 to separate the image from the grid. Next, make changes if needed through the Upscale or Vary options. With all changes done and you’re happy with the results, click on Web.
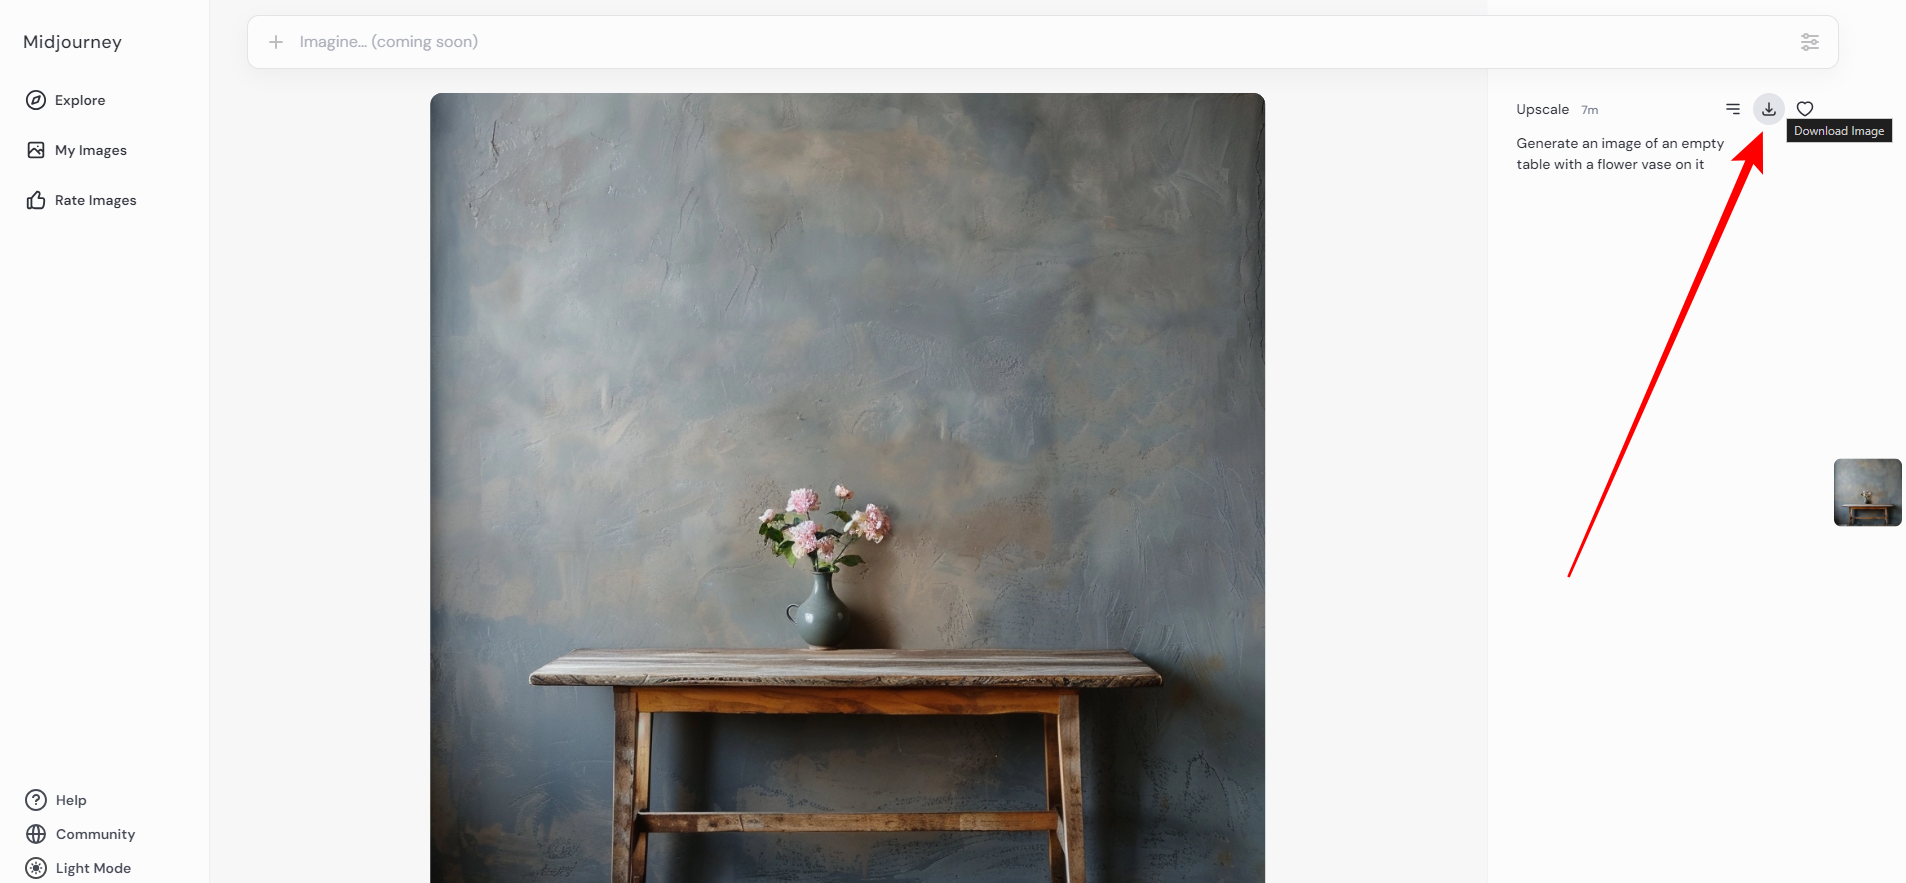
- Doing so, the image opens on the Midjourney page with several options to the right. Now, click the Download option to save the image, and you’re done.
Wrapping Up
Congratulations on learning how to use Midjourney’s Inpaiting feature!
While the results are arguably reliable, we suggest not making multiple changes simultaneously by providing prompts with various subjects. Hence, try to make changes individually and get the prompt right for the desired result.
Related Reading
How To Upscale Midjourney Images
What Is Upscale Redo in Midjourney